Nikon COOLPIX L22 L22 / L21 User's Manual - Page 102
The Clock Battery, Home Time Zone, Daylight Saving Time, Imprinting the date on pictures, Press
 |
View all Nikon COOLPIX L22 manuals
Add to My Manuals
Save this manual to your list of manuals |
Page 102 highlights
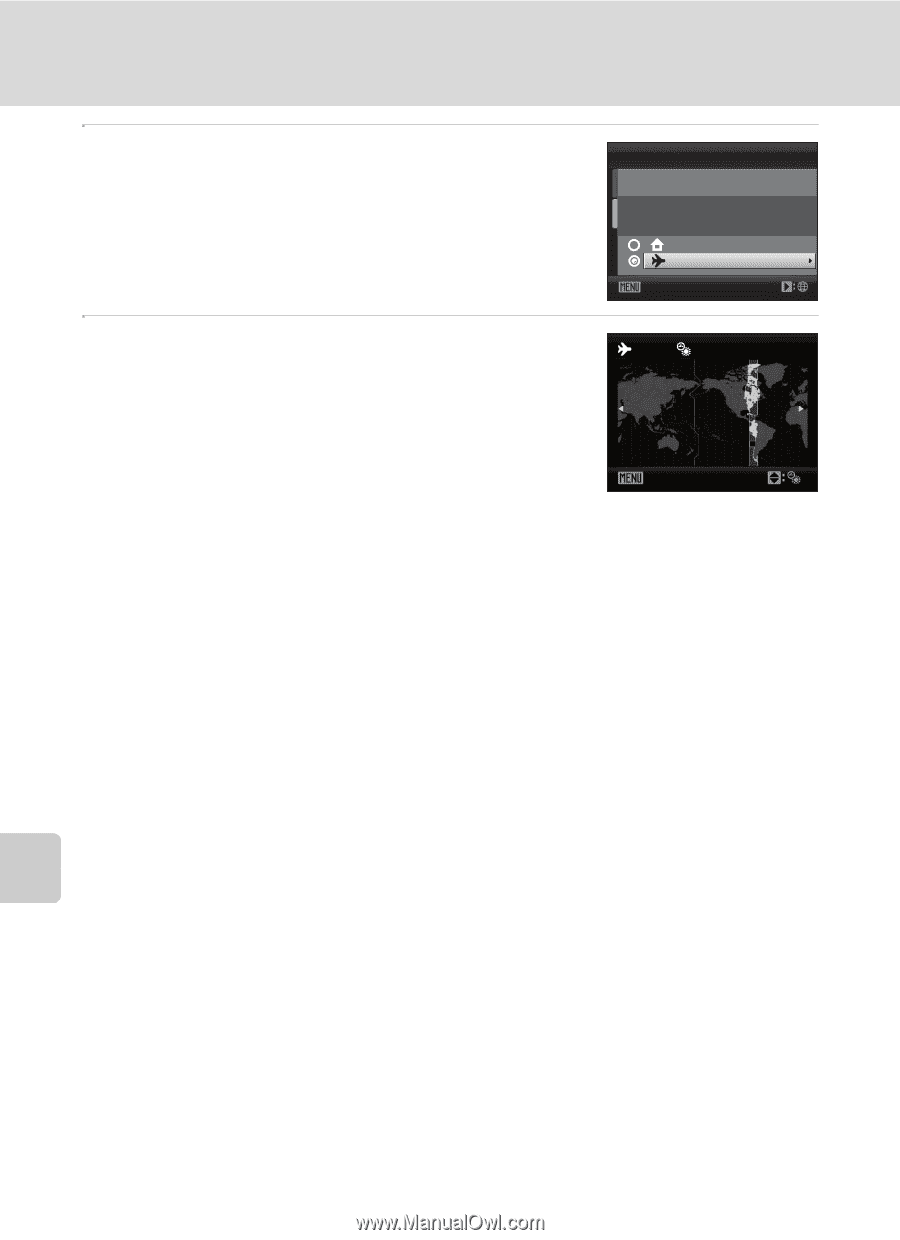
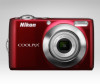
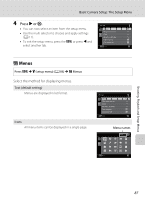
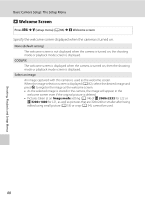
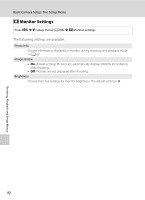
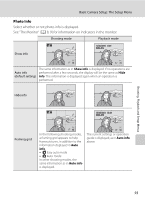
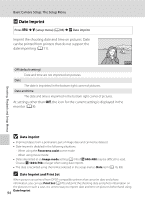
Basic Camera Setup: The Setup Menu 3 Press K. The new city time zone menu is displayed. Time zone 15/05/2010 15:30 London, Casablanca Home time zone Travel destination Exit 4 Press J or K to select the travel destination 10:30 -05:00 region (time zone). EDT: When using the camera in an area where daylight saving New York Toronto time is in effect, press H to adjust the camera's time for Lima daylight saving time. W will be displayed in the top of the monitor and the time will advance one hour. To turn off Back the daylight saving time setting, press I. Press k to enter the travel destination. While the travel destination time zone is selected, the Z icon will be displayed in the monitor when the camera is in shooting mode. Shooting, Playback and Setup Menus B The Clock Battery The camera's clock is powered by a clock battery that is independent of the batteries that powers the camera. The clock battery charges when the main batteries are installed or an AC adapter is connected, and can provide several days of backup power after about ten hours of charging. C w (Home Time Zone) • To switch to the home time zone, choose w in step 2 and press k. • To change the home time zone, choose w in step 2 and perform steps 3 and 4, to set the home time zone. C Daylight Saving Time When the summer saving time begins or ends, turn the daylight saving time option on or off using the home time zone display in Step 4. D Imprinting the date on pictures After setting the date and time, set the Date imprint setting in the setup menu (A 94). Once Date imprint is set, the shooting date and time can be imprinted on the image data when taking 90 pictures.
-
 1
1 -
2
-
3
-
4
-
5
-
6
-
7
-
8
-
9
-
10
-
11
-
12
-
13
-
14
-
15
-
16
-
17
-
18
-
19
-
20
-
21
-
22
-
23
-
24
-
25
-
26
-
27
-
28
-
29
-
30
-
31
-
32
-
33
-
34
-
35
-
36
-
37
-
38
-
39
-
40
-
41
-
42
-
43
-
44
-
45
-
46
-
47
-
48
-
49
-
50
-
51
-
52
-
53
-
54
-
55
-
56
-
57
-
58
-
59
-
60
-
61
-
62
-
63
-
64
-
65
-
66
-
67
-
68
-
69
-
70
-
71
-
72
-
73
-
74
-
75
-
76
-
77
-
78
-
79
-
80
-
81
-
82
-
83
-
84
-
85
-
86
-
87
-
88
-
89
-
90
-
91
-
92
-
93
-
94
-
95
-
96
-
 97
97 -
 98
98 -
 99
99 -
 100
100 -
 101
101 -
 102
102 -
 103
103 -
 104
104 -
 105
105 -
 106
106 -
 107
107 -
108
-
109
-
110
-
111
-
112
-
113
-
114
-
115
-
116
-
117
-
118
-
119
-
120
-
121
-
122
-
123
-
124
-
125
-
126
-
127
-
128
-
129
-
130
-
131
-
132
-
133
-
134
-
135
-
136
-
137
-
138
-
139
-
140
-
141
-
142
-
143
-
144
-
145
-
146
-
147
-
148
 |
 |