Onkyo TX SR501 Owner Manual - Page 28
Playing Your AV Components
 |
UPC - 751398005213
View all Onkyo TX SR501 manuals
Add to My Manuals
Save this manual to your list of manuals |
Page 28 highlights
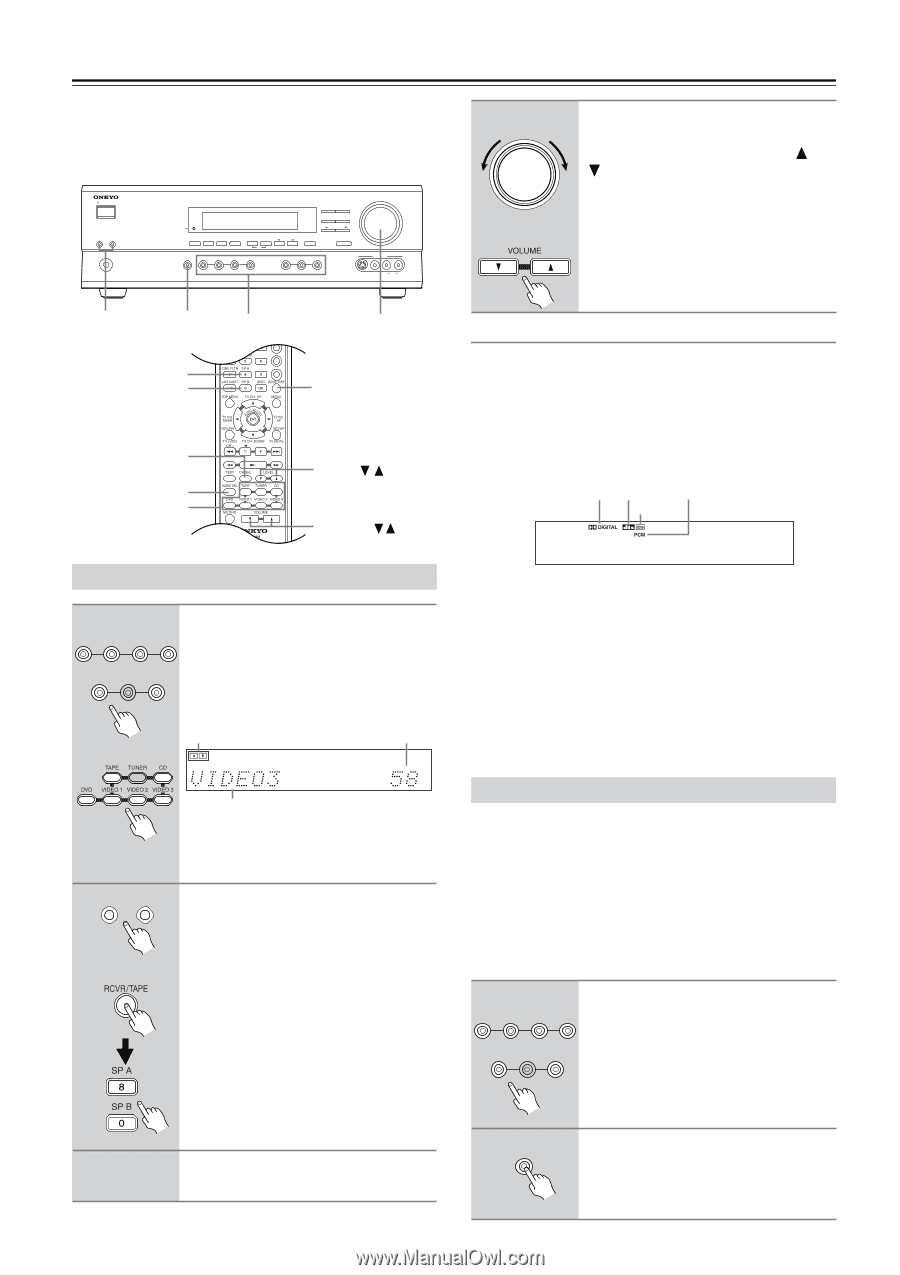
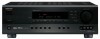
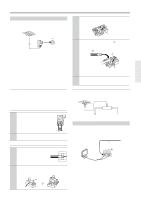
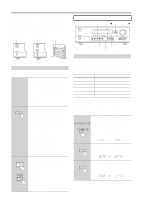
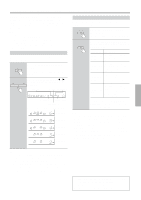
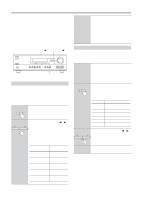
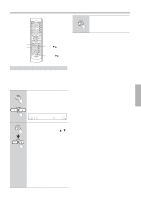
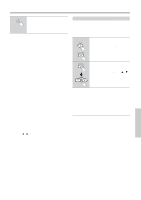
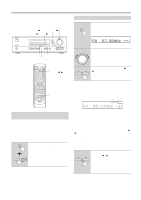
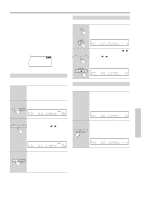
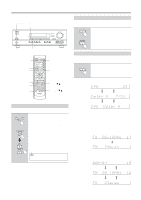
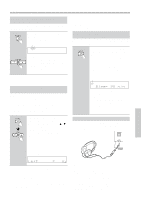
Playing Your AV Components This chapter explains how you can play your AV components through the TX-SR501/TX-SR501E. See pages 10-19 for information on connecting your AV components to the TX-SR501/TX-SR501E. STANDBY/ON A SPEAKERS B PHONES STANDBY DISPLAY SUBWOOFER DIMMER DIGITAL INPUT MODE MEMORY FM MODE CLEAR AUDIO SELECTOR DVD VIDEO 1 VIDEO 2 VIDEO 3 VCR DIRECT STEREO SURROUND DSP PRESET/ADJUST TUNING SPEAKER ADJUST AUDIO ADJUST MASTER VOLUME TAPE TUNER C D VIDEO 3 INPUT S VIDEO VIDEO L AUDIO R 4 MASTER VOLUME Remote controller To adjust the volume, use the MASTER VOLUME control, or the remote controller's VOLUME [ ] [ ] buttons. The volume can typically be set to MIN, 1 though 79, or MAX. SPEAKER AUDIO A&B SELECTOR SP A SP B Input selector buttons MASTER VOLUME CABLE/SAT CD/DVD Press [RCVR/ TAPE] to select RCVR mode. CH SEL AUDIO SEL Input selector buttons CH + LEVEL / VOLUME / Using Digital Inputs The digital input assigned to the input source (see page 24) has priority over that input source's analog input. To use the analog input, set the input source's format to Analog (see the following section). The format of the digital input signal appears on the display, as shown: DOLBY DIGITAL, DTS, DTS-ES, or PCM (stereo). DOLBY DIGITAL DTS PCM DTS-ES Selecting the Source AV Component 1 Use the following input selector buttons to select the AV compo- DVD VIDEO 1 VIDEO 2 VIDEO 3 nent: [DVD], [VIDEO 1], [VIDEO 2], VCR [VIDEO 3], [TAPE], or [CD]. TAPE TUNER C D The name of the selected source appears on the display, as shown. Remote controller A & B speakers indicators Volume Selected input source If you're using a MiniDisc recorder, you can set the display to show "MD" instead of "TAPE." See page 25. 2 A SPEAKERS B Remote controller Use the SPEAKERS [A] and [B] buttons, or the remote controller's [SP A] and [SP B] buttons to select the speaker set that you want to use. Press the remote controller's [RCVR/ TAPE] button to select RCVR mode before using the remote controller. The A and B speaker indicators show whether each speaker set is on or off. Other Functions: See page 32 for functions that you can use while listening to your AV components. Listening Modes: See page 34 for information on the listening modes that you can use while listening to your AV components. Remote Controller: See pages 40, 41 for information on using the TX-SR501/ TX-SR501E's remote controller to control your other AV components. Setting the Input Signal Format With this function you can choose which signal format (analog or digital) you want to use for AV components that are connected to a digital input and analog input. When an input source is assigned to an OPTICAL or COAXIAL digital input (page 24), the digital input has priority over the corresponding analog input. However, with this function you can override that and force the TX-SR501/TX-SR501E to use the analog input. In addition, you can set the DVD input source to use the multi-channel inputs. 1 Press the input selector button for the source that you want to set: DVD VIDEO 1 VIDEO 2 VIDEO 3 [DVD], [VIDEO 1], [VIDEO 2], VCR TAPE TUNER C D [VIDEO 3], [TAPE], or [CD]. The name of the selected source appears on the display. 3 28 Start playback on the selected AV component. 2 AUDIO SELECTOR Press the [AUDIO SELECTOR] button. The current format appears on the display for about three seconds.
-
 1
1 -
2
-
3
-
4
-
5
-
6
-
7
-
8
-
9
-
10
-
11
-
12
-
13
-
14
-
15
-
16
-
17
-
18
-
19
-
20
-
21
-
22
-
 23
23 -
 24
24 -
 25
25 -
 26
26 -
 27
27 -
 28
28 -
 29
29 -
 30
30 -
 31
31 -
 32
32 -
 33
33 -
34
-
35
-
36
-
37
-
38
-
39
-
40
-
41
-
42
-
43
-
44
-
45
-
46
-
47
-
48
 |
 |