Pfaff creative 7510 Owner's Manual - Page 24
the thread
 |
View all Pfaff creative 7510 manuals
Add to My Manuals
Save this manual to your list of manuals |
Page 24 highlights
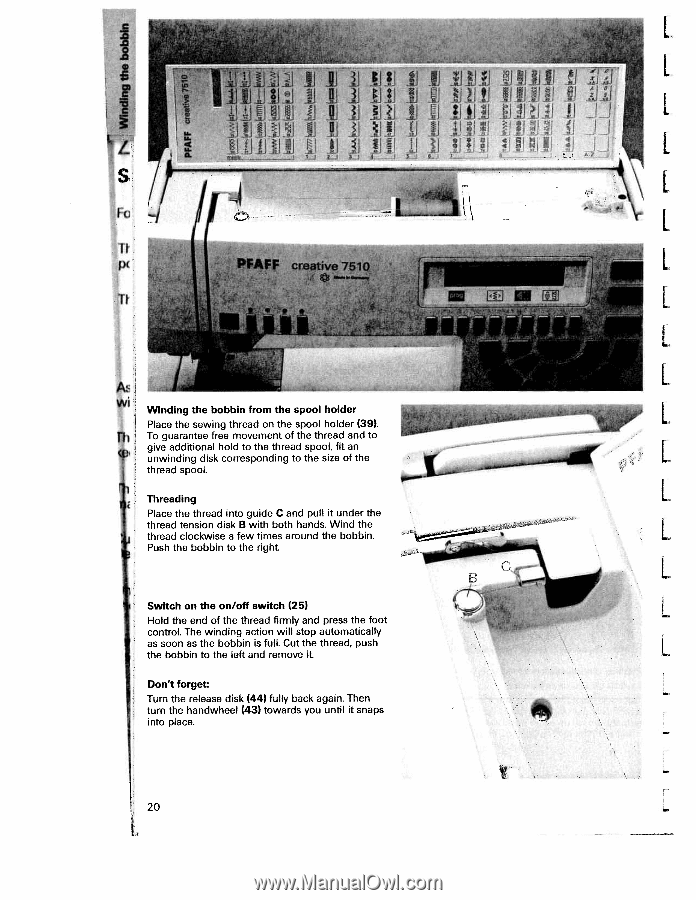
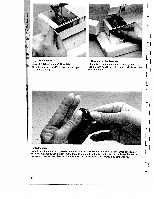
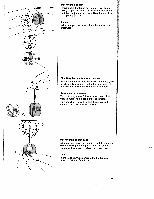
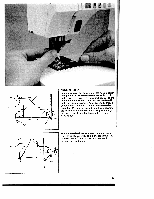
I s/fr PC An I 1..TEh I lU IitIiIl 11 JIjLIHjiJJIJJIiiHJJ1 I I IN L AZ L I k I Winding the bobbin from the spooi holder I Place the sewing thread on the spool holder (39). To guarantee free movement of the thread and to give additional hold to the thread spool, fit an unwinding disk corresponding to the size of the thread spool. Threading L Place the thread into guide C and pull it under the J thread tension disk B with both hands. Wind the thread clockwise a few times around the bobbin. Push the bobbin to the right Switch on the on/off switch (25) Hold the end of the thread firmly and press the foot control. The winding action will stop automatically as soon as the bobbin is full. Cut the thread, push the bobbin to the left and remove it Don't forget: Turn the release disk (44) fully back again. Then turn the handwheel (43) towards you until it snaps into place. 20 t
-
 1
1 -
2
-
3
-
4
-
5
-
6
-
7
-
8
-
9
-
10
-
11
-
12
-
13
-
14
-
15
-
16
-
17
-
18
-
 19
19 -
 20
20 -
 21
21 -
 22
22 -
 23
23 -
 24
24 -
 25
25 -
 26
26 -
 27
27 -
 28
28 -
 29
29 -
30
-
31
-
32
-
33
-
34
-
35
-
36
-
37
-
38
-
39
-
40
-
41
-
42
-
43
-
44
-
45
-
46
-
47
-
48
-
49
-
50
-
51
-
52
-
53
-
54
-
55
-
56
-
57
-
58
-
59
-
60
-
61
-
62
-
63
-
64
-
65
-
66
-
67
-
68
-
69
-
70
-
71
-
72
-
73
-
74
-
75
-
76
-
77
-
78
-
79
-
80
-
81
-
82
-
83
-
84
-
85
-
86
-
87
-
88
-
89
-
90
-
91
-
92
-
93
-
94
-
95
-
96
-
97
-
98
-
99
-
100
-
101
-
102
-
103
-
104
-
105
-
106
-
107
-
108
-
109
-
110
-
111
-
112
-
113
-
114
-
115
-
116
-
117
-
118
-
119
-
120
-
121
-
122
-
123
-
124
-
125
-
126
-
127
-
128
-
129
-
130
-
131
-
132
-
133
-
134
-
135
-
136
-
137
-
138
-
139
-
140
-
141
-
142
 |
 |