Philips CD4552B User manual - Page 16
Wall mounting the base, SE455, Warning
 |
UPC - 609585144972
View all Philips CD4552B manuals
Add to My Manuals
Save this manual to your list of manuals |
Page 16 highlights
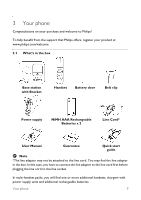
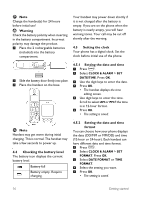
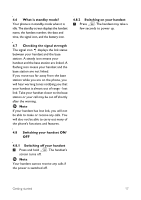
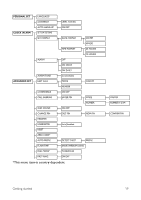
2 Turn the bracket around. 5 Slide the base down into place. 3 Re-insert the bracket to the back of the base station. 4 Align the mounting holes on the back of the base with a standard wall phone mounting jack. 4.2.2 Wall mounting the base (SE455) The base is designed to support wall mounting. To wall mount the base, follow the instructions below. ! Warning Other wall mounting methods are not recommended and may damage the product. 1 Remove the bracket from the back of the base station by pressing down the two latches on the top of the bracket. 14 Getting started
-
 1
1 -
2
-
3
-
4
-
5
-
6
-
7
-
8
-
9
-
10
-
 11
11 -
 12
12 -
 13
13 -
 14
14 -
 15
15 -
 16
16 -
 17
17 -
 18
18 -
 19
19 -
 20
20 -
 21
21 -
22
-
23
-
24
-
25
-
26
-
27
-
28
-
29
-
30
-
31
-
32
-
33
-
34
-
35
-
36
-
37
-
38
-
39
-
40
-
41
-
42
-
43
-
44
-
45
-
46
-
47
-
48
-
49
-
50
-
51
-
52
-
53
-
54
-
55
-
56
-
57
-
58
-
59
-
60
-
61
-
62
-
63
-
64
 |
 |
14
Getting started
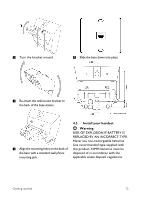
Turn the bracket around.
Re-insert the bracket to the back of
the base station.
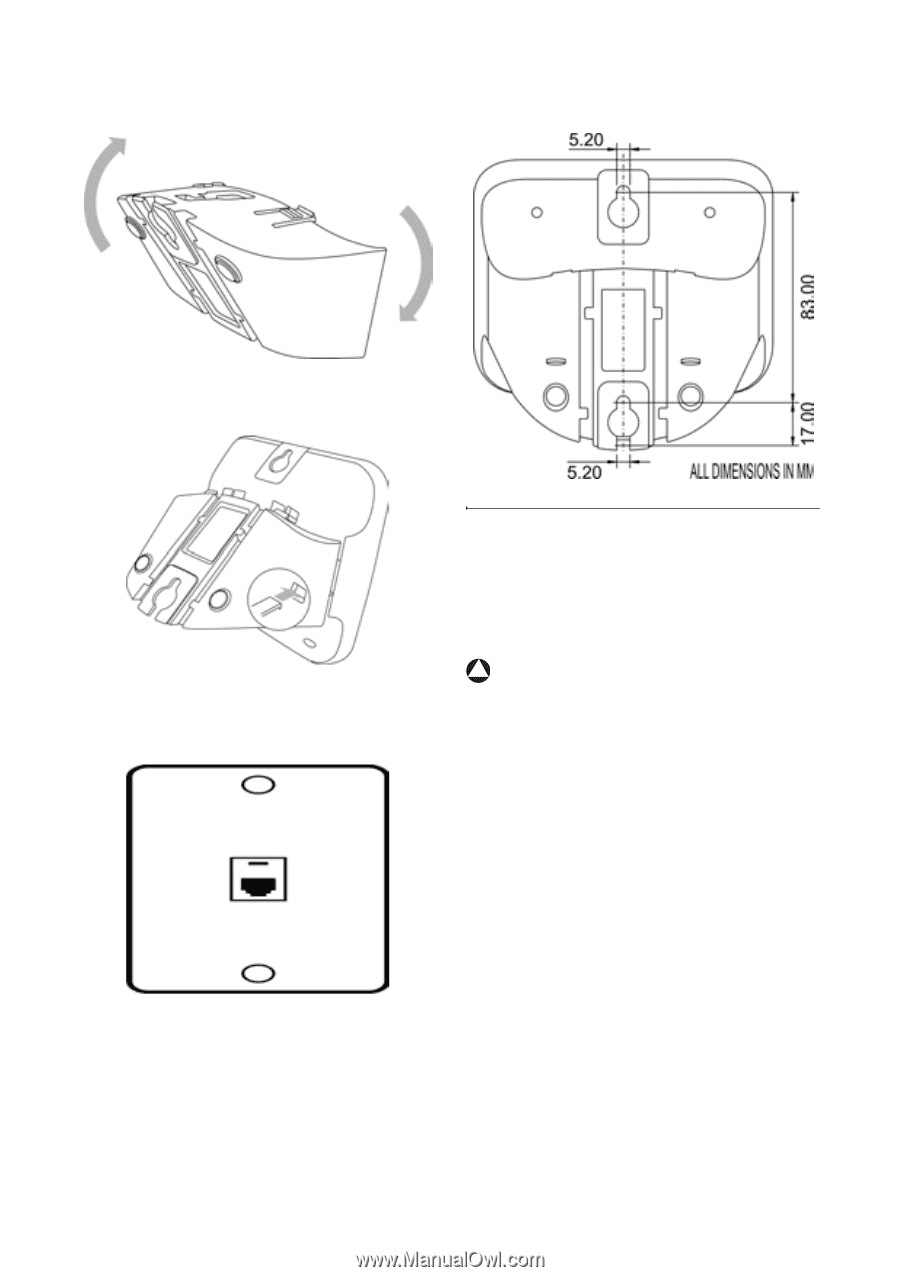
Align the mounting holes on the
back of the base with a standard wall
phone mounting jack.
Slide the base down into place.
4.2.2
Wall mounting the base
(SE455)
The base is designed to support wall
mounting. To wall mount the base, follow
the instructions below.
Warning
Other wall mounting methods are not
recommended and may damage the
product.
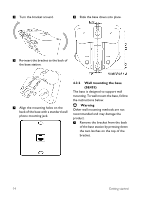
Remove the bracket from the back
of the base station by pressing down
the two latches on the top of the
bracket.
2
3
4
5
!
1