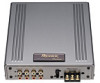
Pioneer DEQ-P9 Owner's Manual - Page 20
Position Fine Tuning Screen.
 |
View all Pioneer DEQ-P9 manuals
Add to My Manuals
Save this manual to your list of manuals |
Page 20 highlights
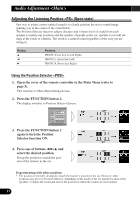
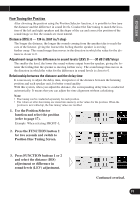
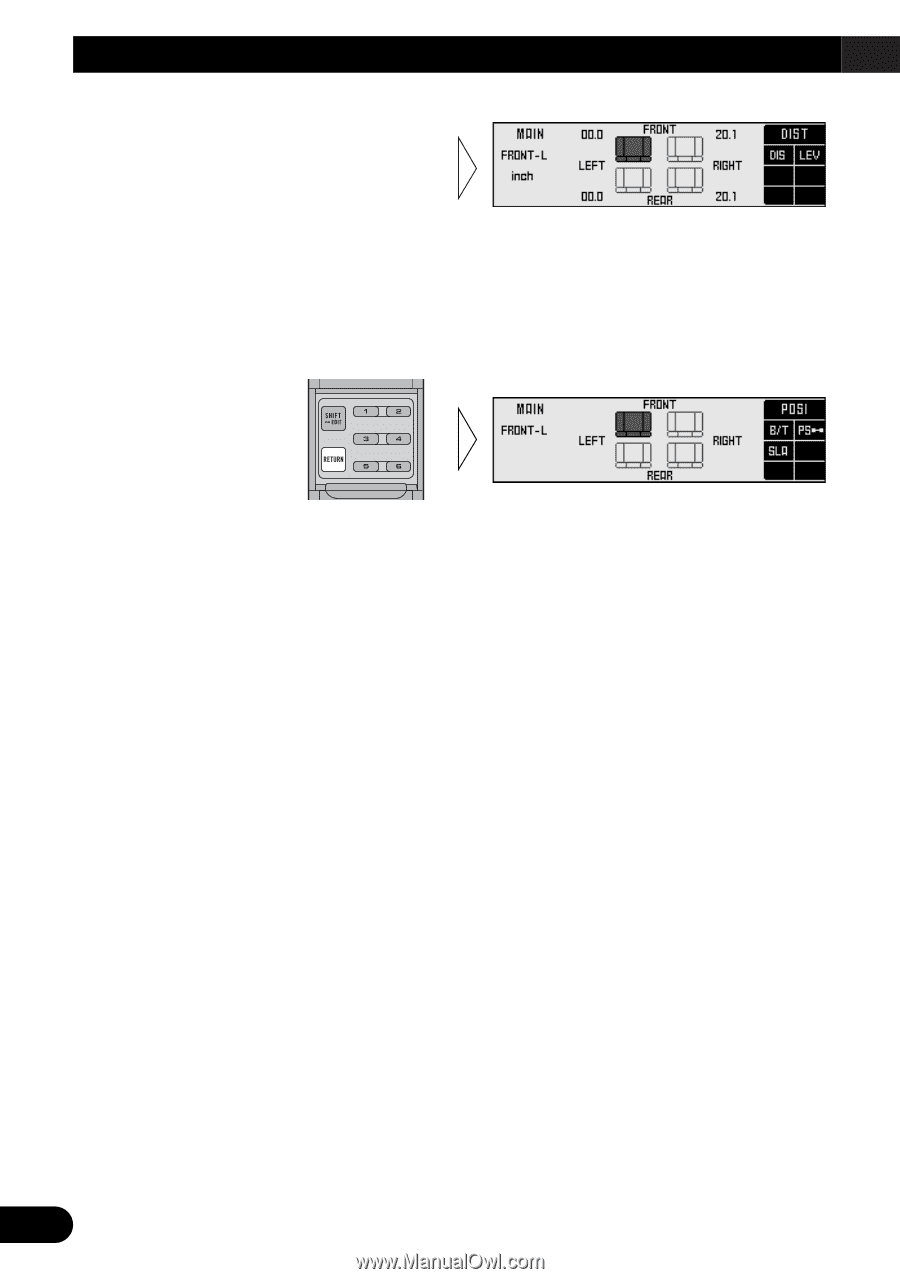
Audio Adjustment 4. Press the 2/3 buttons to correct the position of the sound image. Holding down these buttons continues their operations (during distance tuning, holding down the button moves the distance 1.34 in./1 step). 5. After tuning has been completed, press the RETURN button to cancel the Position Fine Tuning Screen. The values are stored in memory and the display returns to Position Selector Screen. Points concerning fine tuning • While listening to vocals, adjust the distance to position the vocal sound image naturally to the front. 19
-
 1
1 -
2
-
3
-
4
-
5
-
6
-
7
-
8
-
9
-
10
-
11
-
12
-
13
-
14
-
 15
15 -
 16
16 -
 17
17 -
 18
18 -
 19
19 -
 20
20 -
 21
21 -
 22
22 -
 23
23 -
 24
24 -
 25
25 -
26
-
27
-
28
-
29
-
30
-
31
-
32
-
33
-
34
-
35
-
36
-
37
-
38
-
39
-
40
-
41
-
42
-
43
-
44
-
45
-
46
-
47
-
48
-
49
-
50
-
51
-
52
-
53
-
54
-
55
-
56
-
57
-
58
-
59
-
60
-
61
-
62
-
63
-
64
 |
 |
19
Audio Adjustment <Main>
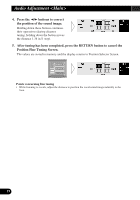
Points concerning fine tuning
•
While listening to vocals, adjust the distance to position the vocal sound image naturally to the
front.
5.
After tuning has been completed, press the RETURN button to cancel the
Position Fine Tuning Screen.
The values are stored in memory and the display returns to Position Selector Screen.
4.
Press the
2
/
3
buttons to correct
the position of the sound image.
Holding down these buttons continues
their operations (during distance
tuning, holding down the button moves
the distance 1.34 in./1 step).