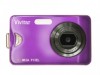
Vivitar 8225 Camera Manual - Page 25
White Balance
 |
View all Vivitar 8225 manuals
Add to My Manuals
Save this manual to your list of manuals |
Page 25 highlights
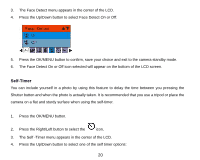
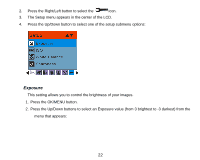
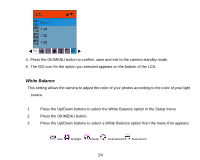
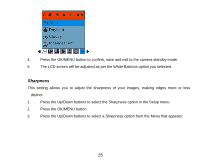
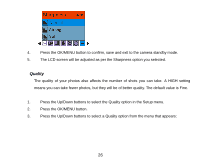
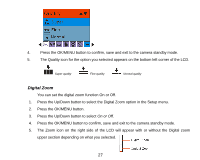
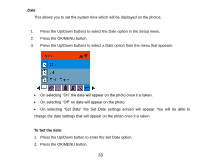
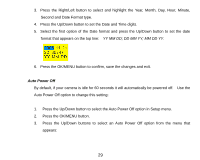
4. Press the OK/MENU button to confirm, save and exit to the camera standby mode. 5. The ISO icon for the option you selected appears on the bottom of the LCD. White Balance This setting allows the camera to adjust the color of your photos according to the color of your light source. 1. Press the Up/Down buttons to select the White Balance option in the Setup menu 2. Press the OK/MENU button. 3. Press the Up/Down buttons to select a White Balance option from the menu that appears: Auto Daylight Cloudy Incandescent Fluorescent 24
-
 1
1 -
2
-
3
-
4
-
5
-
6
-
7
-
8
-
9
-
10
-
11
-
12
-
13
-
14
-
15
-
16
-
17
-
18
-
19
-
 20
20 -
 21
21 -
 22
22 -
 23
23 -
 24
24 -
 25
25 -
 26
26 -
 27
27 -
 28
28 -
 29
29 -
 30
30 -
31
-
32
-
33
-
34
-
35
-
36
-
37
-
38
-
39
-
40
-
41
-
42
-
43
-
44
-
45
-
46
-
47
-
48
-
49
-
50
-
51
-
52
-
53
-
54
-
55
-
56
-
57
-
58
 |
 |

24
4. Press the OK/MENU button to confirm, save and exit to the camera standby mode.
5. The ISO icon for the option you selected appears on the bottom of the LCD.
White Balance
This setting allows the camera to adjust the color of your photos according to the color of your light
source.
1.
Press the Up/Down buttons to select the White Balance option in the Setup menu
2.
Press the OK/MENU button.
3.
Press the Up/Down buttons to select a White Balance option from the menu that appears:
Auto
Daylight
Cloudy
Incandescent
Fluorescent