Vivitar 8225 Camera Manual - Page 27
Quality
 |
View all Vivitar 8225 manuals
Add to My Manuals
Save this manual to your list of manuals |
Page 27 highlights
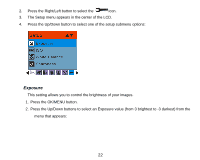
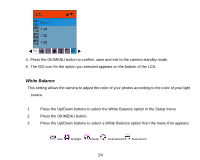
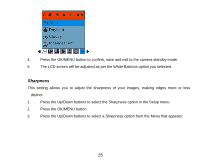
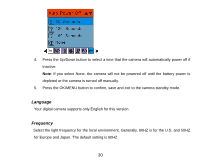
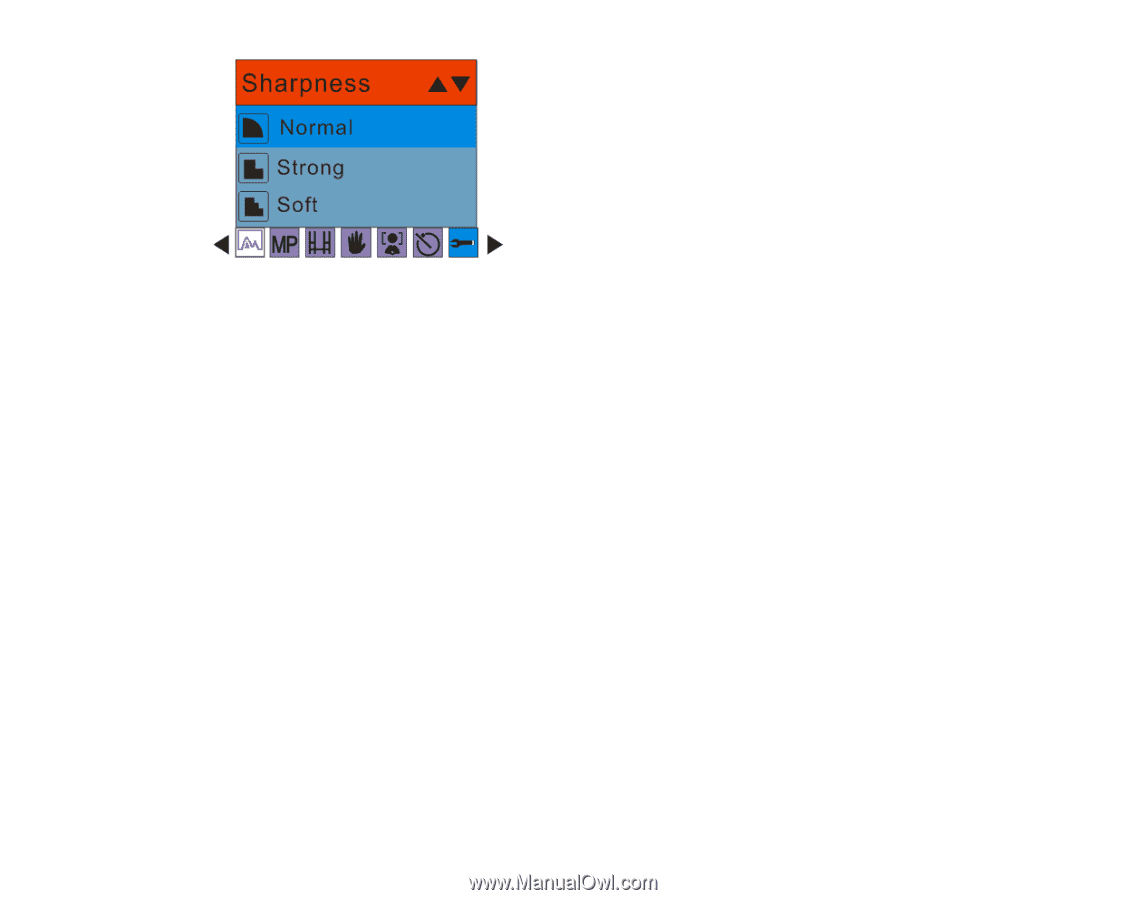
4. Press the OK/MENU button to confirm, save and exit to the camera standby mode. 5. The LCD screen will be adjusted as per the Sharpness option you selected. Quality The quality of your photos also affects the number of shots you can take. A HIGH setting means you can take fewer photos, but they will be of better quality. The default value is Fine. 1. Press the Up/Down buttons to select the Quality option in the Setup menu. 2. Press the OK/MENU button. 3. Press the Up/Down buttons to select a Quality option from the menu that appears: 26
-
 1
1 -
2
-
3
-
4
-
5
-
6
-
7
-
8
-
9
-
10
-
11
-
12
-
13
-
14
-
15
-
16
-
17
-
18
-
19
-
20
-
21
-
 22
22 -
 23
23 -
 24
24 -
 25
25 -
 26
26 -
 27
27 -
 28
28 -
 29
29 -
 30
30 -
 31
31 -
 32
32 -
33
-
34
-
35
-
36
-
37
-
38
-
39
-
40
-
41
-
42
-
43
-
44
-
45
-
46
-
47
-
48
-
49
-
50
-
51
-
52
-
53
-
54
-
55
-
56
-
57
-
58
 |
 |
26
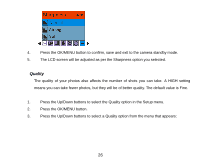
4.
Press the OK/MENU button to confirm, save and exit to the camera standby mode.
5.
The LCD screen will be adjusted as per the Sharpness option you selected.
Quality
The quality of your photos also affects the number of shots you can take. A HIGH setting
means you can take fewer photos, but they will be of better quality. The default value is Fine.
1.
Press the Up/Down buttons to select the Quality option in the Setup menu.
2.
Press the OK/MENU button.
3.
Press the Up/Down buttons to select a Quality option from the menu that appears: