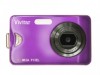
Vivitar 8225 Camera Manual - Page 36
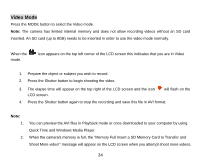
Transfer photos and videos to your computer - software download
 |
View all Vivitar 8225 manuals
Add to My Manuals
Save this manual to your list of manuals |
Page 36 highlights
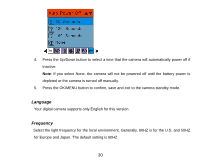
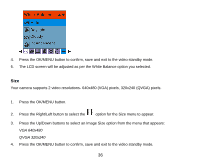
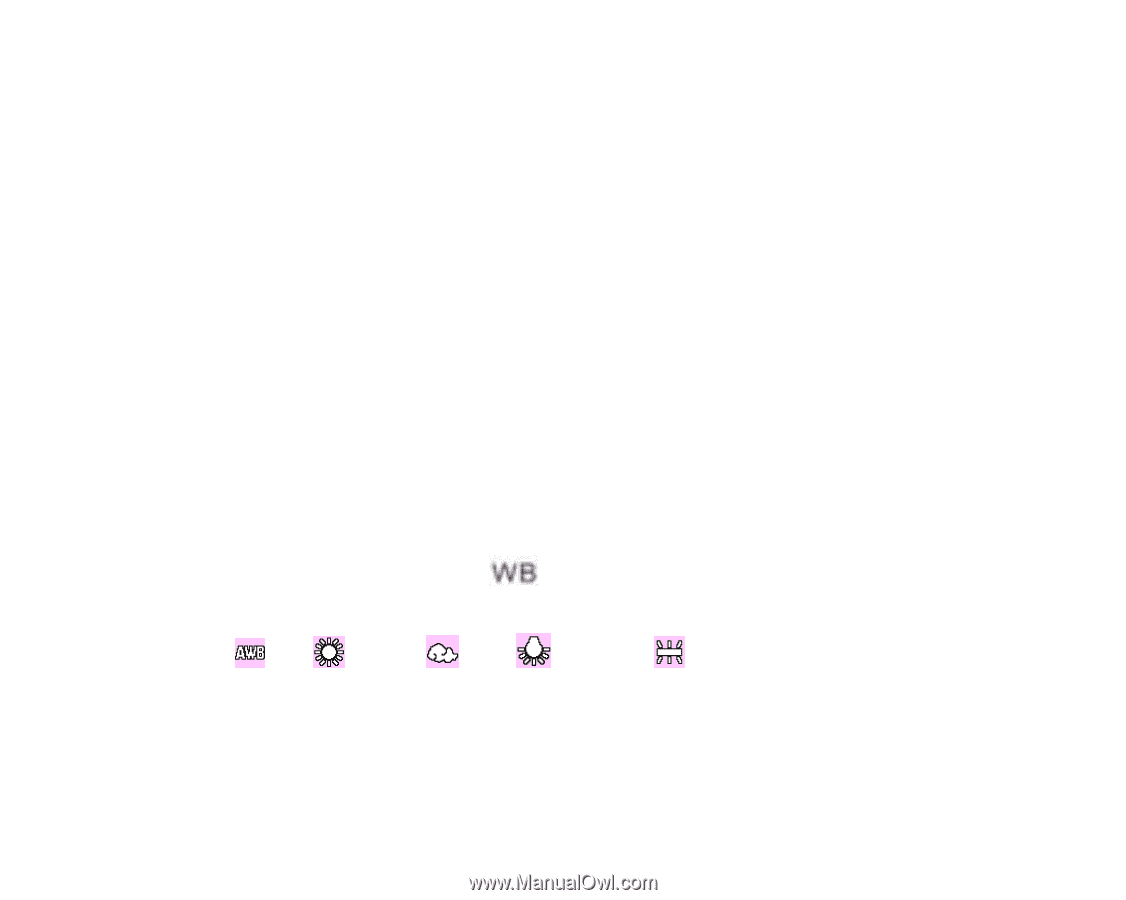
Either download the images to your computer using the Vivitar Experience Image Manager software as described below in the section "Transfer photos and videos to your computer" or insert another SD card to continue taking more videos. 3. The LCD will not light up when the light condition is not good. In Video mode there are 3 setup options - White Balance, Size and Macro White Balance You can select 5 different White Balance light conditions for shooting videos. 1. Press the OK/MENU button. 2. Press the Right/Left button to select the option. 3. Press the Up/Down buttons to select a White Balance option from the menu that appears: Auto Daylight Cloudy Incandescent Fluorescent 35
-
 1
1 -
2
-
3
-
4
-
5
-
6
-
7
-
8
-
9
-
10
-
11
-
12
-
13
-
14
-
15
-
16
-
17
-
18
-
19
-
20
-
21
-
22
-
23
-
24
-
25
-
26
-
27
-
28
-
29
-
30
-
 31
31 -
 32
32 -
 33
33 -
 34
34 -
 35
35 -
 36
36 -
 37
37 -
 38
38 -
 39
39 -
 40
40 -
 41
41 -
42
-
43
-
44
-
45
-
46
-
47
-
48
-
49
-
50
-
51
-
52
-
53
-
54
-
55
-
56
-
57
-
58
 |
 |
35
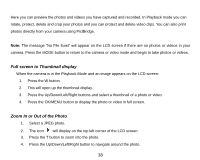
Either download the images to your computer using the Vivitar Experience Image Manager
software as described below in the section “
Transfer photos and videos to your computer
” or
insert another SD card to continue taking more videos.
3.
The LCD will not light up when the light condition is not good.
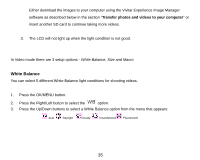
In Video mode there are 3 setup options -
White Balance, Size and Macro
White Balance
You can select 5 different White Balance light conditions for shooting videos.
1.
Press the OK/MENU button.
2.
Press the Right/Left button to select the
option.
3.
Press the Up/Down buttons to select a White Balance option from the menu that appears:
Auto
Daylight
Cloudy
Incandescent
Fluorescent