Yamaha SY85 Owner's Manual (getting Started) (image) - Page 60
Recording An Original Pattern - Step Record
 |
View all Yamaha SY85 manuals
Add to My Manuals
Save this manual to your list of manuals |
Page 60 highlights
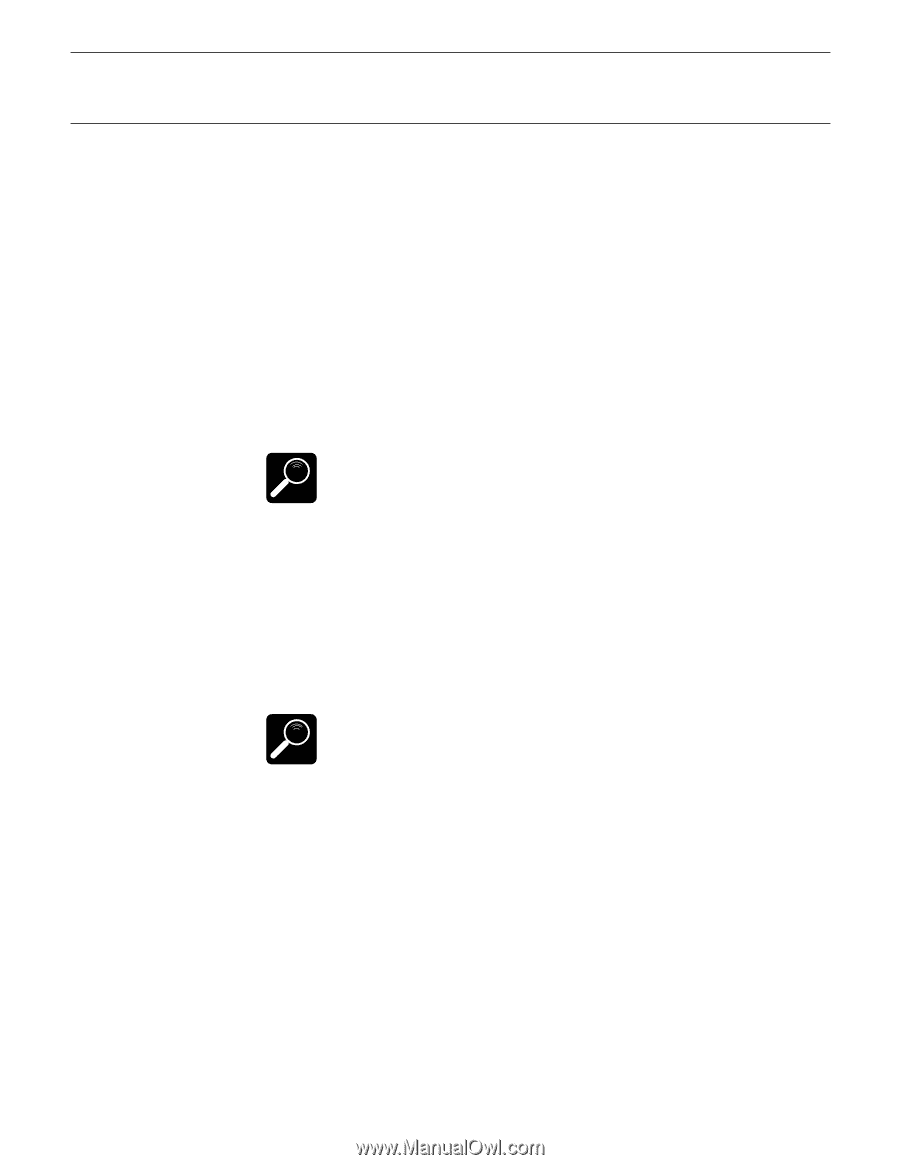
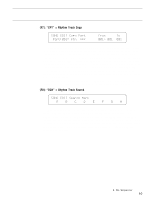
4. Record The voice assigned to sequencer rhythm track (page ??) is automatically selected when the PATTERN mode is engaged. While the metronome (or the existing pattern data) is playing, anything you play on the keyboard will be recorded. Of course, you don't have to record everything at once. The pattern continuously cycles as you record. You can start with just the bass drum, for example, then record the snare, cymbals, and so on until your pattern is complete. q Erasing Notes To erase a note while recording, hold the [SHIFT] key ("ERASE" will flash in the lower left corner of the display) and press the key on the keyboard corresponding to the instrument you want to erase, for the duration of the notes you want to erase. DETAIL While recording you can change the tempo, quantize value, or velocity value as required. 5. Press [STOP] To Stop Recording When you have finished playing the part for the current track, press the [STOP] key to stop recording. Both the [RUN] and [RECORD] key indicators will go out and the SY85 will return to the pattern play mode. 6. Check the Pattern just Recorded You can now listen to the part you've just recorded by pressing the sequencer [RUN] key. DETAIL You can also use the PATTERN NAME function, described on page 207 of the "Feature Reference" manual, to give your pattern an original pettern name. q RECORDING AN ORIGINAL PATTERN - STEP RECORD Step recording in the pattern mode is much the same as step recording in the song mode. 1. Select the "Step" Record Mode The record mode is entered in the same was as described in the "RECORDING AN ORIGINAL PATTERN - REAL TIME" section, above. Instead of choosing the "real" record mode, select "step" and set the other record parameters as rquired. 58 5. The Sequencer
-
 1
1 -
2
-
3
-
4
-
5
-
6
-
7
-
8
-
9
-
10
-
11
-
12
-
13
-
14
-
15
-
16
-
17
-
18
-
19
-
20
-
21
-
22
-
23
-
24
-
25
-
26
-
27
-
28
-
29
-
30
-
31
-
32
-
33
-
34
-
35
-
36
-
37
-
38
-
39
-
40
-
41
-
42
-
43
-
44
-
45
-
46
-
47
-
48
-
49
-
50
-
51
-
52
-
53
-
54
-
 55
55 -
 56
56 -
 57
57 -
 58
58 -
 59
59 -
 60
60 -
 61
61 -
 62
62 -
 63
63 -
 64
64 -
 65
65 -
66
-
67
-
68
-
69
-
70
-
71
 |
 |