Alesis PerformancePad Pro User Manual - Page 35
Removing a Fill from Your Song, Inserting a New Step Between Two Existing Song Steps, Deleting
 |
View all Alesis PerformancePad Pro manuals
Add to My Manuals
Save this manual to your list of manuals |
Page 35 highlights
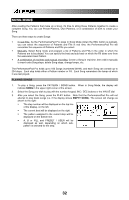
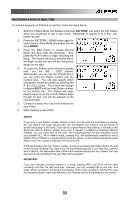
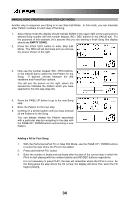
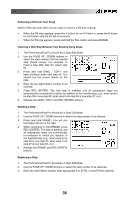
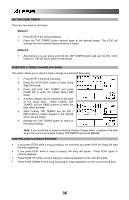
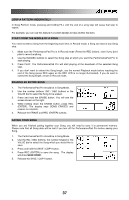
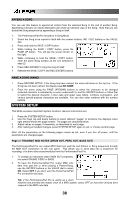
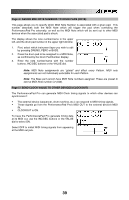
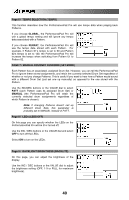
Removing a Fill from Your Song While in Record mode, there are two ways to remove a Fill from a Song: ƒ When the Fill step appears, press the A button for an A Pattern or press the B button for a B Pattern and the Fill will be removed. ƒ When the Fill step appears, press and hold the FILL button and press ERASE. Inserting a New Step Between Two Existing Song Steps 1. The PerformancePad Pro should be in Step Edit Mode. 2. Use the PAGE UP / DOWN buttons to select the step number that the inserted step should occupy. For example, to insert a step after step 04, select step 05. 3. Press and hold SAVE / COPY, and keep holding it down until step (6). You should see the screen shown on the right. 4. Enter the two-digit Pattern number to be inserted. 5. Press REC (ENTER). The new step is inserted, and all subsequent steps are automatically renumbered to reflect the addition of the inserted step (e.g., what used to be step 05 is now step 06, what used to be step 06 is now step 07, etc.). 6. Release the SAVE / COPY and REC (ENTER) buttons. Deleting a Step 1. The PerformancePad Pro should be in Step Edit Mode. 2. Use the PAGE UP / DOWN buttons to select the step number to be deleted. 3. Press and hold ERASE. You will see the screen shown on the right. 4. While continuing to hold ERASE, press REC (ENTER). The step is deleted, and all subsequent steps are automatically re-numbered to reflect the deletion of the inserted step (e.g., what used to be step 06 is now step 05, what used to be step 07 is now step 06, etc.). 5. Release the ERASE and REC (ENTER) buttons. Replacing a Step 1. The PerformancePad Pro should be in Step Edit Mode. 2. Use the PAGE UP / DOWN buttons to select the step number to be replaced. 3. Enter the new Pattern number (with appropriate A or B, Fill, or User/Preset options). 35
-
 1
1 -
2
-
3
-
4
-
5
-
6
-
7
-
8
-
9
-
10
-
11
-
12
-
13
-
14
-
15
-
16
-
17
-
18
-
19
-
20
-
21
-
22
-
23
-
24
-
25
-
26
-
27
-
28
-
29
-
 30
30 -
 31
31 -
 32
32 -
 33
33 -
 34
34 -
 35
35 -
 36
36 -
 37
37 -
 38
38 -
 39
39 -
 40
40 -
41
-
42
-
43
-
44
 |
 |
