Asus Intel BNU31 Quick Start Guide - Page 26
A-4, A-5, A-6
 |
View all Asus Intel BNU31 manuals
Add to My Manuals
Save this manual to your list of manuals |
Page 26 highlights
Installing a RAID 5 Disk Array with 5 + HotFix example, four disks are selected. The selected hard disks become marked with an "*" as shown in Figure A-4. Press to accept your selections. Figure A-4. Select Physical Drive 7. From the Choose Type menu, select RAID 5 + HotFix and press . See Figure A-5. Figure A-5. Choose Type Menu 8. StorCon displays a warning that all data on the selected disks will be destroyed (see Figure A-6). Confirm your choice by pressing . Figure A-6. Host Drive Creation Confirmation 26 Installation Quick Start Guide
-
 1
1 -
2
-
3
-
4
-
5
-
6
-
7
-
8
-
9
-
10
-
11
-
12
-
13
-
14
-
15
-
16
-
17
-
18
-
19
-
20
-
 21
21 -
 22
22 -
 23
23 -
 24
24 -
 25
25 -
 26
26 -
 27
27 -
 28
28 -
 29
29
 |
 |

26
Installation Quick Start Guide
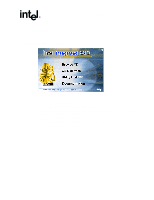
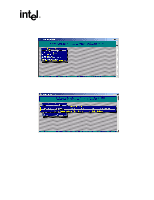
Installing a RAID 5 Disk Array with
5 + HotFix example, four disks are selected. The selected hard disks become marked
with an "*" as shown in
Figure A-4
. Press <Enter> to accept your selections.
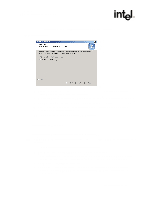
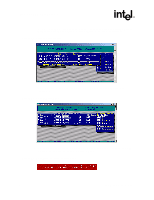
7.
From the
Choose Type
menu, select
RAID 5 + HotFix
and press <Enter>. See
Figure A-5
.
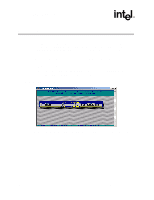
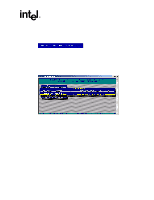
8.
StorCon displays a warning that all data on the selected disks will be destroyed (see
Figure A-6
). Confirm your choice by pressing <y>.
Figure A-4. Select Physical Drive
Figure A-5. Choose Type Menu
Figure A-6. Host Drive Creation Confirmation