Asus Intel BNU31 Quick Start Guide - Page 8
Installation
 |
View all Asus Intel BNU31 manuals
Add to My Manuals
Save this manual to your list of manuals |
Page 8 highlights
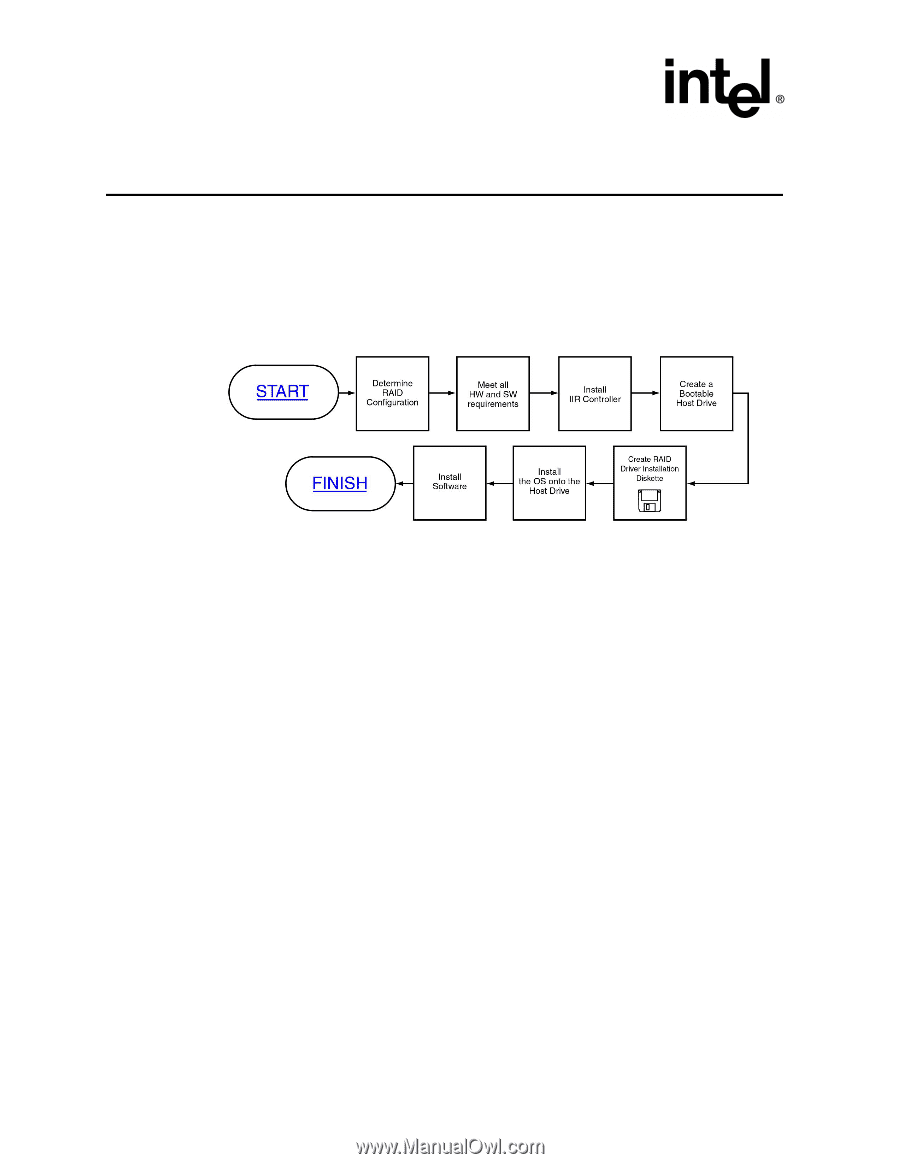
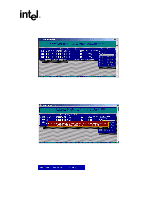
Determining the RAID Configuration Installation 2 This guide describes the installation of the IIR controller hardware and software on a bootable host drive. The flow chart in Figure 2-1 illustrates this particular installation. Refer to the Software Guide for all other installations. Figure 2-1. Installation of the IIR Controller and OS to a Host Drive 2.1 Determining the RAID Configuration Begin the installation by completing the worksheet in Table 2-1 to determine the RAID level, the number of disk drives, and the disk drive size for your system. Refer to the Software Guide for more information about RAID levels and to determine the optimum RAID level solution for your needs. After determining the appropriate RAID configuration, follow the steps in the sections below to complete the installation. 1. In column 1, select a RAID level. 2. In column 2, note the number of disk drives supported for the RAID level you selected. 3. In column 3, record the number of disk drives you will use for the host drive. 4. In column 4, record the capacity, in megabytes (MB), that you will need on each physical drive. You will enter this value as the "Used Capacity per Drive" when you are creating the host drive. Based on the physical drive capacity value and the number of disk drives you will use, the RAID configuration software will calculate the total host drive size for your selected RAID level. Note: The capacity of the smallest drive in the initial RAID array configuration becomes the maximum capacity that the RAID configuration software can use for each hard disk in the host drive. This becomes important when you configure an array with hard disks of potentially varying sizes and you want to ensure that future drives added to the disk array will fit in the array (for example, for replacement purposes). Should a new drive have less 8 Installation Quick Start Guide
-
 1
1 -
2
-
 3
3 -
 4
4 -
 5
5 -
 6
6 -
 7
7 -
 8
8 -
 9
9 -
 10
10 -
 11
11 -
 12
12 -
 13
13 -
14
-
15
-
16
-
17
-
18
-
19
-
20
-
21
-
22
-
23
-
24
-
25
-
26
-
27
-
28
-
29
 |
 |