Brother International BES Lettering Users Manual - English - Page 81
Specifying the Underlay Stitch, Length, Changing the Inset Distance
 |
View all Brother International BES Lettering manuals
Add to My Manuals
Save this manual to your list of manuals |
Page 81 highlights
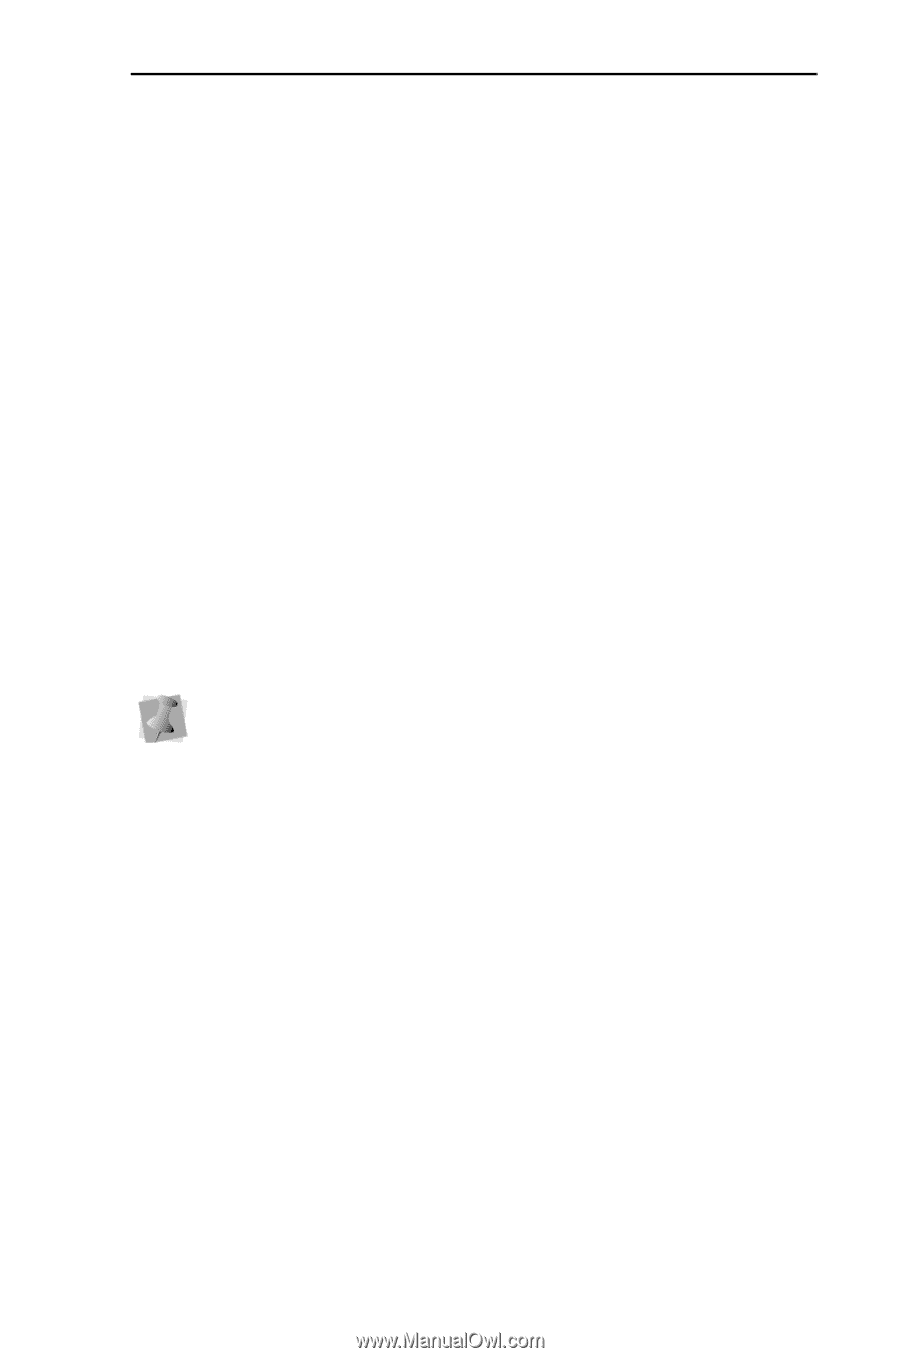
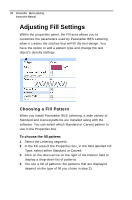
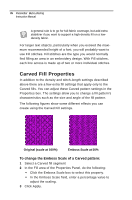
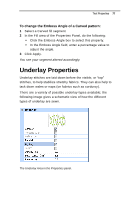
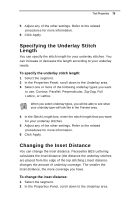
Text Properties 79 5 Adjust any of the other settings. Refer to the related procedures for more information. 6 Click Apply. Specifying the Underlay Stitch Length You can specify the stitch length for your underlay stitches. You can increase or decrease the length according to your underlay needs. To specify the underlay stitch length: 1 Select the segment. 2 In the Properties Panel, scroll down to the Underlay area. 3 Select one or more of the following underlay types you want to use: Contour, Parallel, Perpendicular, Zig-Zag, Full Lattice, or Lattice. When you select underlay types, you will be able to see what your underlay type will look like in the Preview area. 4 In the Stitch Length box, enter the stitch length that you want for your underlay stitches. 5 Adjust any of the other settings. Refer to the related procedures for more information. 6 Click Apply. Changing the Inset Distance You can change the inset distance. Pacesetter BES Lettering calculates the inset distance (the distance the underlay stitches are placed from the edge of the top stitching.) Inset distance changes the amount of underlay coverage. The smaller the inset distance, the more coverage you have. To change the inset distance: 1 Select the segment. 2 In the Properties Panel, scroll down to the Underlay area.
-
 1
1 -
2
-
3
-
4
-
5
-
6
-
7
-
8
-
9
-
10
-
11
-
12
-
13
-
14
-
15
-
16
-
17
-
18
-
19
-
20
-
21
-
22
-
23
-
24
-
25
-
26
-
27
-
28
-
29
-
30
-
31
-
32
-
33
-
34
-
35
-
36
-
37
-
38
-
39
-
40
-
41
-
42
-
43
-
44
-
45
-
46
-
47
-
48
-
49
-
50
-
51
-
52
-
53
-
54
-
55
-
56
-
57
-
58
-
59
-
60
-
61
-
62
-
63
-
64
-
65
-
66
-
67
-
68
-
69
-
70
-
71
-
72
-
73
-
74
-
75
-
 76
76 -
 77
77 -
 78
78 -
 79
79 -
 80
80 -
 81
81 -
 82
82 -
 83
83 -
 84
84 -
 85
85 -
 86
86 -
87
-
88
-
89
-
90
-
91
-
92
-
93
-
94
-
95
-
96
-
97
-
98
-
99
-
100
-
101
-
102
-
103
-
104
-
105
-
106
-
107
-
108
-
109
-
110
-
111
-
112
-
113
-
114
-
115
-
116
-
117
-
118
-
119
-
120
-
121
-
122
-
123
-
124
-
125
-
126
-
127
-
128
-
129
-
130
-
131
-
132
 |
 |