Brother International MFC-J4710DW Mobile Print and Scan (iPrint&Scan) Guid - Page 27
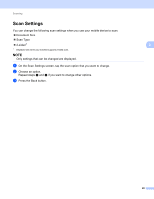
Scan Settings, and then go to step
 |
View all Brother International MFC-J4710DW manuals
Add to My Manuals
Save this manual to your list of manuals |
Page 27 highlights
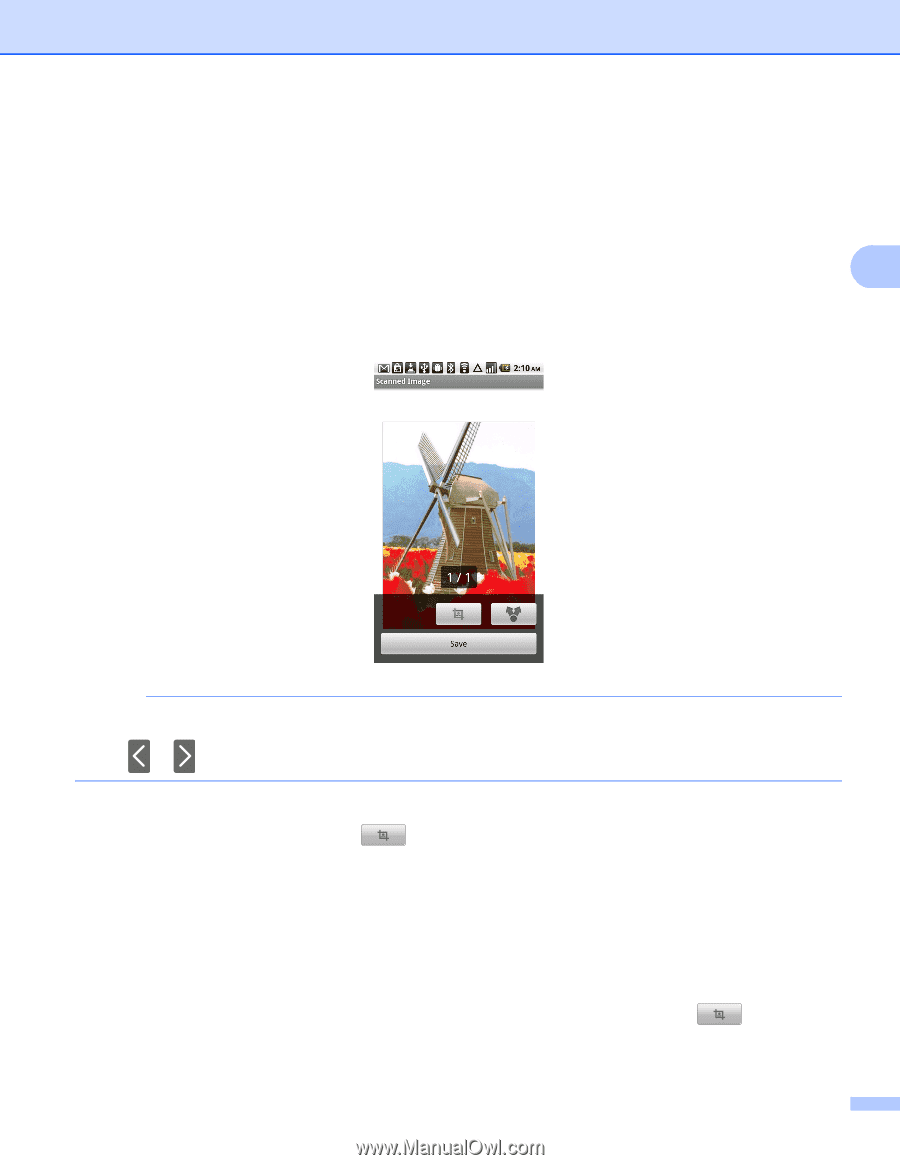
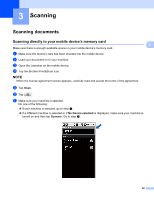
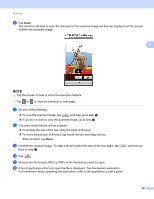
Scanning h The application will search your network and display a list of available machines. Tap your machine in the list. i Do one of the following: To change other scan settings, see Scan Settings on page 28. After changing the settings, go to step j. If you do not want to change any other settings, press the Back button and go to step j. 3 j Tap Scan. The machine will start to scan the document. The scanned image will then be displayed on the screen. Confirm the scanned image. NOTE • Tap the screen to hide or show the operation buttons. • Tap or to view the previous or next page. k Do one of the following: To crop the scanned image, tap and then go to step l. If you do not want to crop the scanned image, go to step n. l The area inside the box will be cropped. To change the size of the box, drag the edge of the box. To move the position of the box, tap inside the box and drag the box. When finished, tap Done. m Confirm the cropped image. To start over and select the size of the box again, tap back to step l. and then go 23
-
 1
1 -
2
-
3
-
4
-
5
-
6
-
7
-
8
-
9
-
10
-
11
-
12
-
13
-
14
-
15
-
16
-
17
-
18
-
19
-
20
-
21
-
 22
22 -
 23
23 -
 24
24 -
 25
25 -
 26
26 -
 27
27 -
 28
28 -
 29
29 -
 30
30 -
 31
31 -
 32
32 -
33
-
34
-
35
-
36
-
37
-
38
-
39
-
40
-
41
-
42
-
43
-
44
-
45
-
46
-
47
-
48
-
49
-
50
-
51
-
52
-
53
-
54
-
55
-
56
-
57
-
58
-
59
-
60
-
61
-
62
-
63
-
64
-
65
-
66
-
67
-
68
-
69
-
70
-
71
-
72
-
73
-
74
-
75
-
76
-
77
-
78
-
79
-
80
-
81
-
82
-
83
-
84
-
85
-
86
-
87
-
88
-
89
-
90
-
91
-
92
-
93
-
94
-
95
-
96
-
97
-
98
-
99
-
100
 |
 |