Canon PIXMA SELPHY DS810 DS810 Photo Printing Guide - Page 75
Resetting the Ink Counter, How Low Ink Warning Works
 |
View all Canon PIXMA SELPHY DS810 manuals
Add to My Manuals
Save this manual to your list of manuals |
Page 75 highlights
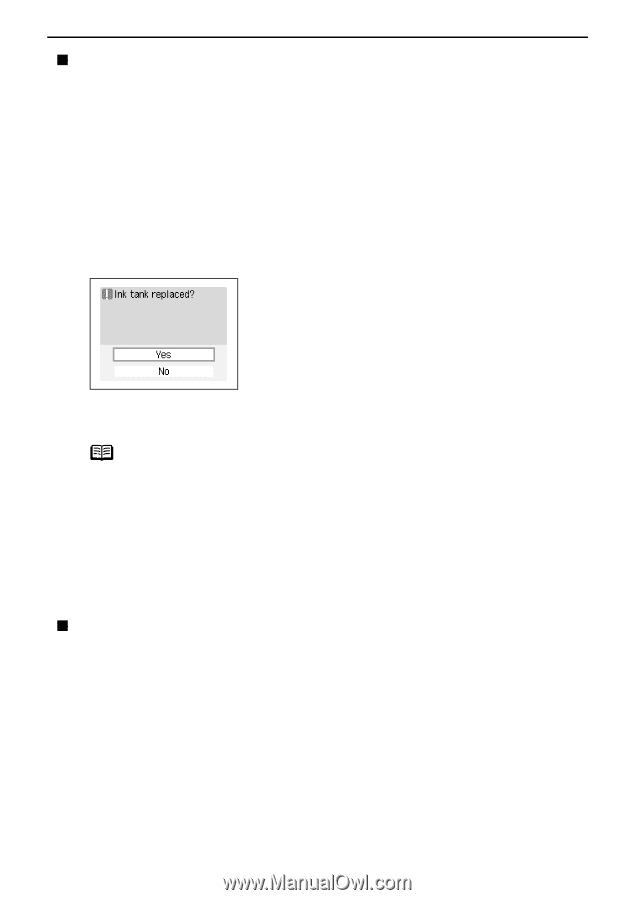
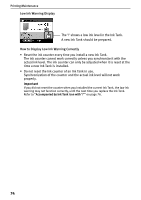
Printing Maintenance „ Resetting the Ink Counter When an Ink Tank is replaced, the ink counter must be reset. The low ink warning is only displayed properly if the ink counter is reset. Message Prompting Confirmation of Ink Tank Replacement If an Ink Tank is removed, the printer will output a message prompting you to confirm replacement of the Ink Tank at the start of the next print job. When an Ink Tank has been replaced, follow the procedure below to reset the ink counter. The low ink warning is only displayed properly if the ink counter is reset. 1 Reset the ink counter. (1) Check the message, select Yes and then press the OK button. This returns the ink level of the ink counter full. If you select No after replacing the Ink Tank, select Ink counter reset from Tool box to reset the ink counter. Failing to reset the ink counter may result in the low ink warning displaying incorrectly. Note To reset the ink counter from Tool box 1 Press the Menu button. 2 Select Tool box and then press the OK button. 3 Select Device settings and then press the OK button. 4 Select Other settings and then press the OK button. 5 Select Ink counter reset and then press the OK button. The Ink counter reset confirmation screen is displayed. 6 Select Yes and then press the OK button. „ How Low Ink Warning Works The low ink warning notifies you of low ink levels during printing. The Low Ink Warning has been preset to be automatically displayed. When you reset the ink counter, it will assume that the Ink Tank is full regardless of how much ink actually remains. The reset is the only way to match the counter value with an actual ink volume. Reset the ink counter when installing a new Ink Tank. 73
-
 1
1 -
2
-
3
-
4
-
5
-
6
-
7
-
8
-
9
-
10
-
11
-
12
-
13
-
14
-
15
-
16
-
17
-
18
-
19
-
20
-
21
-
22
-
23
-
24
-
25
-
26
-
27
-
28
-
29
-
30
-
31
-
32
-
33
-
34
-
35
-
36
-
37
-
38
-
39
-
40
-
41
-
42
-
43
-
44
-
45
-
46
-
47
-
48
-
49
-
50
-
51
-
52
-
53
-
54
-
55
-
56
-
57
-
58
-
59
-
60
-
61
-
62
-
63
-
64
-
65
-
66
-
67
-
68
-
69
-
 70
70 -
 71
71 -
 72
72 -
 73
73 -
 74
74 -
 75
75 -
 76
76 -
 77
77 -
 78
78 -
 79
79 -
 80
80 -
81
-
82
-
83
-
84
-
85
-
86
-
87
-
88
-
89
-
90
-
91
-
92
-
93
-
94
-
95
-
96
 |
 |