Canon PowerShot A50 PowerShot A50 Software Starter Guide - Page 17
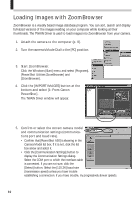
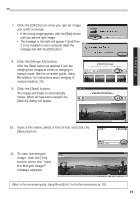
Click the [Merge All] button.
 |
View all Canon PowerShot A50 manuals
Add to My Manuals
Save this manual to your list of manuals |
Page 17 highlights
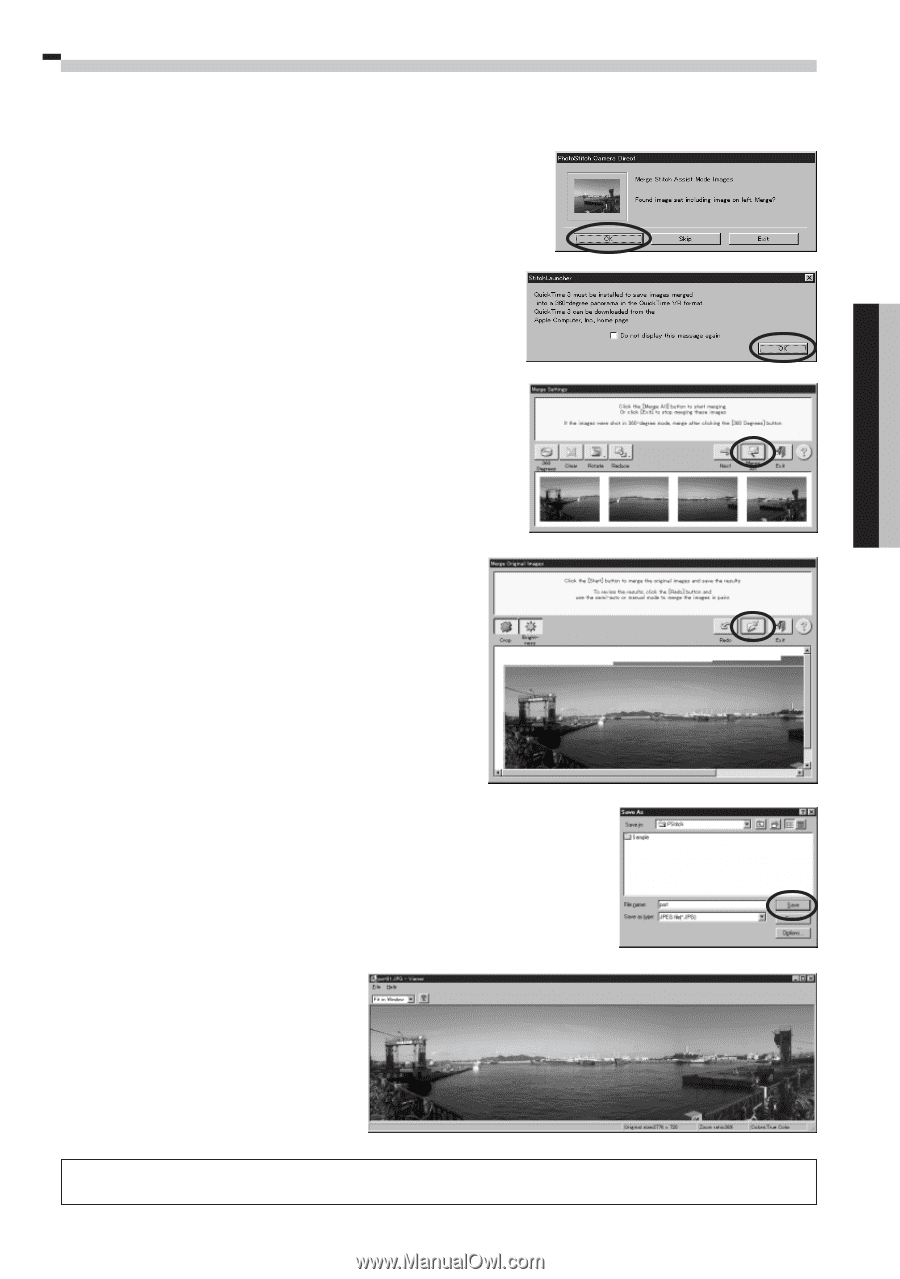
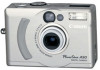
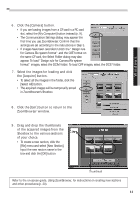
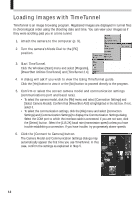
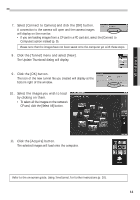
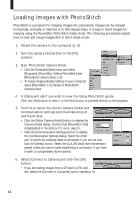
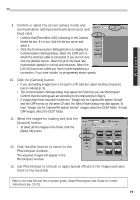
Windows 7. Click the [OK] button once you see an image you wish to merge. • If the wrong image appears, click the [Skip] button until you see the right image. • The message to the right will appear if QuickTime 3 is not installed on your computer. Read the message and click the [OK] button. 8. Click the [Merge All] button. Click the [Next] button as required if you are merging two images at a time or merging in manual mode. See the on-screen guide, Using PhotoStitch, for instructions about merging in manual mode (p. 20). 9. Click the [Start] button. The images will begin to automatically merge. When all have been merged, the [Save As] dialog will appear. 10. Input a file name, select a file format and click the [Save] button. 11. To view the merged image, click the [Yes] button when the "View the Merged Image?" message appears. Refer to the on-screen guide, Using PhotoStitch, for further instructions (p. 20). 15
-
 1
1 -
2
-
3
-
4
-
5
-
6
-
7
-
8
-
9
-
10
-
11
-
 12
12 -
 13
13 -
 14
14 -
 15
15 -
 16
16 -
 17
17 -
 18
18 -
 19
19 -
 20
20 -
 21
21 -
 22
22 -
23
-
24
-
25
-
26
-
27
-
28
-
29
-
30
-
31
-
32
-
33
-
34
-
35
-
36
-
37
-
38
-
39
-
40
 |
 |