Canon PowerShot SX620 HS User Manual - Page 106
Notes on Sending Images
 |
View all Canon PowerShot SX620 HS manuals
Add to My Manuals
Save this manual to your list of manuals |
Page 106 highlights
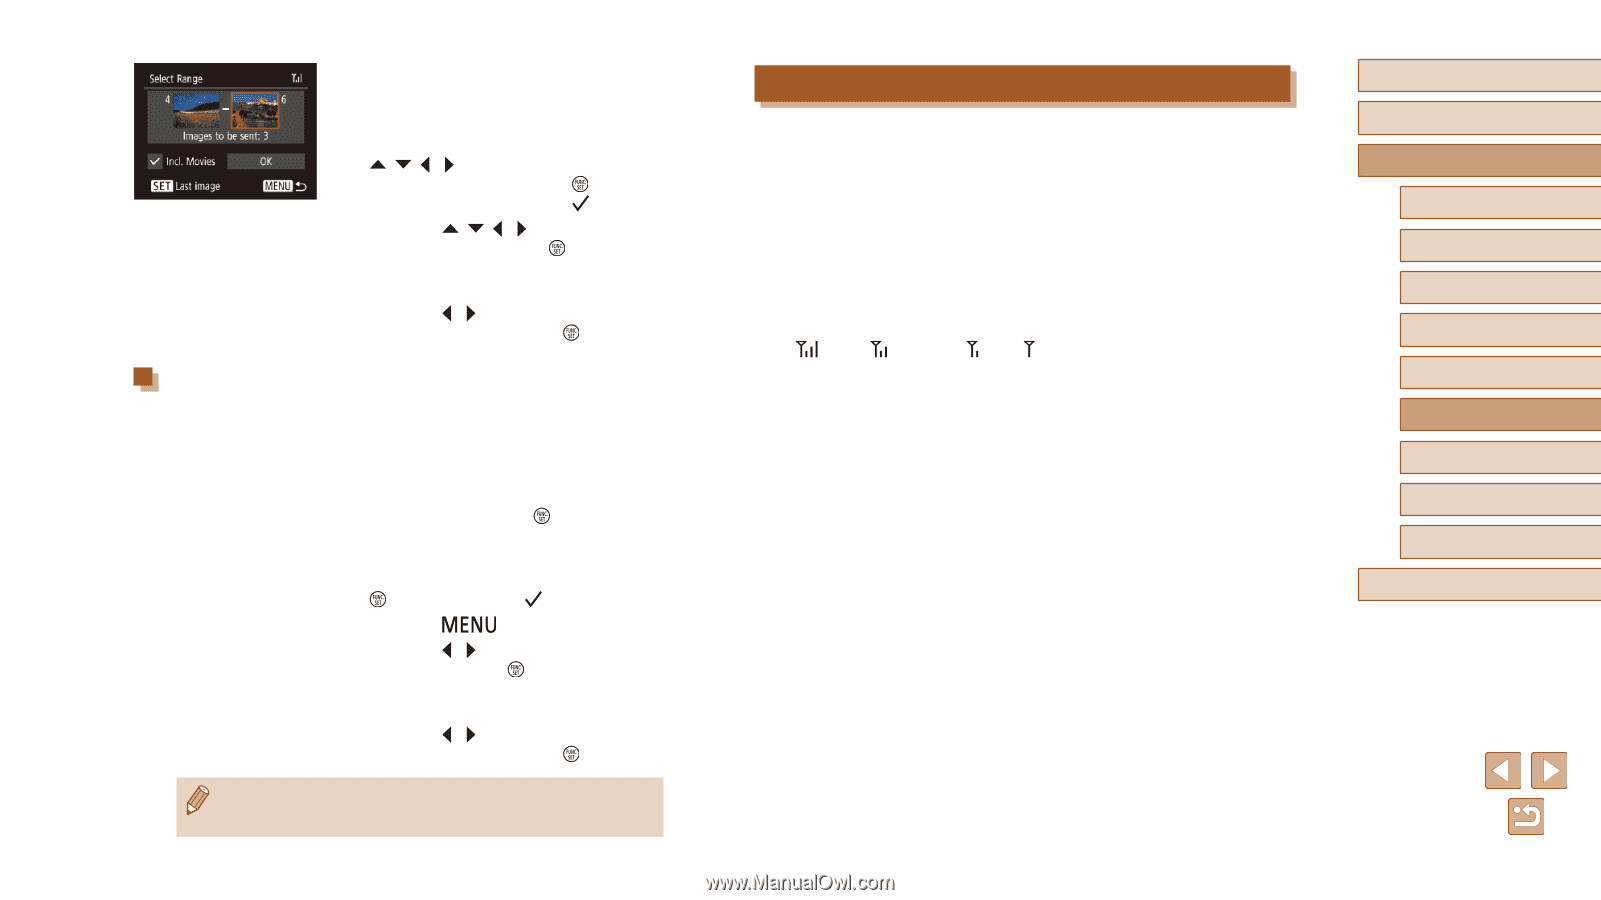
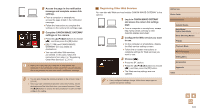
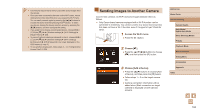
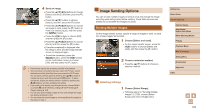
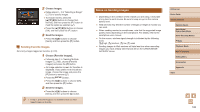
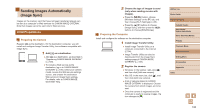
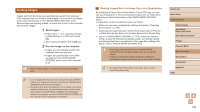
2 Choose images. ●●Follow steps 2 - 3 in "Selecting a Range" (=73) to specify images. ●●To include movies, press the buttons to choose [Incl. Movies], and then press the [ ] button to mark the option as selected ( ). ●●Press the buttons to choose [OK], and then press the [ ] button. 3 Send the images. ●●Press the [ ][ ] buttons to choose [Send], and then press the [ ] button. Sending Favorite Images Send only images tagged as favorites (=78). 1 Choose [Favorite Images]. ●●Following step 2 in "Sending Multiple Images" (=105), choose [Favorite Images] and press the [ ] button. ●●An image selection screen for favorites is displayed. If you prefer not to include an image, choose the image and press the [ ] button to remove [ ]. ●●Press the [ ] button. ●●Press the [ ][ ] buttons to choose [OK], and then press the [ ] button. 2 Send the images. ●●Press the [ ][ ] buttons to choose [Send], and then press the [ ] button. ●● In step 1, [Favorite Images] is not available unless you have tagged images as favorites. Notes on Sending Images ●● Depending on the condition of the network you are using, it may take a long time to send movies. Be sure to keep an eye on the camera battery level. ●● Web services may limit the number of images or length of movies you can send. ●● When sending movies to smartphones, note that the supported image quality varies depending on the smartphone. For details, refer to the smartphone user manual. ●● On the screen, wireless signal strength is indicated by the following icons. [ ] high, [ ] medium, [ ] low, [ ] weak ●● Sending images to Web services will take less time when resending images you have already sent that are still on the CANON iMAGE GATEWAY server. Before Use Basic Guide Advanced Guide Camera Basics Auto Mode / Hybrid Auto Mode Other Shooting Modes P Mode Playback Mode Wi-Fi Functions Setting Menu Accessories Appendix Index 106
-
 1
1 -
2
-
3
-
4
-
5
-
6
-
7
-
8
-
9
-
10
-
11
-
12
-
13
-
14
-
15
-
16
-
17
-
18
-
19
-
20
-
21
-
22
-
23
-
24
-
25
-
26
-
27
-
28
-
29
-
30
-
31
-
32
-
33
-
34
-
35
-
36
-
37
-
38
-
39
-
40
-
41
-
42
-
43
-
44
-
45
-
46
-
47
-
48
-
49
-
50
-
51
-
52
-
53
-
54
-
55
-
56
-
57
-
58
-
59
-
60
-
61
-
62
-
63
-
64
-
65
-
66
-
67
-
68
-
69
-
70
-
71
-
72
-
73
-
74
-
75
-
76
-
77
-
78
-
79
-
80
-
81
-
82
-
83
-
84
-
85
-
86
-
87
-
88
-
89
-
90
-
91
-
92
-
93
-
94
-
95
-
96
-
97
-
98
-
99
-
100
-
 101
101 -
 102
102 -
 103
103 -
 104
104 -
 105
105 -
 106
106 -
 107
107 -
 108
108 -
 109
109 -
 110
110 -
 111
111 -
112
-
113
-
114
-
115
-
116
-
117
-
118
-
119
-
120
-
121
-
122
-
123
-
124
-
125
-
126
-
127
-
128
-
129
-
130
-
131
-
132
-
133
-
134
-
135
-
136
-
137
-
138
-
139
-
140
-
141
-
142
-
143
-
144
-
145
-
146
-
147
-
148
-
149
-
150
-
151
-
152
-
153
-
154
-
155
-
156
-
157
 |
 |