Canon REALiS LCOS SX80 SX80 Manual - Page 105
Turn on the power of the PictBridge-compatible device., Operate the PictBridge-compatible device
 |
View all Canon REALiS LCOS SX80 manuals
Add to My Manuals
Save this manual to your list of manuals |
Page 105 highlights
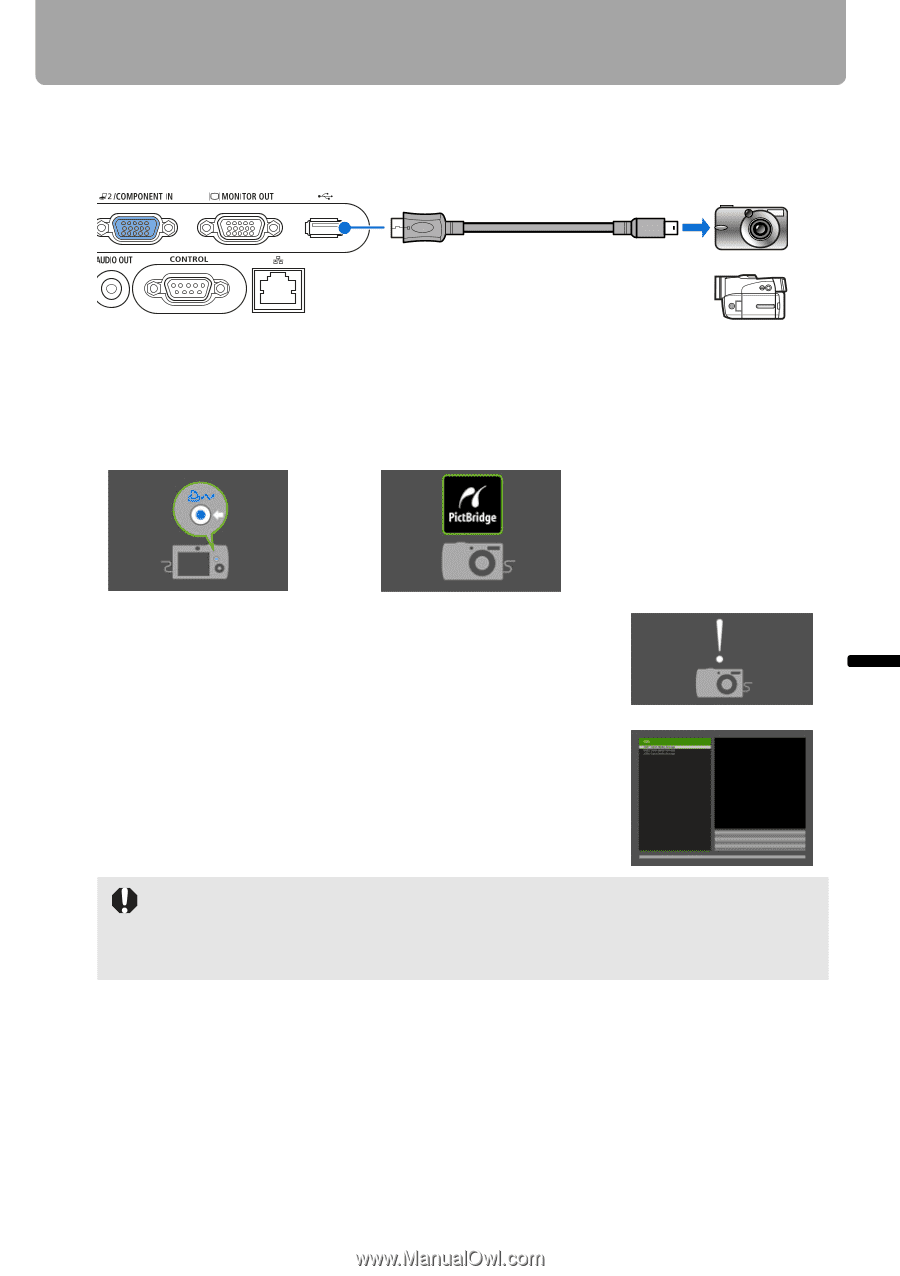
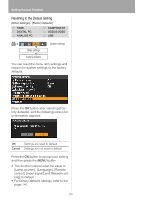
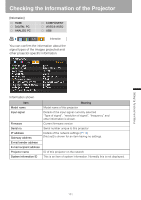
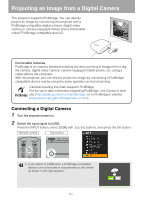
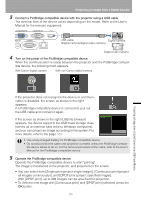
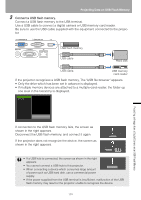
Projecting an Image from a Digital Camera 3 Connect a PictBridge-compatible device with the projector using a USB cable. The terminal form of the device varies depending on the model. Refer to the User's Manual for the relevant equipment. USB cable Digital camera (Digital camera/digital video camera) Digital video camera 4 Turn on the power of the PictBridge-compatible device. When the communication is ready between the projector and the PictBridge-compatible device, the following mark appears. With Canon digital camera With non-Canon digital camera Projecting an Image from a Digital Camera or an USB Flash Memory If the projector does not recognize the device or communication is disabled, the screen as shown in the right appears. If a PictBridge-compatible device is connected, pull out the USB cable and connect it again. If the screen as shown in the right (USB file browser) appears, the device supports the USB mass storage class (serves as an external hard drive to Windows computers), and you can project an image according to the system. For more details, refer to the page 108. • Use a fully-charged battery for PictBridge-compatible device. • Do not disconnect the cable until projection is ended unless the PictBridge-compati- ble device allows to do so. For the removal procedure of the cable, refer to the User's Manual for the PictBridge-compatible device. 5 Operate the PictBridge-compatible device Operate the PictBridge-compatible device to start "printing". The image is transferred to the projector, and projected on the screen. • You can select from [Single print (project single image)], [Continuous print (project all images continuously)], and [DPOF print (project specified image)]. With [DPOF print], up to 999 images can be specified for projection. • To view the next image with [Continuous print] and [DPOF print] selected, press the OK button. 105
-
 1
1 -
2
-
3
-
4
-
5
-
6
-
7
-
8
-
9
-
10
-
11
-
12
-
13
-
14
-
15
-
16
-
17
-
18
-
19
-
20
-
21
-
22
-
23
-
24
-
25
-
26
-
27
-
28
-
29
-
30
-
31
-
32
-
33
-
34
-
35
-
36
-
37
-
38
-
39
-
40
-
41
-
42
-
43
-
44
-
45
-
46
-
47
-
48
-
49
-
50
-
51
-
52
-
53
-
54
-
55
-
56
-
57
-
58
-
59
-
60
-
61
-
62
-
63
-
64
-
65
-
66
-
67
-
68
-
69
-
70
-
71
-
72
-
73
-
74
-
75
-
76
-
77
-
78
-
79
-
80
-
81
-
82
-
83
-
84
-
85
-
86
-
87
-
88
-
89
-
90
-
91
-
92
-
93
-
94
-
95
-
96
-
97
-
98
-
99
-
 100
100 -
 101
101 -
 102
102 -
 103
103 -
 104
104 -
 105
105 -
 106
106 -
 107
107 -
 108
108 -
 109
109 -
 110
110 -
111
-
112
-
113
-
114
-
115
-
116
-
117
-
118
-
119
-
120
-
121
-
122
-
123
-
124
-
125
-
126
-
127
-
128
-
129
-
130
-
131
-
132
-
133
-
134
-
135
-
136
-
137
-
138
-
139
-
140
-
141
-
142
-
143
-
144
-
145
-
146
-
147
-
148
 |
 |