Canon REALiS WX6500 Pro AV User Manual - Page 104
Adjust projection to suit the screen or the type of images, or how the, projector is installed.
 |
View all Canon REALiS WX6500 Pro AV manuals
Add to My Manuals
Save this manual to your list of manuals |
Page 104 highlights
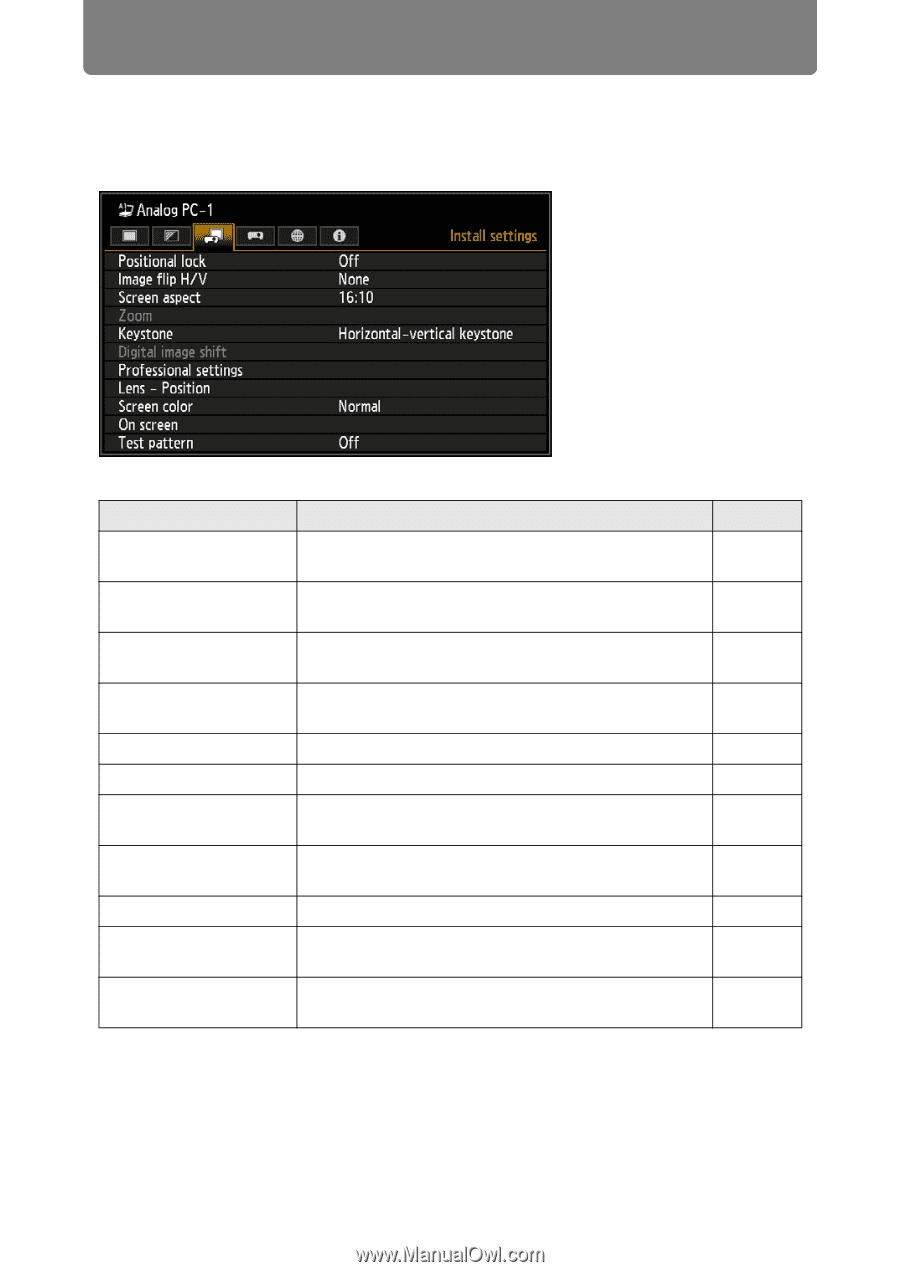
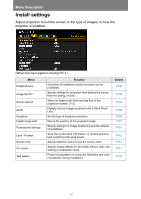
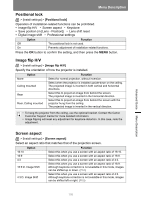
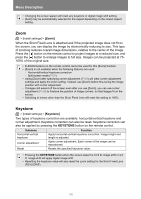
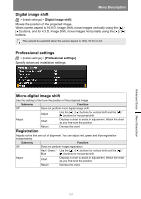
Menu Description Install settings Adjust projection to suit the screen or the type of images, or how the projector is installed. (When the input signal is Analog PC-1) Menu Positional lock Image flip H/V Screen aspect Zoom Keystone Digital image shift Professional settings Lens - Position Screen color On screen Test pattern Function Operation of installation related functions can be prohibited. Specify settings for projection from behind the screen, from the ceiling, or both. Select an aspect ratio that matches that of the projection screen. (P63) Digitally reduce images projected with a Short Fixed Lens. Set the type of keystone correction. Moves the position of the projected image. Specify settings for image positioning and the altitude of installation. Save the current lens information, or restore previous lens conditions that were saved. Adjust projection colors to suit the screen color. Specify display details for on-screen menus, help, and warning or precaution icons. Project a test pattern to check the resolution and color of projection during installation. Details P105 P105 P105 P106 P106 P107 P107 P112 P113 P113 P115 104
-
 1
1 -
2
-
3
-
4
-
5
-
6
-
7
-
8
-
9
-
10
-
11
-
12
-
13
-
14
-
15
-
16
-
17
-
18
-
19
-
20
-
21
-
22
-
23
-
24
-
25
-
26
-
27
-
28
-
29
-
30
-
31
-
32
-
33
-
34
-
35
-
36
-
37
-
38
-
39
-
40
-
41
-
42
-
43
-
44
-
45
-
46
-
47
-
48
-
49
-
50
-
51
-
52
-
53
-
54
-
55
-
56
-
57
-
58
-
59
-
60
-
61
-
62
-
63
-
64
-
65
-
66
-
67
-
68
-
69
-
70
-
71
-
72
-
73
-
74
-
75
-
76
-
77
-
78
-
79
-
80
-
81
-
82
-
83
-
84
-
85
-
86
-
87
-
88
-
89
-
90
-
91
-
92
-
93
-
94
-
95
-
96
-
97
-
98
-
 99
99 -
 100
100 -
 101
101 -
 102
102 -
 103
103 -
 104
104 -
 105
105 -
 106
106 -
 107
107 -
 108
108 -
 109
109 -
110
-
111
-
112
-
113
-
114
-
115
-
116
-
117
-
118
-
119
-
120
-
121
-
122
-
123
-
124
-
125
-
126
-
127
-
128
-
129
-
130
-
131
-
132
-
133
-
134
-
135
-
136
-
137
-
138
-
139
-
140
-
141
-
142
-
143
-
144
-
145
-
146
-
147
-
148
-
149
-
150
-
151
-
152
-
153
-
154
-
155
-
156
-
157
-
158
-
159
-
160
-
161
-
162
-
163
-
164
-
165
-
166
-
167
-
168
-
169
-
170
-
171
-
172
-
173
-
174
-
175
-
176
-
177
-
178
-
179
-
180
-
181
-
182
-
183
-
184
-
185
-
186
-
187
-
188
-
189
-
190
-
191
-
192
-
193
-
194
-
195
-
196
-
197
-
198
-
199
-
200
-
201
-
202
-
203
-
204
-
205
-
206
-
207
-
208
 |
 |