Canon SELPHY CP790 SELPHY CP790 Printer User Guide - Page 24
Trimming Photos
 |
View all Canon SELPHY CP790 manuals
Add to My Manuals
Save this manual to your list of manuals |
Page 24 highlights
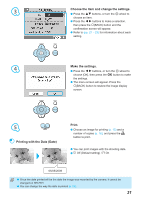
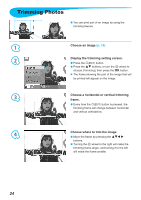
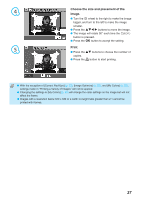
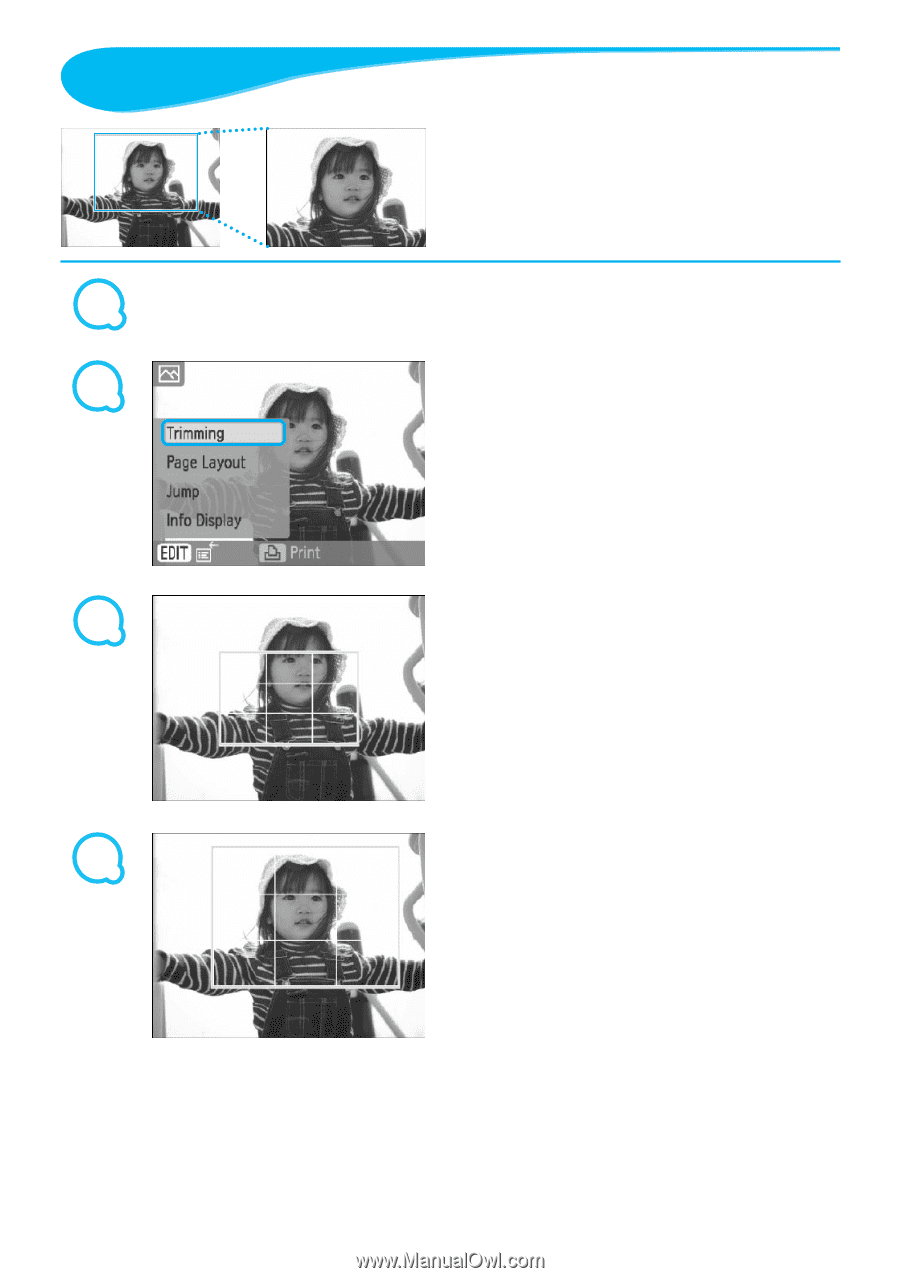
Trimming Photos You can print part of an image by using the trimming feature. 1 Choose an image (p. 15) 2 Display the trimming setting screen. Press the m(EDIT) button. Press the ud buttons, or turn the w wheel to choose [Trimming], then press the o button. The frame showing the part of the image that will be printed will appear on the image. 3 Choose a horizontal or vertical trimming frame. Every time the m(EDIT) button is pressed, the trimming frame will change between horizontal and vertical orientations. 4 Choose where to trim the image. Move the frame by pressing the udl r buttons. Turning the w wheel to the right will make the trimming frame larger, and turning it to the left will make the frame smaller. 24
-
 1
1 -
2
-
3
-
4
-
5
-
6
-
7
-
8
-
9
-
10
-
11
-
12
-
13
-
14
-
15
-
16
-
17
-
18
-
 19
19 -
 20
20 -
 21
21 -
 22
22 -
 23
23 -
 24
24 -
 25
25 -
 26
26 -
 27
27 -
 28
28 -
 29
29 -
30
-
31
-
32
-
33
-
34
-
35
-
36
-
37
-
38
-
39
-
40
-
41
-
42
-
43
-
44
-
45
-
46
-
47
-
48
-
49
-
50
-
51
-
52
 |
 |
1
2
3
4
2±
Trimming Photos
You can print part of an image by using the
trimming feature.
Choose an image
(p. 15)
Display the trimming setting screen.
Press the
m
(EDIT)
button.
Press the
ud
buttons, or turn the
w
wheel to
choose [Trimming], then press the
o
button.
The frame showing the part of the image that will
be printed will appear on the image.
Choose a horizontal or vertical trimming
frame.
Every time the
m
(EDIT)
button is pressed, the
trimming frame will change between horizontal
and vertical orientations.
Choose where to trim the image.
Move the frame by pressing the
udl
r
buttons.
Turning the
w
wheel to the right will make the
trimming frame larger, and turning it to the left
will make the frame smaller.