Canon VIXIA HV30 HV30 Instruction Manual - Page 24
First Time Settings, Changing the Language, Changing the Time Zone, Time Zones
 |
View all Canon VIXIA HV30 manuals
Add to My Manuals
Save this manual to your list of manuals |
Page 24 highlights
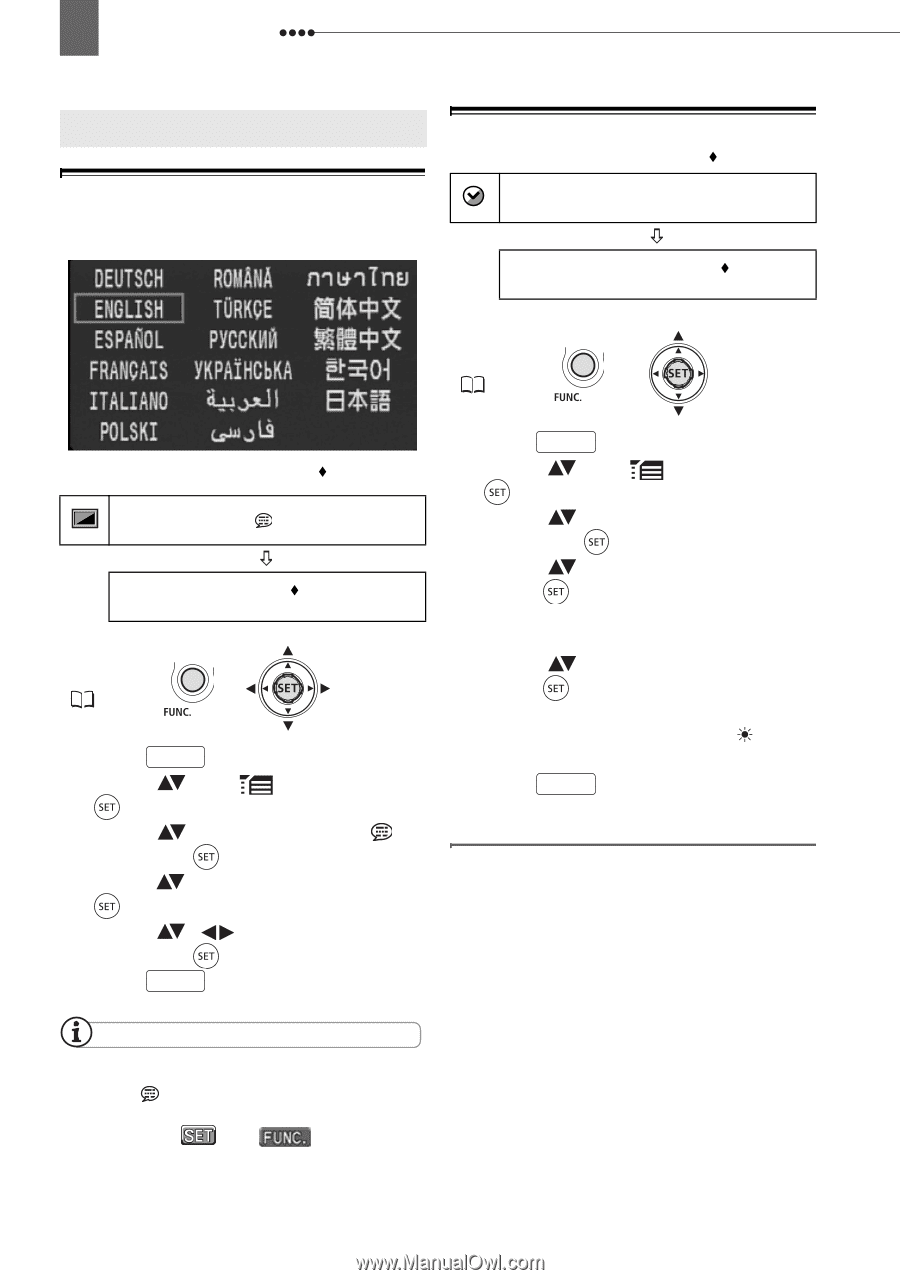
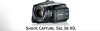
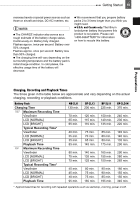
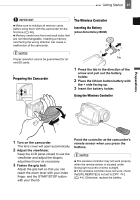
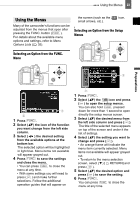
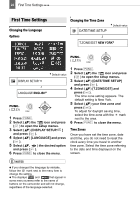
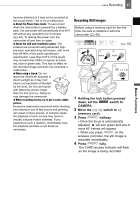
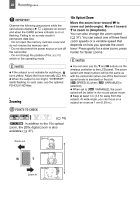
24 First Time Settings First Time Settings First Time Settings Changing the Language Options Changing the Time Zone DATE/TIME SETUP Default value T.ZONE/DST NEW YORK FUNC. ( 23) DISPLAY SETUP/ Default value LANGUAGE ENGLISH FUNC. ( 23) 1 Press FUNC. . 2 Select ( ) the icon and press ( ) to open the setup menus. 3 Select ( ) [DISPLAY SETUP/ ] and press ( ). 4 Select ( ) [LANGUAGE] and press ( ). 5 Select ( , ) the desired option and press ( ). 6 Press FUNC. to close the menu. 1 Press FUNC. . 2 Select ( ) the icon and press ( ) to open the setup menus. 3 Select ( ) [DATE/TIME SETUP] and press ( ). 4 Select ( ) [T.ZONE/DST] and press ( ). The time zone setting appears. The default setting is New York. 5 Select ( ) your time zone and press ( ). To adjust for daylight saving time, select the time zone with the mark next to the area. 6 Press FUNC. to close the menu. Time Zones Once you have set the time zone, date and time, you do not need to reset the clock every time you travel to another time zone. Select the time zone referring to the date and time displayed on the screen. NOTES If you changed the language by mistake, follow the mark next to the menu item to change the setting. The displays and that appear in some menu screens refer to the name of buttons on the camcorder and will not change, regardless of the language selected.
-
 1
1 -
2
-
3
-
4
-
5
-
6
-
7
-
8
-
9
-
10
-
11
-
12
-
13
-
14
-
15
-
16
-
17
-
18
-
 19
19 -
 20
20 -
 21
21 -
 22
22 -
 23
23 -
 24
24 -
 25
25 -
 26
26 -
 27
27 -
 28
28 -
 29
29 -
30
-
31
-
32
-
33
-
34
-
35
-
36
-
37
-
38
-
39
-
40
-
41
-
42
-
43
-
44
-
45
-
46
-
47
-
48
-
49
-
50
-
51
-
52
-
53
-
54
-
55
-
56
-
57
-
58
-
59
-
60
-
61
-
62
-
63
-
64
-
65
-
66
-
67
-
68
-
69
-
70
-
71
-
72
-
73
-
74
-
75
-
76
-
77
-
78
-
79
-
80
-
81
-
82
-
83
-
84
-
85
-
86
-
87
-
88
-
89
-
90
-
91
-
92
-
93
-
94
-
95
-
96
-
97
-
98
-
99
-
100
-
101
-
102
-
103
-
104
-
105
-
106
-
107
-
108
-
109
 |
 |