Canon VIXIA HV30 HV30 Instruction Manual - Page 57
Other Functions, On-Screen Displays, Turning the On-Screen Displays On/Off, Drive Mode
 |
View all Canon VIXIA HV30 manuals
Add to My Manuals
Save this manual to your list of manuals |
Page 57 highlights
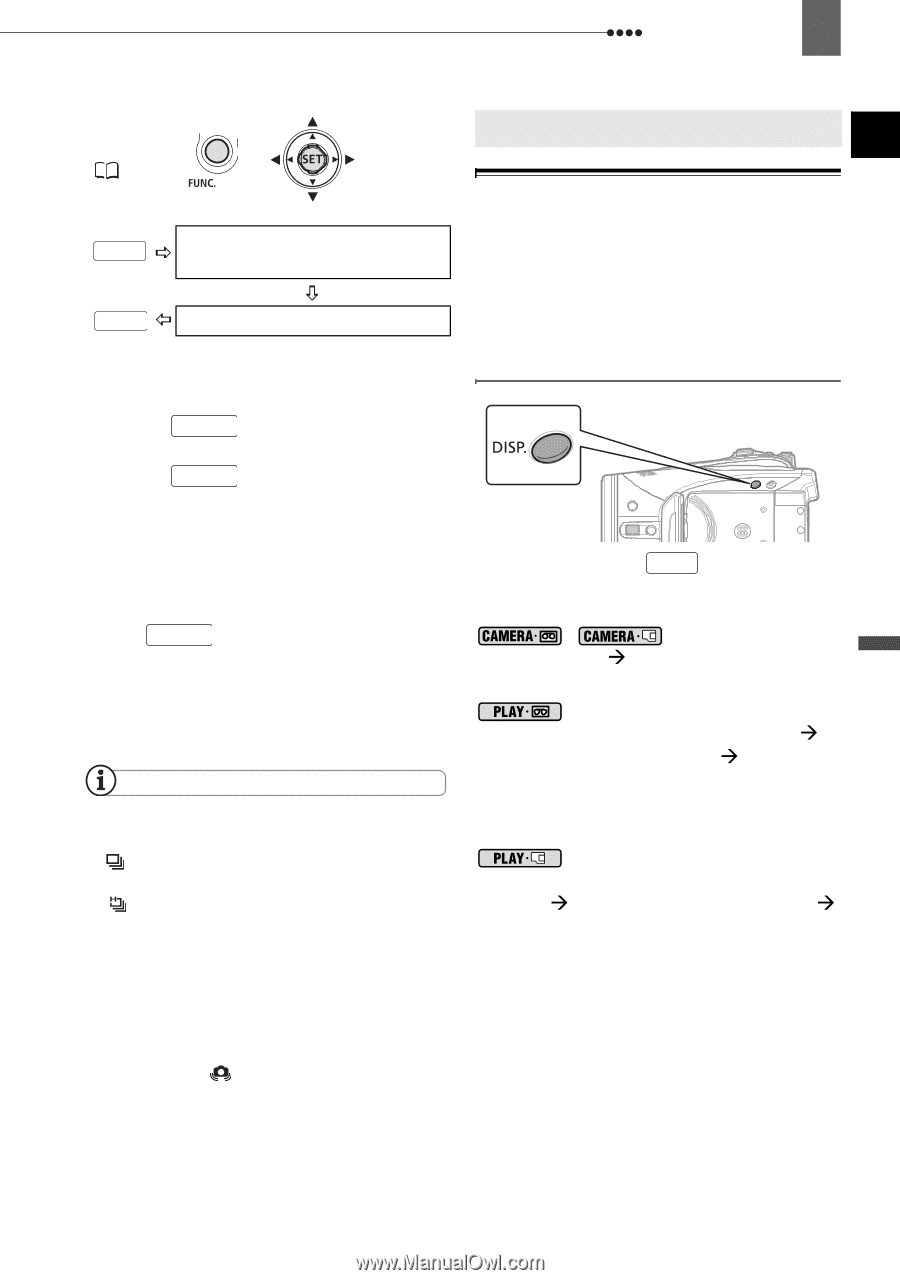
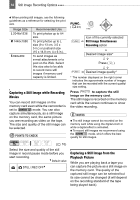
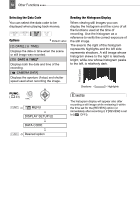
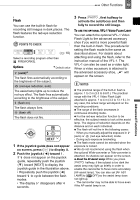
Other Functions 57 FUNC. ( 23) FUNC. Icon of the currently selected Drive Mode FUNC. Desired option Other Functions Other Functions On-Screen Displays The camcorder keeps a data code containing the date and time and other camera data (shutter speed, aperture, etc.) registered at the time of recording. You can select the data to be displayed. CONTINUOUS SHOOTING/ HIGH-SPEED CONTINUOUS SHOOTING 1 Press PHOTO halfway to activate the autofocus. 2 Press PHOTO fully and hold it pressed down. A series of still images will be recorded as long as you hold the button pressed down. AUTO EXPOSURE BRACKETING Press PHOTO , first halfway to activate the autofocus and then fully to record the still image. Three still images in different exposures will be recorded on the memory card. NOTES The speed and maximum number of continuous shots is as follows. - [ CONT.SHOOT.]: Approx. 3 images/ second - [ HISPEED CONT.SHOOT.]: Approx. 5 images/second - Continuous Shooting with flash: Approx. 2.1 images/second - Maximum number of shots: 60 still images These figures are approximate and vary with the recording conditions and subjects. The actual number of images per second will be lower when " " (camcorder shake warning) is displayed on the screen. Turning the On-Screen Displays On/Off Repeatedly press DISP. to turn the onscreen displays on/off in the following sequence. , All displays on Æ Only tape-related displays1 On-screen displays + Data code2 on Æ Only on-screen displays on Æ Only tape-related displays (in stop mode or playback pause) or All displays off (during playback) On-screen displays + Histogram3/Data code on Æ Only on-screen displays on Æ All displays off 1 Tape related displays: Tape operation icon, time code and remaining tape display. 2 Data code: Time, date and camera data at the time of recording. The contents to be displayed can be selected as explained in the following section. 3 Histogram display: For still images you can display the complete camera data registered at the time of recording. For details on how to read the histogram display, refer to the following section. Advanced Functions
-
 1
1 -
2
-
3
-
4
-
5
-
6
-
7
-
8
-
9
-
10
-
11
-
12
-
13
-
14
-
15
-
16
-
17
-
18
-
19
-
20
-
21
-
22
-
23
-
24
-
25
-
26
-
27
-
28
-
29
-
30
-
31
-
32
-
33
-
34
-
35
-
36
-
37
-
38
-
39
-
40
-
41
-
42
-
43
-
44
-
45
-
46
-
47
-
48
-
49
-
50
-
51
-
 52
52 -
 53
53 -
 54
54 -
 55
55 -
 56
56 -
 57
57 -
 58
58 -
 59
59 -
 60
60 -
 61
61 -
 62
62 -
63
-
64
-
65
-
66
-
67
-
68
-
69
-
70
-
71
-
72
-
73
-
74
-
75
-
76
-
77
-
78
-
79
-
80
-
81
-
82
-
83
-
84
-
85
-
86
-
87
-
88
-
89
-
90
-
91
-
92
-
93
-
94
-
95
-
96
-
97
-
98
-
99
-
100
-
101
-
102
-
103
-
104
-
105
-
106
-
107
-
108
-
109
 |
 |