Canon imageFORMULA DR-C125 Document Scanner User Manual - Page 32
Setting the Long Document Mode, Setting Scanning Conditions
 |
View all Canon imageFORMULA DR-C125 Document Scanner manuals
Add to My Manuals
Save this manual to your list of manuals |
Page 32 highlights
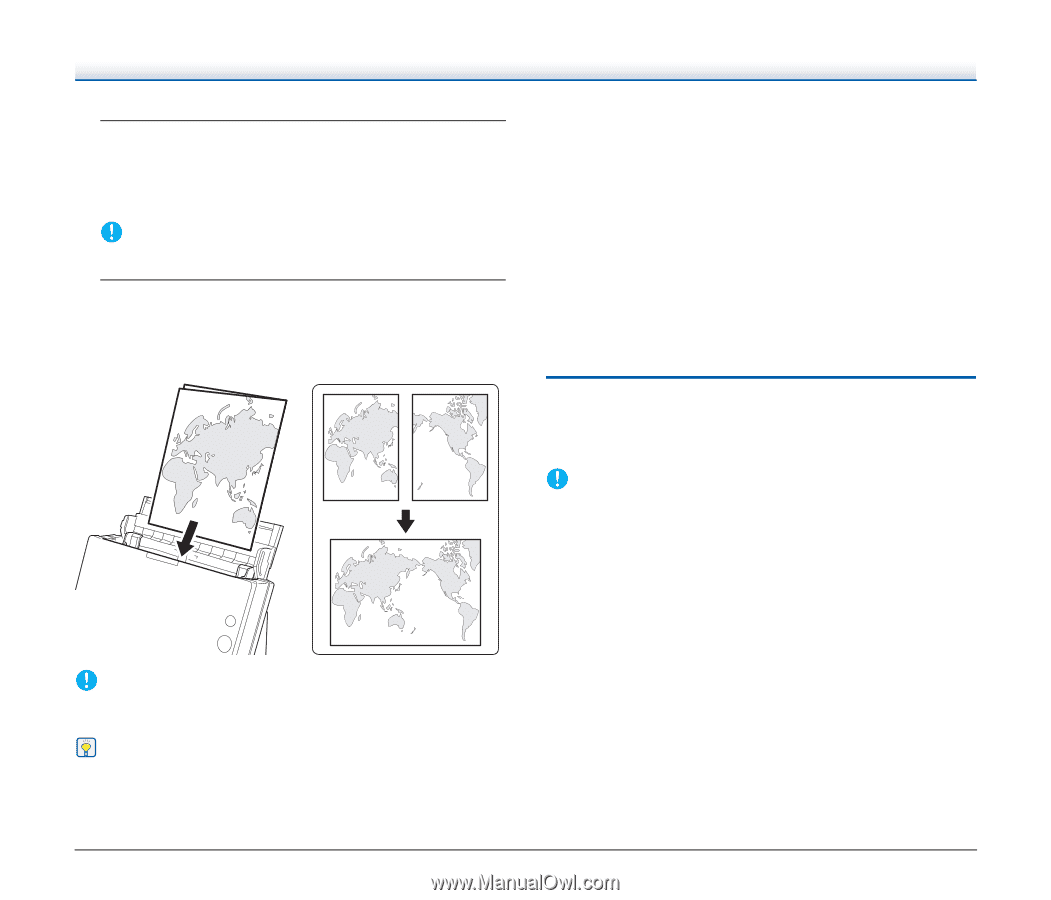
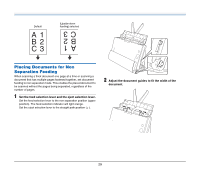
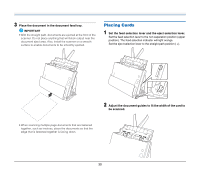
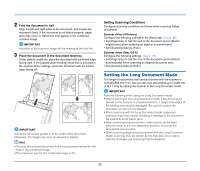
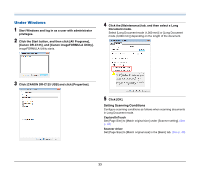
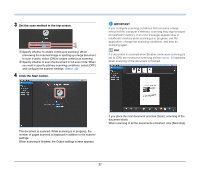
2 Fold the document in half. Align the left and right sides of the document, and crease the document firmly. If the document is not folded properly, paper jams may occur or distortions may appear in the combined scanned image. IMPORTANT A portion of the scanned image will be missing at the fold line. 3 Place the document in the document feed tray. Under default conditions, place the document with the folded edge facing right. If the [Upside-down feeding] check box is selected in the scanner driver settings, place the document with the folded edge facing left. IMPORTANT Adjust the document guides to fit the width of the document. Otherwise, the image may scan as skewed or shifted. Hint • The side of the folded document that is facing forward will be the left side of the combined image. • The maximum size for the combined image is A3. Setting Scanning Conditions Configure scanning conditions as follows when scanning folded documents. Scanner driver (Windows) Configure the following settings in the [Basic] tab. (See p. 49) • Set [Page Size] to half the size of the document (set to [Match original size] when scanning an atypical document size) • Set [Scanning Side] to [Folio]. Scanner driver (Mac OS X) Configure the following settings. (See p. 73) • Set [Page Size] to half the size of the document (set to [Detect automatically] when scanning an atypical document size) • Set [Scanning Side] to [Folio]. Setting the Long Document Mode The length of documents that can be scanned with the scanner is normally 356 mm (14"), but you can scan documents up to 3,000 mm (118.1") long by setting the scanner to the Long Document mode. IMPORTANT Note the following when using the Long Document mode: • When scanning in the Long Document mode, if the document is placed on the scanner in a skewed position, it may hit the edges of the feeding area and be damaged. Be careful to place the document so that it is not skewed. • When scanning with the Long Document mode, paper jam detection may react slowly, resulting in damage to the document. Be careful to avoid paper jams. • When scanning long documents, make sure to set the feed selection lever to the non separation position, and scan the documents one at a time. • When scanning large-sized documents with the Long Document mode, scanning may be slower. Errors may also occur due to memory shortage and scanning may be disabled. 32
-
 1
1 -
2
-
3
-
4
-
5
-
6
-
7
-
8
-
9
-
10
-
11
-
12
-
13
-
14
-
15
-
16
-
17
-
18
-
19
-
20
-
21
-
22
-
23
-
24
-
25
-
26
-
 27
27 -
 28
28 -
 29
29 -
 30
30 -
 31
31 -
 32
32 -
 33
33 -
 34
34 -
 35
35 -
 36
36 -
 37
37 -
38
-
39
-
40
-
41
-
42
-
43
-
44
-
45
-
46
-
47
-
48
-
49
-
50
-
51
-
52
-
53
-
54
-
55
-
56
-
57
-
58
-
59
-
60
-
61
-
62
-
63
-
64
-
65
-
66
-
67
-
68
-
69
-
70
-
71
-
72
-
73
-
74
-
75
-
76
-
77
-
78
-
79
-
80
-
81
-
82
-
83
-
84
-
85
-
86
-
87
-
88
-
89
-
90
-
91
-
92
-
93
-
94
-
95
-
96
-
97
-
98
-
99
-
100
-
101
-
102
-
103
-
104
-
105
-
106
 |
 |