Dell 5330dn Workgroup User's Guide - Page 104
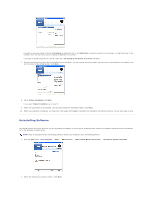
Uninstalling Software
 |
View all Dell 5330dn Workgroup manuals
Add to My Manuals
Save this manual to your list of manuals |
Page 104 highlights
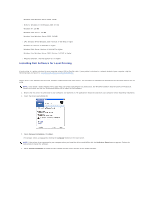
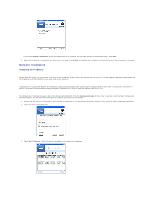
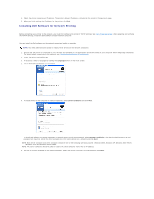
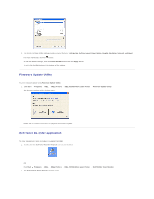
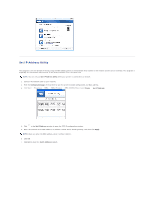
If you do not see your printer in the list, click Refresh to refresh the list or click Add Printer to add your printer to the network. To add the printer to the network, enter the port name and an existing IP address for the printer. If you want to install the printer on a server, select the I am setting up this printer on a server check box. 7. The screen displays the printer drivers installed on your computer. You can change the printer name, set the printer to be shared on the network, and set the printer as the default printer. Click Next. 8. Select Custom Installation. Click Next. If you select Typical Installation, go to step 10. 9. Select the components to be installed. (You can also change the destination folder.) Click Next. 10. When the installation is complete, you may print a test page. Click Finish to complete the installation and close the wizard. You are now ready to print. Uninstalling Software You should remove the printer drivers if you are upgrading the software or if your driver installation fails. Remove the software using the Drivers and Utilities CD or the Windows uninstall option. NOTE: Close all programs before uninstalling software. Restart your computer after uninstalling software. 1. From the Start menu, select Programs DELL DELL Printers DELL 5330dn Mono Laser Printer Dell Printer Software Uninstall. 2. Select the software you want to remove. Click Next.
-
 1
1 -
2
-
3
-
4
-
5
-
6
-
7
-
8
-
9
-
10
-
11
-
12
-
13
-
14
-
15
-
16
-
17
-
18
-
19
-
20
-
21
-
22
-
23
-
24
-
25
-
26
-
27
-
28
-
29
-
30
-
31
-
32
-
33
-
34
-
35
-
36
-
37
-
38
-
39
-
40
-
41
-
42
-
43
-
44
-
45
-
46
-
47
-
48
-
49
-
50
-
51
-
52
-
53
-
54
-
55
-
56
-
57
-
58
-
59
-
60
-
61
-
62
-
63
-
64
-
65
-
66
-
67
-
68
-
69
-
70
-
71
-
72
-
73
-
74
-
75
-
76
-
77
-
78
-
79
-
80
-
81
-
82
-
83
-
84
-
85
-
86
-
87
-
88
-
89
-
90
-
91
-
92
-
93
-
94
-
95
-
96
-
97
-
98
-
 99
99 -
 100
100 -
 101
101 -
 102
102 -
 103
103 -
 104
104 -
 105
105 -
 106
106 -
 107
107 -
 108
108 -
 109
109 -
110
-
111
-
112
-
113
-
114
-
115
-
116
-
117
-
118
-
119
-
120
-
121
-
122
-
123
-
124
-
125
-
126
-
127
 |
 |
