Dell Brocade 815 Brocade Adapters Installation and Reference Manual - Page 152
Alt - Q - Exit the utility., Esc - Go back a screen.
 |
View all Dell Brocade 815 manuals
Add to My Manuals
Save this manual to your list of manuals |
Page 152 highlights
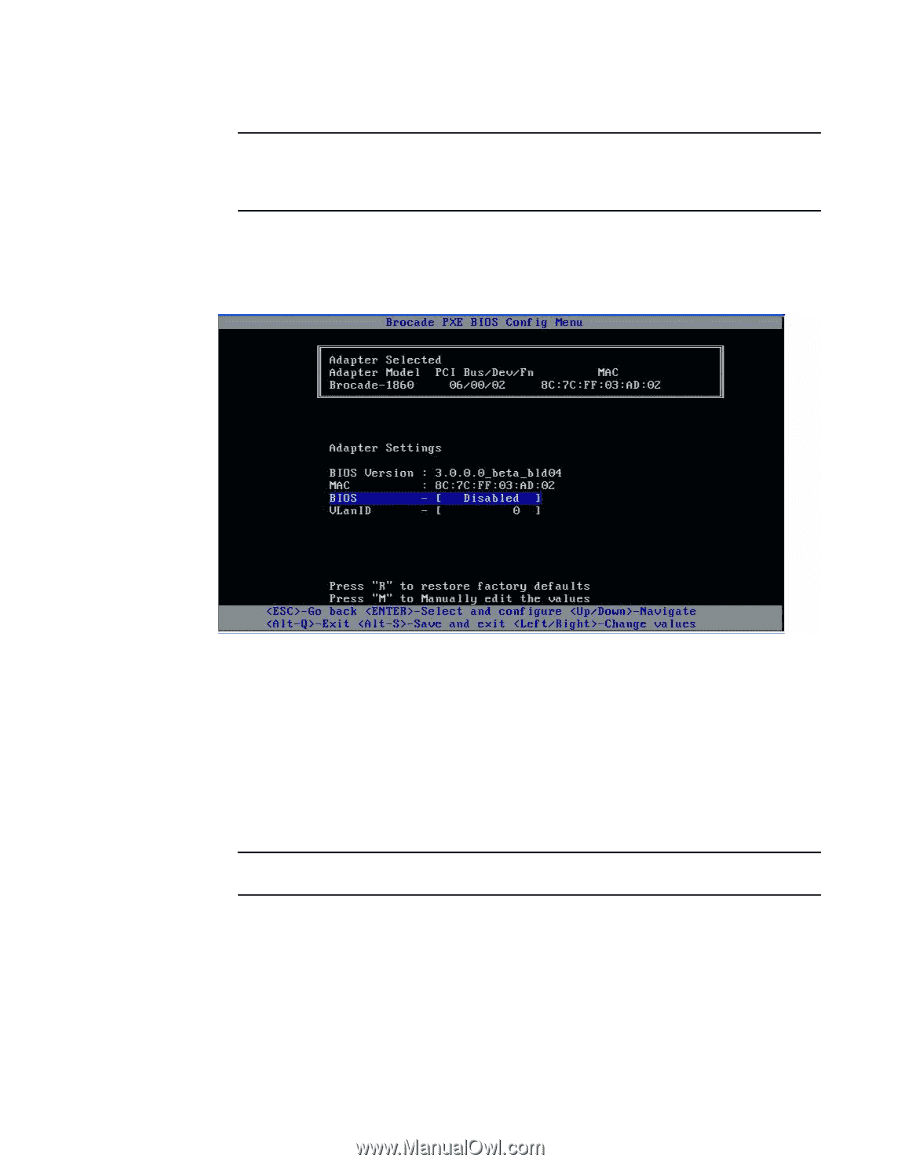
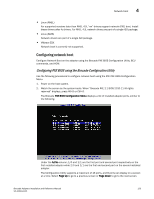
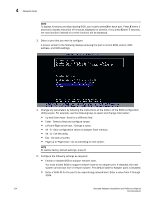
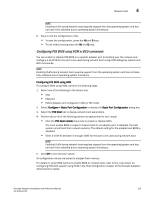
4 Network boot NOTE To bypass functions and stop loading BIOS, you must to press X for each port. Press X within 5 seconds to bypass execution of functions displayed on screens. If you press X after 5 seconds, the next function (instead of current function) will be bypassed. 3. Select a port that you want to configure. A screen similar to the following displays showing the port's current BIOS version, MAC address, and BIOS settings. 4. Change any parameters by following the instructions at the bottom of the BIOS Configuration Utility screen. For example, use the following keys to select and change information: • Up and Down keys - Scroll to a different field. • Enter - Select a field and configure values. • Left and Right arrow keys - Change a value. • Alt - S - Save configuration values to adapter flash memory. • Alt - Q - Exit the utility. • Esc - Go back a screen. • Page Up or Page Down - Go to preceding or next screen. NOTE To restore factory default settings, press R. 5. Configure the following settings as required: • Enable or disable BIOS to support network boot. You must enable BIOS to support network boot for an adapter port. If disabled, the host system cannot boot from a network system. The default state for Adapter ports is disabled. • Enter a VLAN ID for the port to be used during network boot. Enter a value from 0 through 4094. 124 Brocade Adapters Installation and Reference Manual 53-1002144-01
-
 1
1 -
2
-
3
-
4
-
5
-
6
-
7
-
8
-
9
-
10
-
11
-
12
-
13
-
14
-
15
-
16
-
17
-
18
-
19
-
20
-
21
-
22
-
23
-
24
-
25
-
26
-
27
-
28
-
29
-
30
-
31
-
32
-
33
-
34
-
35
-
36
-
37
-
38
-
39
-
40
-
41
-
42
-
43
-
44
-
45
-
46
-
47
-
48
-
49
-
50
-
51
-
52
-
53
-
54
-
55
-
56
-
57
-
58
-
59
-
60
-
61
-
62
-
63
-
64
-
65
-
66
-
67
-
68
-
69
-
70
-
71
-
72
-
73
-
74
-
75
-
76
-
77
-
78
-
79
-
80
-
81
-
82
-
83
-
84
-
85
-
86
-
87
-
88
-
89
-
90
-
91
-
92
-
93
-
94
-
95
-
96
-
97
-
98
-
99
-
100
-
101
-
102
-
103
-
104
-
105
-
106
-
107
-
108
-
109
-
110
-
111
-
112
-
113
-
114
-
115
-
116
-
117
-
118
-
119
-
120
-
121
-
122
-
123
-
124
-
125
-
126
-
127
-
128
-
129
-
130
-
131
-
132
-
133
-
134
-
135
-
136
-
137
-
138
-
139
-
140
-
141
-
142
-
143
-
144
-
145
-
146
-
 147
147 -
 148
148 -
 149
149 -
 150
150 -
 151
151 -
 152
152 -
 153
153 -
 154
154 -
 155
155 -
 156
156 -
 157
157 -
158
-
159
-
160
-
161
-
162
-
163
-
164
-
165
-
166
-
167
-
168
-
169
-
170
-
171
-
172
-
173
-
174
-
175
-
176
-
177
-
178
-
179
-
180
-
181
-
182
-
183
-
184
-
185
-
186
-
187
-
188
-
189
-
190
-
191
-
192
-
193
-
194
-
195
-
196
-
197
-
198
-
199
-
200
-
201
-
202
-
203
-
204
-
205
-
206
-
207
-
208
-
209
-
210
-
211
-
212
-
213
-
214
-
215
-
216
-
217
-
218
-
219
-
220
-
221
-
222
-
223
-
224
-
225
-
226
-
227
-
228
-
229
-
230
-
231
-
232
-
233
-
234
-
235
-
236
-
237
-
238
-
239
-
240
-
241
-
242
-
243
-
244
-
245
-
246
-
247
-
248
-
249
-
250
-
251
-
252
-
253
-
254
-
255
-
256
-
257
-
258
-
259
-
260
-
261
-
262
-
263
-
264
-
265
-
266
-
267
-
268
-
269
-
270
-
271
-
272
 |
 |