Dell OptiPlex VDI Blaster Edition Dell OptiPlex FX130 and FX170 Re-Imaging Gui - Page 10
Specific Instructions for Options 2 and 3, Writing the Image, from an NFS Mount or Windows Server
 |
View all Dell OptiPlex VDI Blaster Edition manuals
Add to My Manuals
Save this manual to your list of manuals |
Page 10 highlights
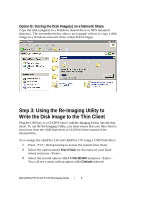
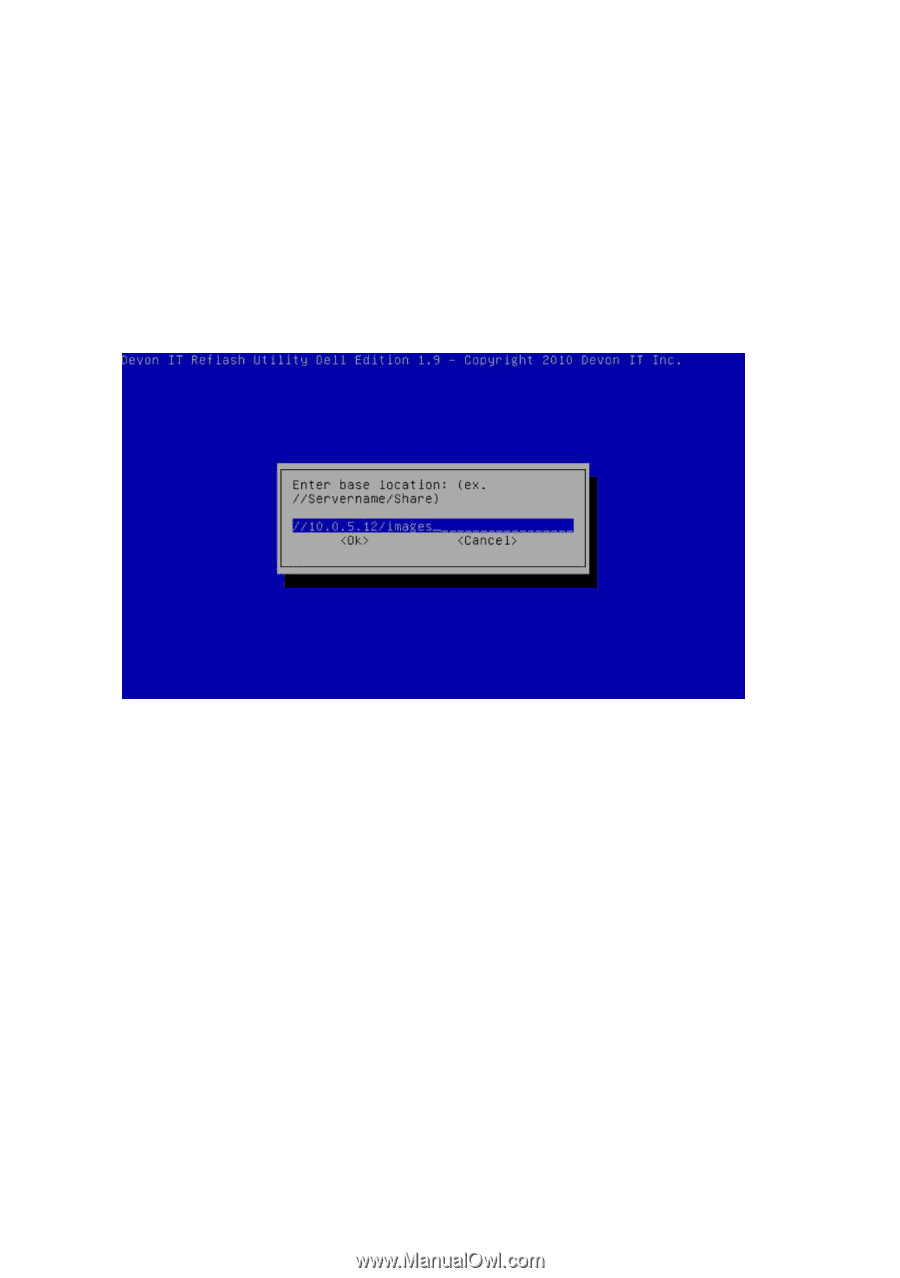
Specific Instructions for Options 2 and 3 - Writing the Image from an NFS Mount or Windows Server 1 Enter the base location of the network share and press . For example, if you store your disk image on a Windows network drive named images located on a server with an IP address of 10.0.5.12, then type: //10.0.5.12/images. 2 Enter a valid username and press . 3 Enter the password for this user. Press to continue. 4 If you use a Windows Share, then you are prompted to enter the domain name. 5 Once a connection has been established, a list of available disk images found on the network drive is displayed. Dell OptiPlex FX130 and FX170 Re-Imaging Guide | 10
-
 1
1 -
2
-
3
-
4
-
 5
5 -
 6
6 -
 7
7 -
 8
8 -
 9
9 -
 10
10 -
 11
11 -
 12
12 -
 13
13 -
 14
14 -
 15
15 -
16
-
17
-
18
 |
 |
Dell OptiPlex FX130 and FX170 Re-Imaging Guide
|
10
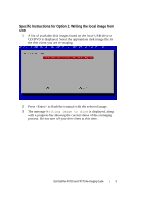
Specific Instructions for Options 2 and 3
–
Writing the Image
from an NFS Mount or Windows Server
1
Enter the base location of the network share and press <Enter>.
For example, if you store your disk image on a Windows network
drive named
images
located on a server with an IP address of
10.0.5.12
,
then type:
//10.0.5.12/images.
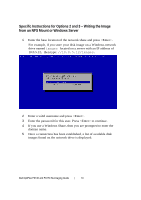
2
Enter a valid username and press <Enter>.
3
Enter the password for this user. Press <Enter> to continue.
4
If you use a Windows Share, then you are prompted to enter the
domain name.
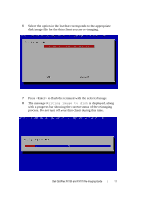
5
Once a connection has been established, a list of available disk
images found on the network drive is displayed.