Dell OptiPlex VDI Blaster Edition Dell OptiPlex FX130 and FX170 Re-Imaging Gui - Page 5
Step 2: Retrieving the Disk Images
 |
View all Dell OptiPlex VDI Blaster Edition manuals
Add to My Manuals
Save this manual to your list of manuals |
Page 5 highlights
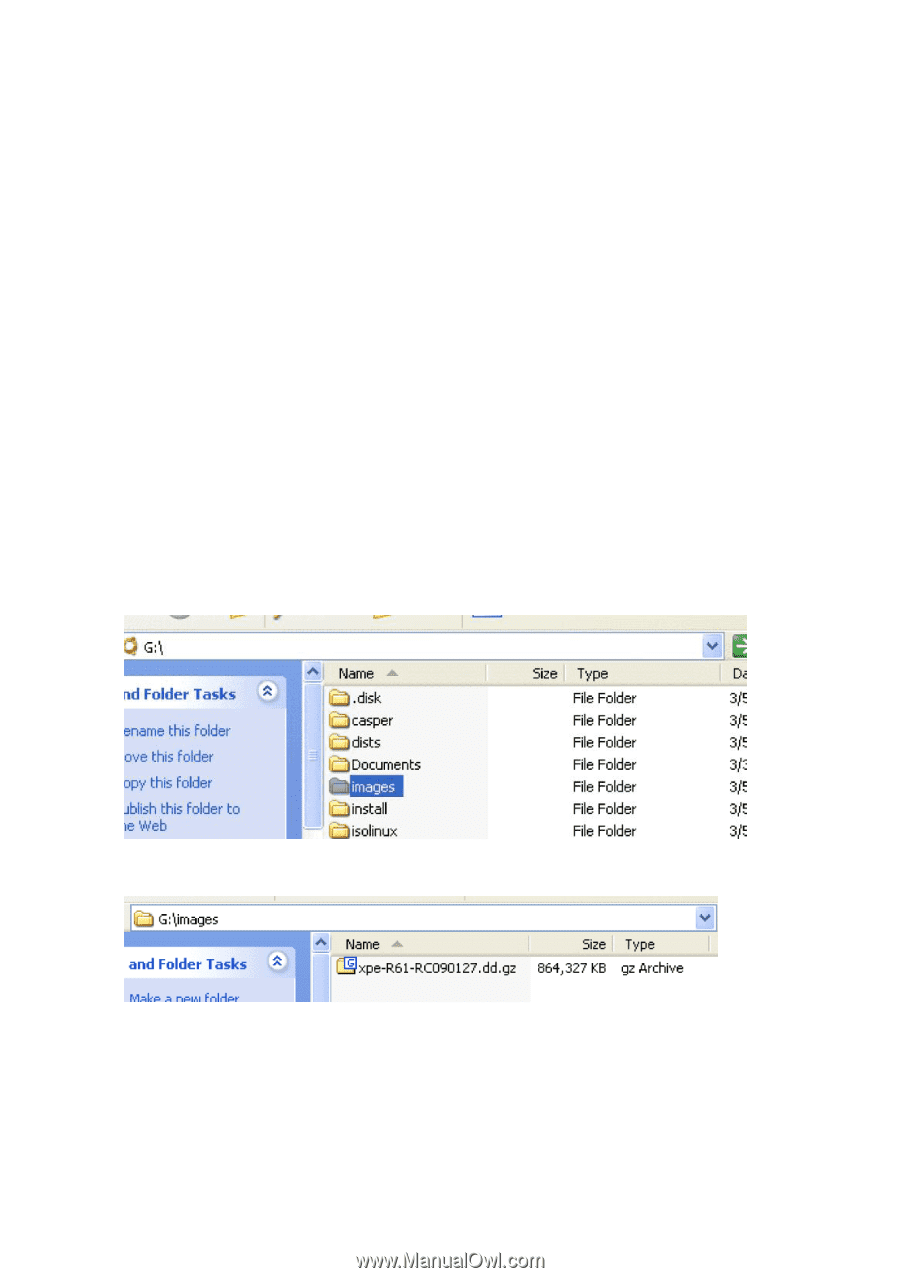
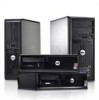
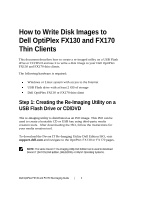
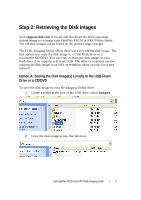
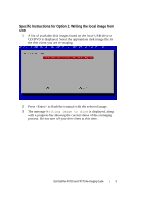
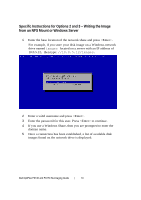
Step 2: Retrieving the Disk Images Visit support.dell.com to locate and download the latest operating system image to re-image your OptiPlex FX130 or FX170 thin clients. The OS disk images can be found on the product support pages. The IT Re-Imaging Utility offers three ways to write the disk image. The first option is to copy the disk image to a USB Flash drive or a rewriteable CD/DVD. You can copy at least one disk image on your flash drive if its capacity is at least 2 GB. The other two options involve copying the disk image to an NFS or Windows share on your local area network. Option A: Saving the Disk Image(s) Locally to the USB Flash Drive or a CD/DVD To save the disk image to your Re-Imaging Utility drive: 1 Create a folder at the root of the USB drive called Images. 2 Copy the disk image(s) into that directory. Dell OptiPlex FX130 and FX170 Re-Imaging Guide | 5
-
 1
1 -
 2
2 -
 3
3 -
 4
4 -
 5
5 -
 6
6 -
 7
7 -
 8
8 -
 9
9 -
 10
10 -
 11
11 -
12
-
13
-
14
-
15
-
16
-
17
-
18
 |
 |