Dell OptiPlex VDI Blaster Edition Dell OptiPlex FX130 and FX170 Re-Imaging Gui - Page 6
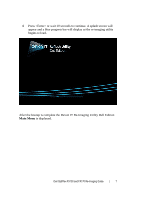
Step 3: Using the Re-Imaging Utility to, Write the Disk Image to the Thin Client
 |
View all Dell OptiPlex VDI Blaster Edition manuals
Add to My Manuals
Save this manual to your list of manuals |
Page 6 highlights
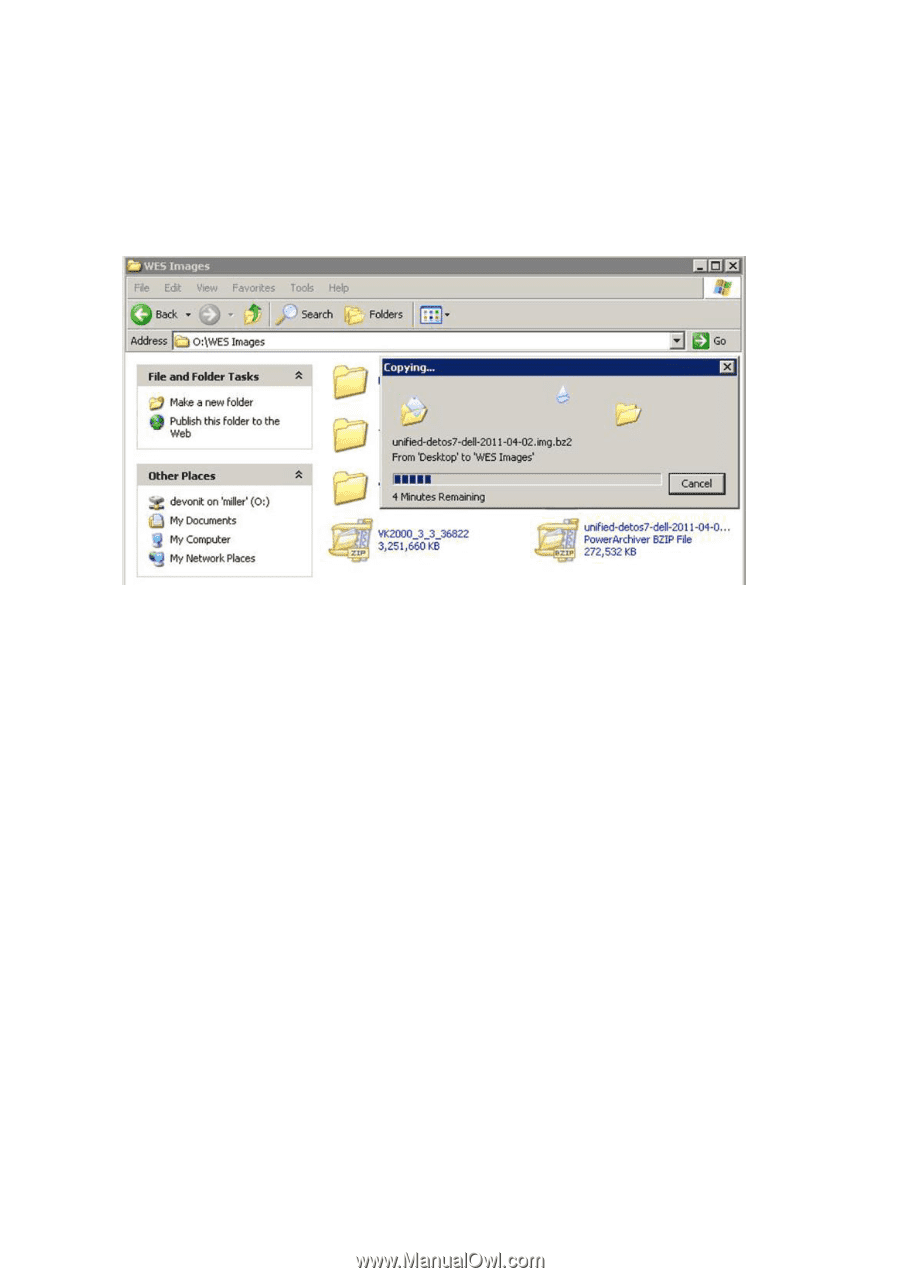
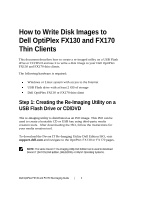
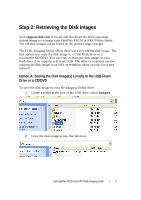
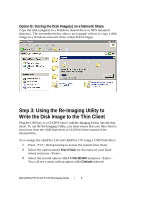
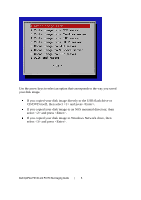
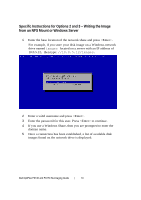
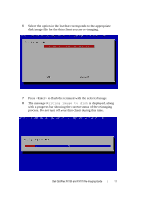
Option B: Storing the Disk Image(s) on a Network Share Copy the disk image(s) to a Windows shared drive or NFS mounted directory. The screenshot below shows an example of how to copy a disk image to a Windows network drive called WES images. Step 3: Using the Re-Imaging Utility to Write the Disk Image to the Thin Client Plug the USB key or a CD/DVD drive with Re-Imaging Utility into the thin client. To run the Re-Imaging Utility, you must ensure that your thin client is set to boot from the USB flash drive or CD/DVD drive instead of the internal drive. To re-image the OptiPlex 130 and OptiPlex 170 using a USB flash drive: 1 Press during bootup to access the system boot menu. 2 Select the option named Hard Disk (or the name of your flash drive) and press . 3 Select the second option called USB-HDD0 and press . You will see a menu with an option called Default selected. Dell OptiPlex FX130 and FX170 Re-Imaging Guide | 6
-
 1
1 -
 2
2 -
 3
3 -
 4
4 -
 5
5 -
 6
6 -
 7
7 -
 8
8 -
 9
9 -
 10
10 -
 11
11 -
 12
12 -
13
-
14
-
15
-
16
-
17
-
18
 |
 |