Dell OptiPlex VDI Blaster Edition Dell OptiPlex FX130 and FX170 Re-Imaging Gui - Page 12
Final Steps, Using the Re-Imaging Utility to Clone the, Disk Images
 |
View all Dell OptiPlex VDI Blaster Edition manuals
Add to My Manuals
Save this manual to your list of manuals |
Page 12 highlights
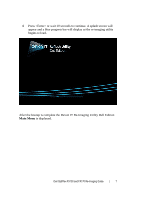
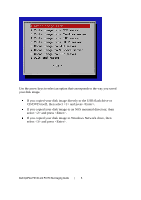
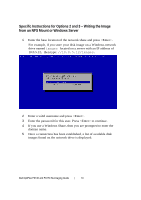
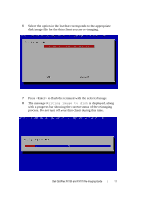
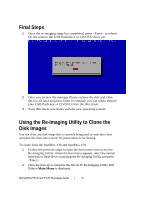
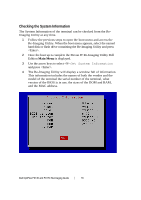
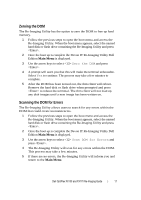
Final Steps 1 Once the re-imaging stage has completed, press to reboot. Do not remove the USB flash drive or CD/DVD drive yet. 2 Once you receive the message Please remove the disc and close the tray (if any) and press Enter to continue you can safely remove your USB flash key or CD/DVD from the thin client. 3 Your thin client now boots with the new operating system. Using the Re-Imaging Utility to Clone the Disk Images You can clone any disk image that is currently being used on your thin client and place the clone into a server for preservation or for sharing. To clone from the OptiPlex 130 and OptiPlex 170: 1 Follow the previous steps to open the boot menu and access the Re-Imaging Utility. When the boot menu appears, select the named hard disk or flash drive containing the Re-Imaging Utility and press . 2 Once the boot up is complete the Devon IT Re-Imaging Utility Dell Edition Main Menu is displayed. Dell OptiPlex FX130 and FX170 Re-Imaging Guide | 12
-
 1
1 -
2
-
3
-
4
-
5
-
6
-
 7
7 -
 8
8 -
 9
9 -
 10
10 -
 11
11 -
 12
12 -
 13
13 -
 14
14 -
 15
15 -
 16
16 -
 17
17 -
18
 |
 |
