Dell OptiPlex VDI Blaster Edition Dell OptiPlex FX130 and FX170 Re-Imaging Gui - Page 9
Specific Instructions for Option 1: Writing the local image
 |
View all Dell OptiPlex VDI Blaster Edition manuals
Add to My Manuals
Save this manual to your list of manuals |
Page 9 highlights
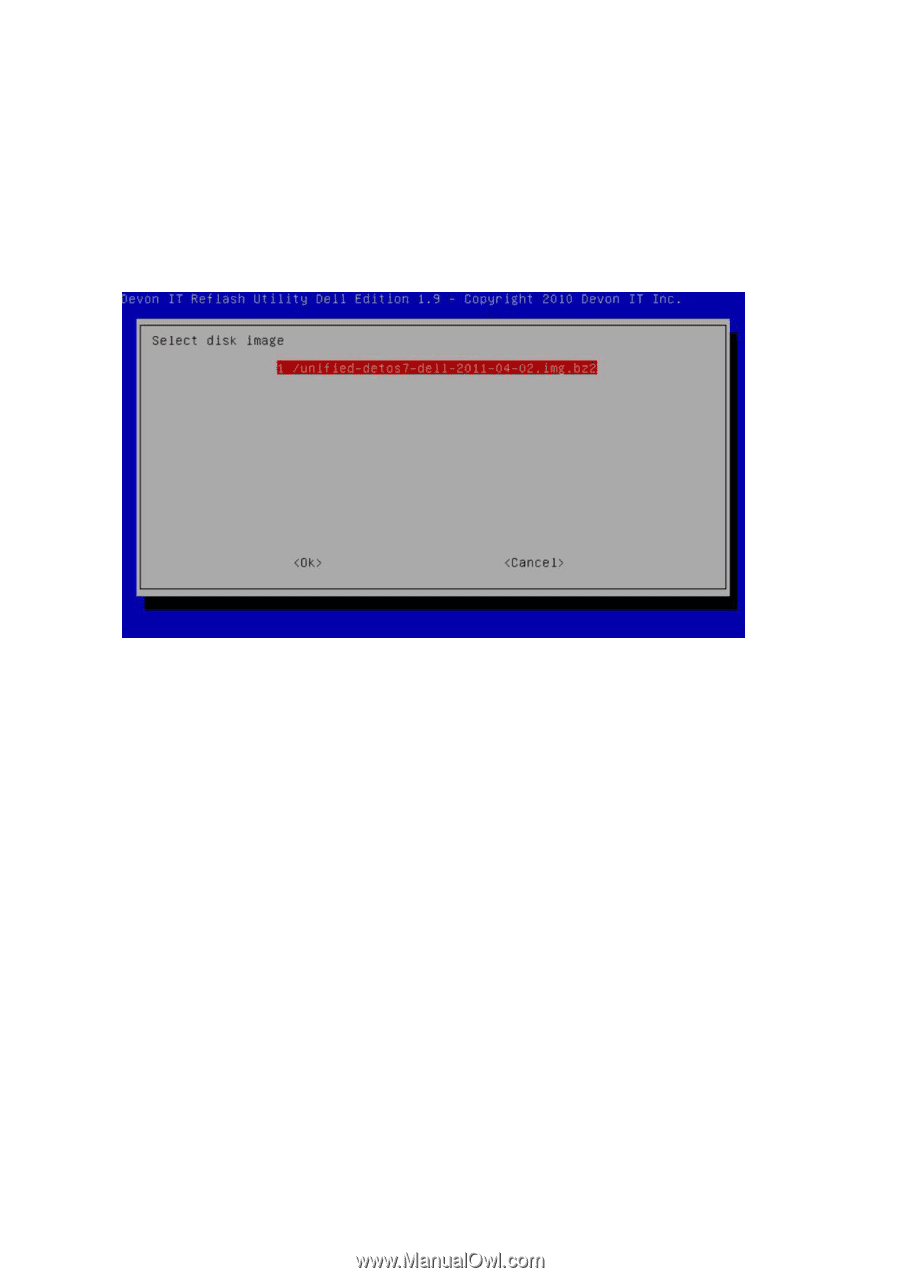
Specific Instructions for Option 1: Writing the local image from USB 1 A list of available disk images found on the local USB drive or CD/DVD is displayed. Select the appropriate disk image file for the thin client you are re-imaging. 2 Press to flash the terminal with the selected image. 3 The message Writing image to disk is displayed, along with a progress bar showing the current status of the reimaging process. Do not turn off your thin client at this time. Dell OptiPlex FX130 and FX170 Re-Imaging Guide | 9
-
 1
1 -
2
-
3
-
 4
4 -
 5
5 -
 6
6 -
 7
7 -
 8
8 -
 9
9 -
 10
10 -
 11
11 -
 12
12 -
 13
13 -
 14
14 -
15
-
16
-
17
-
18
 |
 |
Dell OptiPlex FX130 and FX170 Re-Imaging Guide
|
9
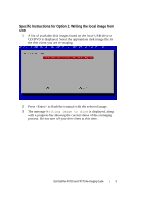
Specific Instructions for Option 1: Writing the local image from
USB
1
A list of available disk images found on the local USB drive or
CD/DVD is displayed. Select the appropriate disk image file for
the thin client you are re-imaging.
2
Press <Enter> to flash the terminal with the selected image.
3
The message
Writing image to disk
is displayed, along
with a progress bar showing the current status of the reimaging
process. Do not turn off your thin client at this time.