Dell PowerEdge 1300 Dell PowerEdge Systems Microprocessor Upgrade Guide - Page 19
Replacing the Cooling Shroud, Installing the Upgrade Microprocessor
 |
View all Dell PowerEdge 1300 manuals
Add to My Manuals
Save this manual to your list of manuals |
Page 19 highlights
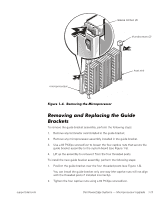
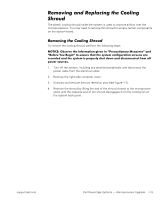
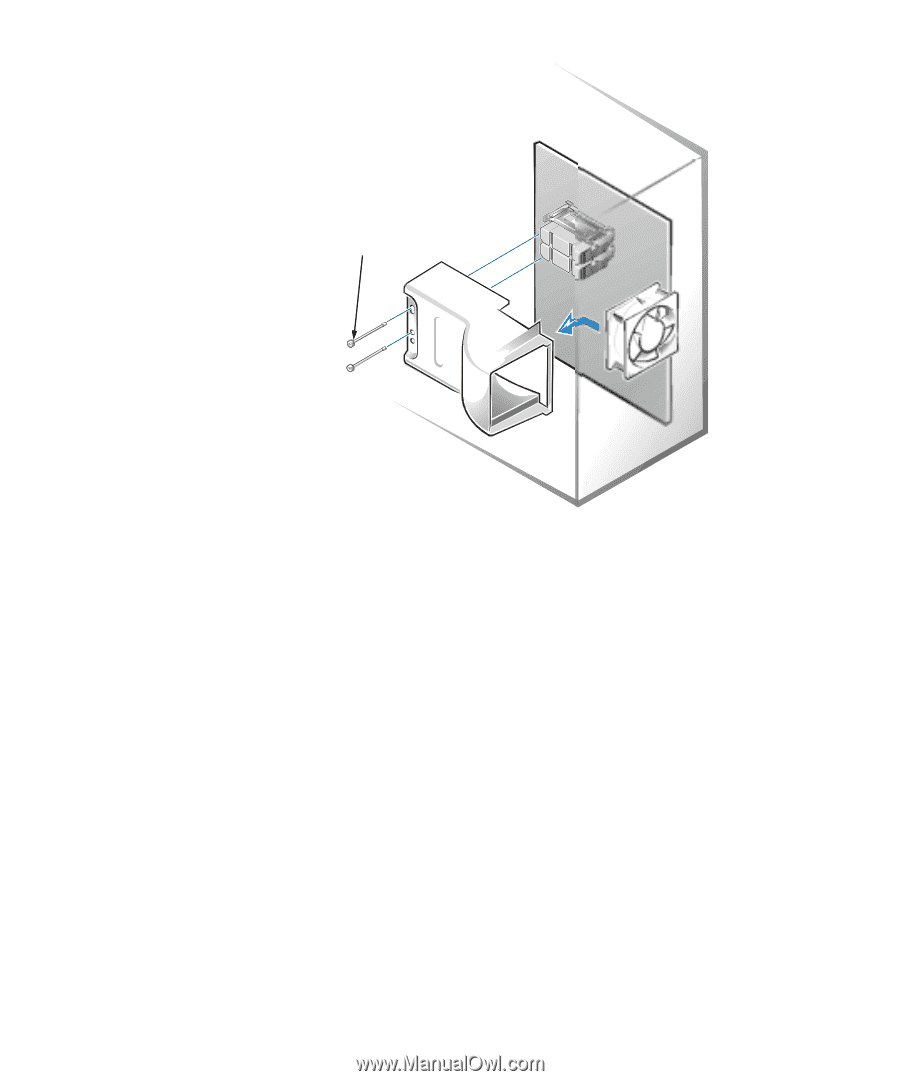
thumbscrew retention pins (2) To replace the cooling shroud, perform the following steps: 1. Hook the upper edge of the large opening on the end of the cooling shroud over the top of the cooling fan on the system back panel. 2. Lower the other end of the shroud into place over the microprocessor(s). 3. Secure the shroud by reinstalling the two retention pins. 1-16 Dell PowerEdge Systems - Microprocessor Upgrade
-
 1
1 -
2
-
3
-
4
-
5
-
6
-
7
-
8
-
9
-
10
-
11
-
12
-
13
-
 14
14 -
 15
15 -
 16
16 -
 17
17 -
 18
18 -
 19
19 -
 20
20 -
 21
21 -
 22
22 -
 23
23
 |
 |
1-16
Dell PowerEdge Systems
—
Microprocessor Upgrade
±²³´µ¶·¸¹*º··»¶¼½¾²¿³·ÀÁ¶·+½½Ê²¿³·ÂÁµ½´Ç
Ä´Ë#»¹¸½Á·³Å´·º²²#¸½Á·ÆÅÀ²¼¾
To replace the cooling shroud, perform the following steps:
1.
Hook the upper edge of the large opening on the end of the cooling shroud over
the top of the cooling fan on the system back panel.
2.
Lower the other end of the shroud into place over the microprocessor(s).
3.
Secure the shroud by reinstalling the two retention pins.
ú¾·µÄĸºÂ¼·È³¼ÅƲµÇ³¼½¸´²¹Æ²¹´³¾¾¹²
±²³´µ¶·¸/Ÿ»Å¿¸¾¿¿ÀÇÄ¿¸¿Å¸ÅÄÀþ¿À¸¾¸ÁËÁ¿ÀǸɺ¿Â¸Å»À¸'À»¿ºÌǸ´´¸Çº½ÃÅÄÃÅ5
½ÀÁÁÅø¾»¼¸Å»À¸'À»¿ºÌǸ´´´¸Çº½ÃÅÄÃŽÀÁÁÅÃϸ/¾Ç¾ÈÀ¸¿Å¸Å»À¸ÅøÎſ¸Åʸ¿ÂÀ¸
Ǻ½ÃÅÄÃŽÀÁÁÅÃÁ¸¾»¼3Åø¿ÂÀ¸ÁËÁ¿ÀǸΞü¸Ç¾Ë¸Å½½ÌÃÏ
±²³´µ¶·¸¹ÆƸÀÇĿ˸Ǻ½ÃÅÄÃŽÀÁÁÅø½Å»»À½¿ÅÃÁ¸ÇÌÁ¿¸ÎÀ¸ÄÅÄÌƾ¿À¼¸Éº¿Â¸¾¸
¿ÀÃǺ»¾¿Åø½¾Ã¼Ï¸´Ê¸ËÅÌøÁËÁ¿ÀǸÁÌÄÄÅÿÁ¸ÇÅÃÀ¸¿Â¾»¸Å»À¸Çº½ÃÅÄÃŽÀÁÁÅø
¾»¼¸ËÅ̸¾ÃÀ¸»Å¿¸º»Á¿¾Æƺ»È¸¿ÂÀ¸Ç¾4ºÇÌǸ»ÌÇÎÀøÅʸǺ½ÃÅÄÃŽÀÁÁÅÃÁ"¸¿ÂÀ¸
ÃÀǾº»º»È¸Çº½ÃÅÄÃŽÀÁÁÅø½Å»»À½¿ÅÃÁ¸ÇÌÁ¿¸Â¾ÍÀ¸¾¸¿ÀÃǺ»¾¿Åø½¾Ã¼Ï
thumbscrew
retention pins (2)