Dell PowerEdge 1300 Dell PowerEdge Systems Microprocessor Upgrade Guide - Page 20
For Pentium III microprocessors, you do not need to change the jumper settings
 |
View all Dell PowerEdge 1300 manuals
Add to My Manuals
Save this manual to your list of manuals |
Page 20 highlights
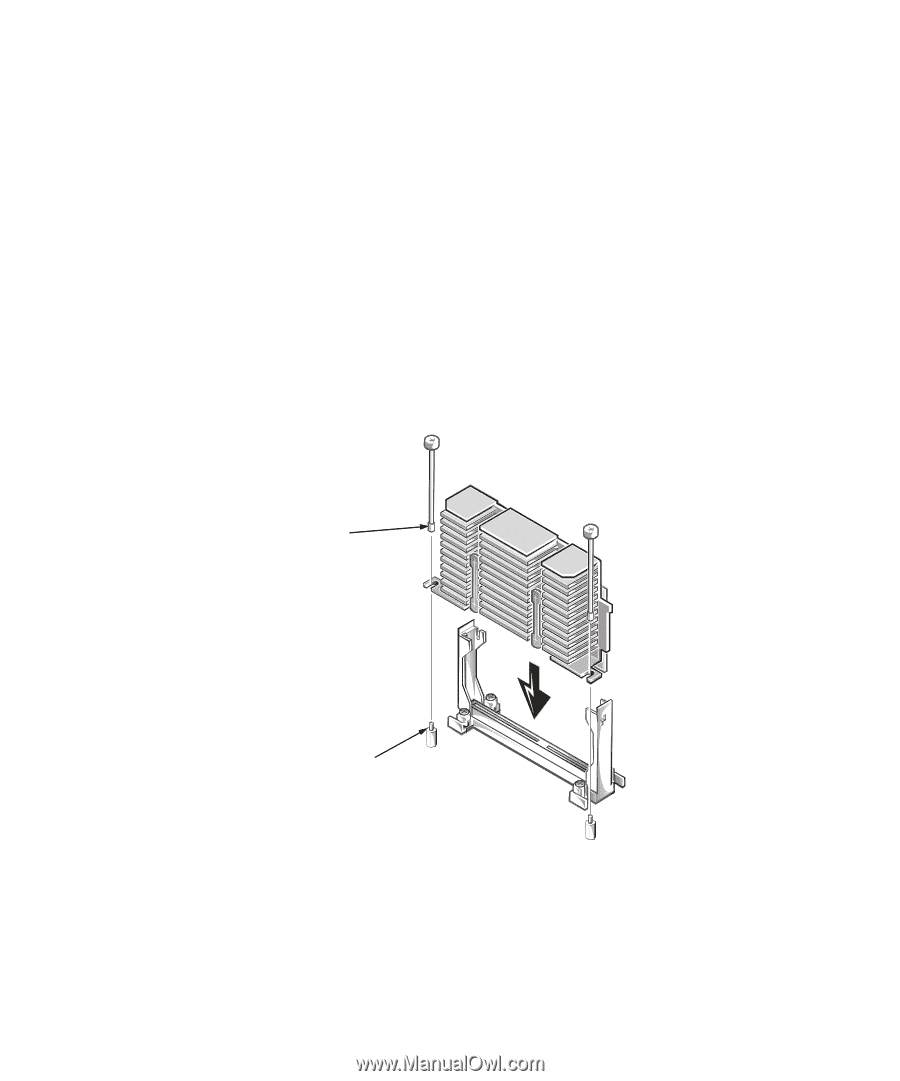
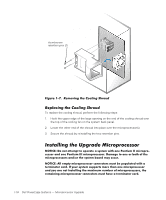
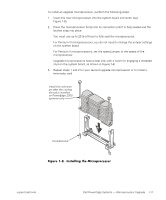
To install an upgrade microprocessor, perform the following steps: 1. Insert the new microprocessor into the system board connector (see Figure 1-8). 2. Press the microprocessor firmly into its connector until it is fully seated and the latches snap into place. You must use up to 25 lb of force to fully seat the microprocessor. For Pentium III microprocessors, you do not need to change the jumper settings on the system board. For Pentium II microprocessors, set the speed jumper to the speed of the microprocessor. Upgrade microprocessors have a heat sink with a notch for engaging a threaded stud on the system board, as shown in Figure 1-8. 3. Repeat steps 1 and 2 for your second upgrade microprocessor or to install a terminator card. install this retention pin after the cooling shroud is installed on PowerEdge 2300 systems only threaded stud support.dell.com Dell PowerEdge Systems - Microprocessor Upgrade 1-17
-
 1
1 -
2
-
3
-
4
-
5
-
6
-
7
-
8
-
9
-
10
-
11
-
12
-
13
-
14
-
 15
15 -
 16
16 -
 17
17 -
 18
18 -
 19
19 -
 20
20 -
 21
21 -
 22
22 -
 23
23
 |
 |