Dynex DX-19LD150A11 User Manual (English) - Page 16
Understanding the basics
 |
UPC - 600603127182
View all Dynex DX-19LD150A11 manuals
Add to My Manuals
Save this manual to your list of manuals |
Page 16 highlights
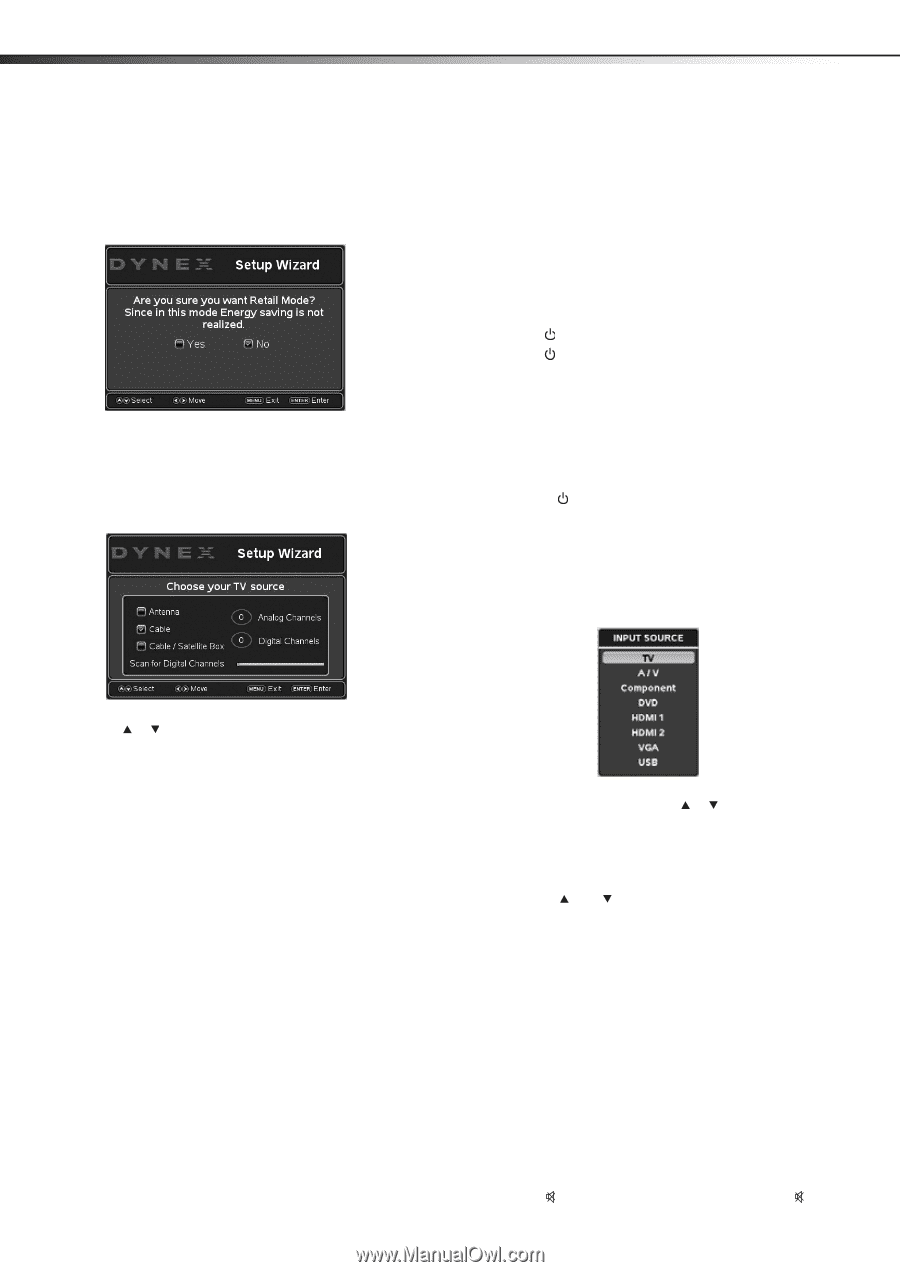
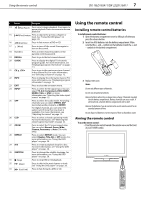
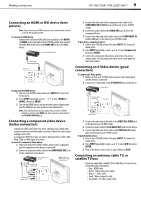
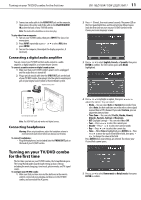
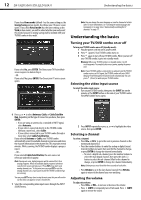
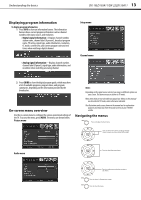
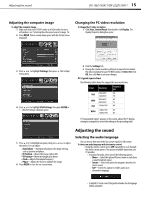
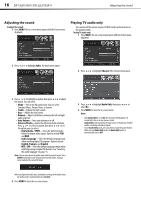
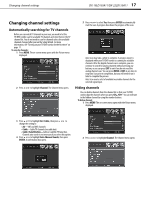
12 DX-19LD150A11/DX-22LD150A11 Understanding the basics If you chose Home mode (default - has the same settings as the Energy Saving picture mode), the Choose your TV source screen opens. If you chose Retail mode (has the same settings as the Vivid picture mode), you will be asked whether you really want this mode, because no energy savings will be realized with your TV/DVD combo in this mode. If you select No, press ENTER. The Choose your TV Picture Mode screen reopens. Go back to Step 5. - OR If you select Yes, press ENTER. The Choose your TV source screen opens. Note: You can change the menu language or scan for channels at a later date. For more information, see "Selecting the menu language and transparency" on page 26 or "Automatically searching for TV channels" on page 17. Understanding the basics Turning your TV/DVD combo on or off To turn your TV/DVD combo on or off (standby mode): 1 Plug the power cord into an AC power outlet. 2 Press (power). Your TV/DVD combo turns on. 3 Press again to turn off your TV/DVD combo. When you turn off your TV/DVD combo, it goes into standby mode. Warning: When your TV/DVD combo is in standby mode, it is still receiving power. To completely disconnect power, unplug the power cord. Note: If your TV/DVD combo is connected to a computer and the TV/DVD combo receives no VGA signal, the TV/DVD combo will enter DPMS (Display Power Management System) mode automatically. You can press (Power) to wake up your TV/DVD combo. Selecting the video input source To select the video input source: 1 Turn on your TV/DVD combo, then press the INPUT key on the remote, or the INPUT button on the side of your TV/DVD combo. The INPUT SOURCE menu opens. 6 Press or to select Antenna, Cable, or Cable/Satellite Box, depending on the type of connection you have, then press ENTER. • If you are using an antenna for a standard or HD TV signal, select Antenna. • If your cable is connected directly to the TV/DVD combo (without a tuner box), select Cable. • If your cable is connected to your TV/DVD combo through a tuner box, select Cable/Satellite Box. If you selected Antenna or Cable, your TV/DVD combo automatically scans for available channels in your area and stores the channel information in the channel list. This may take several minutes. While scanning, the TV/DVD combo displays a progress report. - OR - If you selected Cable/Satellite Box, the auto scan is not necessary and will not appear. Note: During auto scan, digital programs will be scanned first, then analog programs. When all available digital programs have been searched, the screen will ask you to "Press EXIT if you don't need analog channel scan." At this point you can press EXIT to exit the analog channel scan, or just ignore it and the TV/DVD combo will go on scanning. You can press EXIT at any time to stop the auto scan, but you will need to run the auto scan again to create a channel list. 7 Select the corresponding video input source through the INPUT SOURCE menu. 2 Press INPUT repeatedly or press or to highlight the video source, then press ENTER. Selecting a channel To select a channel: • Press CH or CH to go to the next or previous channel on the memorized channel list. • Press the number buttons to enter the analog or digital (main) channel number you want, then wait for the channel to change, or press ENTER to change the channel immediately. • To select a digital sub-channel, press the number buttons to select the main digital channel, then press the dash (-) button to select the sub-channel. Wait for the channel to change, or press ENTER to change the channel immediately. Note: Button presses must be within three seconds of each other. • Press RECALL to go to the last channel viewed. Press RECALL again to return to the channel you were watching. Adjusting the volume To adjust the volume: • Press VOL+ or VOL- to increase or decrease the volume. • Press MUTE to temporarily turn off all sound. Press MUTE again to restore the sound.
-
 1
1 -
2
-
3
-
4
-
5
-
6
-
7
-
8
-
9
-
10
-
 11
11 -
 12
12 -
 13
13 -
 14
14 -
 15
15 -
 16
16 -
 17
17 -
 18
18 -
 19
19 -
 20
20 -
 21
21 -
22
-
23
-
24
-
25
-
26
-
27
-
28
-
29
-
30
-
31
-
32
-
33
-
34
-
35
-
36
-
37
-
38
-
39
-
40
-
41
 |
 |