Dynex DX-19LD150A11 User Manual (English) - Page 18
Adjusting the picture - lcd tv
 |
UPC - 600603127182
View all Dynex DX-19LD150A11 manuals
Add to My Manuals
Save this manual to your list of manuals |
Page 18 highlights
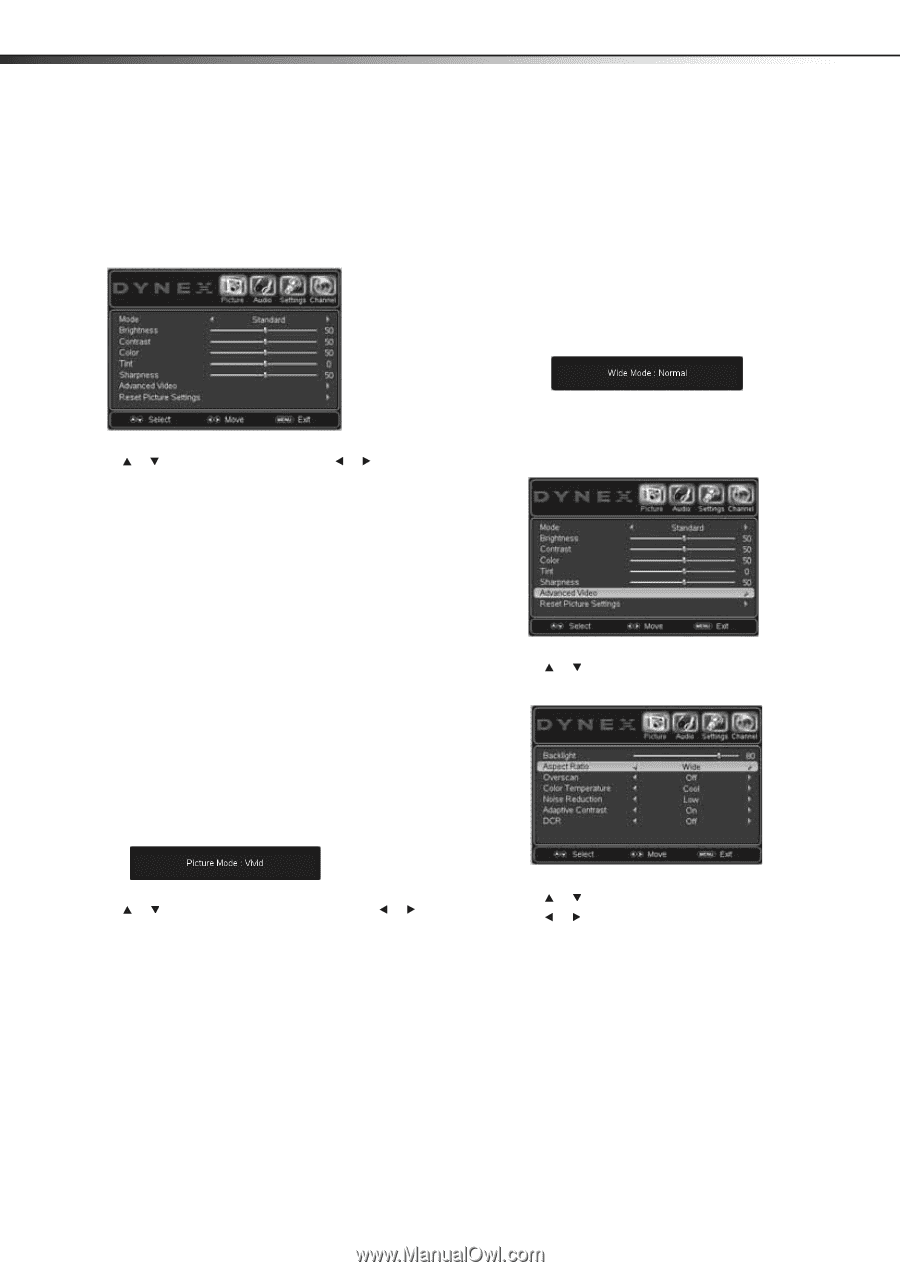
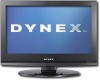
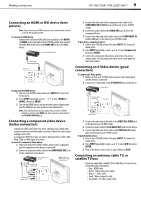
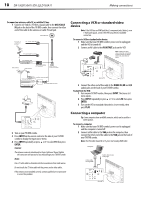
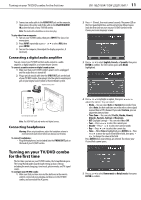
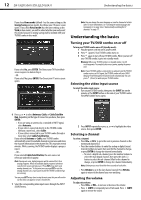
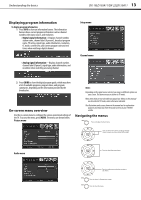
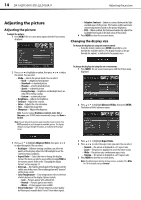
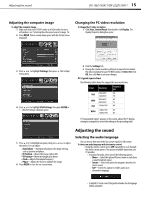
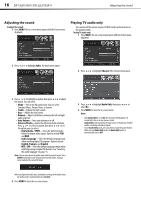
14 DX-19LD150A11/DX-22LD150A11 Adjusting the picture Adjusting the picture Adjusting the picture To adjust the picture: 1 Press MENU. The on-screen menu opens with the Picture menu displayed. • Adaptive Contrast-Enhances contrast between the light and dark areas of the picture. This feature enables automatic contrast adjustment, based on the picture brightness. • DCR-When enabled, this feature automatically adjusts the backlight level based on the dark areas of the picture. 4 Press MENU to close the on-screen menu. Changing the display size To change the display size using the remote control: • Using the remote control, press ZOOM repeatedly to cycle through the available options. The display changes as you go through the options, as indicated in the popup screen. 2 Press or to highlight an option, then press or to adjust the option. You can select: • Mode-Selects the picture mode. You can select: • Vivid-a bright and vivid picture • Standard-a standard picture • Theater-a finely detailed picture • Sports-a dynamic picture • Energy Savings-brightness and backlight levels are reduced for energy savings • Custom-customized picture • Brightness-Adjusts the brightness. • Contrast-Adjusts the contrast. • Color-Adjusts the color saturation. • Tint-Adjusts the image tint. • Sharpness-Adjusts the sharpness. Note: If you try to adjust Brightness, Contrast, Color, Tint, or Sharpness, your TV/DVD combo automatically changes the Mode to Custom. Note: You can also set the picture mode using the remote control. Press PICT repeatedly to cycle through the available options. The display changes as you go through the options, as indicated in the popup screen. To change the display size using the on-screen menus: 1 Press MENU. The on-screen menu opens with the Picture menu displayed. 2 Press or to highlight Advanced Video, then press ENTER. The Advanced Video submenu opens. 3 Press or to highlight Advanced Video, then press or to adjust the option. You can select: • Backlight-Different viewing conditions can affect the quality of the display. Adjust the LCD backlight to suit the current viewing conditions. • Aspect Ratio-Select this item to change the display format. This menu can also be accessed by pressing ZOOM on the remote control. Refer to the "Changing the display format" section on page 13. • Overscan-This feature extends part of the display past the visible area of the screen. The resulting picture will "zoom in" on the image center. • Color Temperature-Color temperature refers to the level of white balance in the display. Options include: • Cool-Pictures appear with a bluish tint. • Normal-Pictures appear more white. • Warm-Pictures appear more reddish. • Noise Reduction-This feature improves picture quality by filtering out unusable data ("noise") from video signals. 3 Press or to highlight Aspect Ratio. 4 Press or to select the aspect ratio you want. You can select: • Normal-The picture is displayed in a 4:3 aspect ratio. • Zoom-The picture is displayed to cover the entire screen. • Wide-The picture uses a widescreen aspect ratio. • Cinema-The picture is displayed in a 21:9 aspect ratio. 5 Press MENU to close the on-screen menu. Note: The default aspect ratio for all input sources, excluding TV, is Wide. For TV, the default setting is Normal.
-
 1
1 -
2
-
3
-
4
-
5
-
6
-
7
-
8
-
9
-
10
-
11
-
12
-
 13
13 -
 14
14 -
 15
15 -
 16
16 -
 17
17 -
 18
18 -
 19
19 -
 20
20 -
 21
21 -
 22
22 -
 23
23 -
24
-
25
-
26
-
27
-
28
-
29
-
30
-
31
-
32
-
33
-
34
-
35
-
36
-
37
-
38
-
39
-
40
-
41
 |
 |