Epson 5040UBe Users Guide - Page 30
Connecting to an HDMI Video Source, Parent topic, Opt.HDMI 300mA, HDMI Link, Related references
 |
View all Epson 5040UBe manuals
Add to My Manuals
Save this manual to your list of manuals |
Page 30 highlights
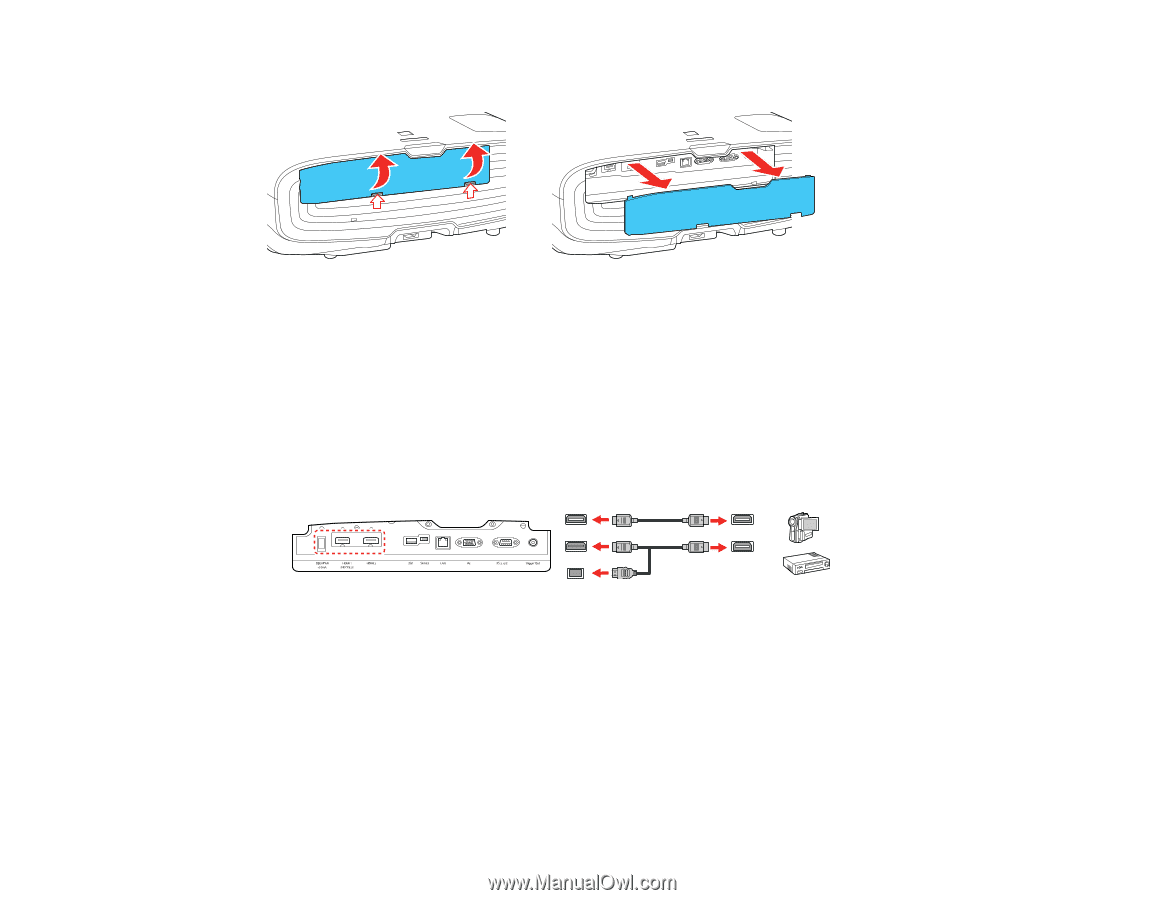
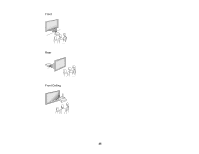
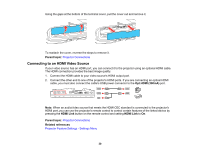
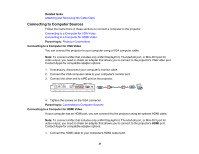
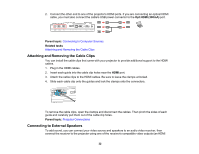
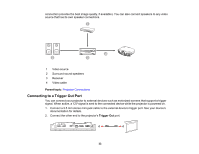
Using the gaps at the bottom of the terminal cover, pull the cover out and remove it. To reattach the cover, reverse the steps to remove it. Parent topic: Projector Connections Connecting to an HDMI Video Source If your video source has an HDMI port, you can connect it to the projector using an optional HDMI cable. The HDMI connection provides the best image quality. 1. Connect the HDMI cable to your video source's HDMI output port. 2. Connect the other end to one of the projector's HDMI ports. If you are connecting an optical HDMI cable, you must also connect the cable's USB power connector to the Opt.HDMI (300mA) port. Note: When an audio/video source that meets the HDMI CEC standard is connected to the projector's HDMI port, you can use the projector's remote control to control certain features of the linked device by pressing the HDMI Link button on the remote control and setting HDMI Link to On. Parent topic: Projector Connections Related references Projector Feature Settings - Settings Menu 30
-
 1
1 -
2
-
3
-
4
-
5
-
6
-
7
-
8
-
9
-
10
-
11
-
12
-
13
-
14
-
15
-
16
-
17
-
18
-
19
-
20
-
21
-
22
-
23
-
24
-
 25
25 -
 26
26 -
 27
27 -
 28
28 -
 29
29 -
 30
30 -
 31
31 -
 32
32 -
 33
33 -
 34
34 -
 35
35 -
36
-
37
-
38
-
39
-
40
-
41
-
42
-
43
-
44
-
45
-
46
-
47
-
48
-
49
-
50
-
51
-
52
-
53
-
54
-
55
-
56
-
57
-
58
-
59
-
60
-
61
-
62
-
63
-
64
-
65
-
66
-
67
-
68
-
69
-
70
-
71
-
72
-
73
-
74
-
75
-
76
-
77
-
78
-
79
-
80
-
81
-
82
-
83
-
84
-
85
-
86
-
87
-
88
-
89
-
90
-
91
-
92
-
93
-
94
-
95
-
96
-
97
-
98
-
99
-
100
-
101
-
102
-
103
-
104
-
105
-
106
-
107
-
108
-
109
-
110
-
111
-
112
-
113
-
114
-
115
-
116
-
117
-
118
-
119
-
120
-
121
-
122
-
123
-
124
-
125
-
126
-
127
-
128
-
129
-
130
-
131
-
132
-
133
-
134
-
135
-
136
-
137
-
138
-
139
-
140
-
141
-
142
-
143
-
144
-
145
-
146
-
147
-
148
-
149
-
150
-
151
-
152
-
153
-
154
-
155
-
156
-
157
-
158
-
159
-
160
-
161
-
162
-
163
-
164
-
165
-
166
-
167
-
168
-
169
-
170
-
171
-
172
-
173
-
174
-
175
-
176
-
177
-
178
-
179
-
180
-
181
-
182
-
183
-
184
-
185
-
186
-
187
-
188
-
189
-
190
-
191
-
192
-
193
-
194
-
195
-
196
-
197
-
198
-
199
-
200
-
201
-
202
-
203
-
204
-
205
-
206
-
207
-
208
-
209
-
210
-
211
-
212
-
213
-
214
-
215
-
216
-
217
-
218
-
219
-
220
-
221
 |
 |