Epson G7905UNL Users Guide - Page 51
Removing a Lens, Extended, Parent topic
 |
View all Epson G7905UNL manuals
Add to My Manuals
Save this manual to your list of manuals |
Page 51 highlights
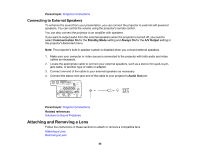
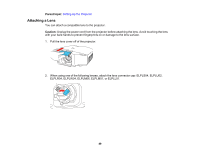
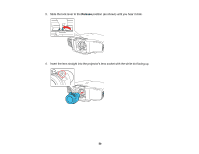
5. Hold the lens firmly and slide the lock lever to the Lock position (as shown) until it locks. 6. Replace the lens cover. 7. If prompted, select Yes to calibrate the lens. Note: Lens calibration helps the projector to correctly acquire the lens position and adjustment range, and can take up to 100 seconds to complete. When calibration is finished, the lens returns to the same position it was in before calibration. (ELPX01 returns to the standard position.) 8. When using one of the following lenses, select the lens type in the Extended menu: ELPLS04, ELPLU02, ELPLR04, ELPLW04, ELPLM06, ELPLM07, or ELPLL07. Parent topic: Attaching and Removing a Lens Removing a Lens You can remove a lens to replace it with a different lens. 51
-
 1
1 -
2
-
3
-
4
-
5
-
6
-
7
-
8
-
9
-
10
-
11
-
12
-
13
-
14
-
15
-
16
-
17
-
18
-
19
-
20
-
21
-
22
-
23
-
24
-
25
-
26
-
27
-
28
-
29
-
30
-
31
-
32
-
33
-
34
-
35
-
36
-
37
-
38
-
39
-
40
-
41
-
42
-
43
-
44
-
45
-
 46
46 -
 47
47 -
 48
48 -
 49
49 -
 50
50 -
 51
51 -
 52
52 -
 53
53 -
 54
54 -
 55
55 -
 56
56 -
57
-
58
-
59
-
60
-
61
-
62
-
63
-
64
-
65
-
66
-
67
-
68
-
69
-
70
-
71
-
72
-
73
-
74
-
75
-
76
-
77
-
78
-
79
-
80
-
81
-
82
-
83
-
84
-
85
-
86
-
87
-
88
-
89
-
90
-
91
-
92
-
93
-
94
-
95
-
96
-
97
-
98
-
99
-
100
-
101
-
102
-
103
-
104
-
105
-
106
-
107
-
108
-
109
-
110
-
111
-
112
-
113
-
114
-
115
-
116
-
117
-
118
-
119
-
120
-
121
-
122
-
123
-
124
-
125
-
126
-
127
-
128
-
129
-
130
-
131
-
132
-
133
-
134
-
135
-
136
-
137
-
138
-
139
-
140
-
141
-
142
-
143
-
144
-
145
-
146
-
147
-
148
-
149
-
150
-
151
-
152
-
153
-
154
-
155
-
156
-
157
-
158
-
159
-
160
-
161
-
162
-
163
-
164
-
165
-
166
-
167
-
168
-
169
-
170
-
171
-
172
-
173
-
174
-
175
-
176
-
177
-
178
-
179
-
180
-
181
-
182
-
183
-
184
-
185
-
186
-
187
-
188
-
189
-
190
-
191
-
192
-
193
-
194
-
195
-
196
-
197
-
198
-
199
-
200
-
201
-
202
-
203
-
204
-
205
-
206
-
207
-
208
-
209
-
210
-
211
-
212
-
213
-
214
-
215
-
216
-
217
-
218
-
219
-
220
-
221
-
222
-
223
-
224
-
225
-
226
-
227
-
228
-
229
-
230
-
231
-
232
-
233
-
234
-
235
-
236
-
237
-
238
-
239
-
240
-
241
-
242
-
243
-
244
-
245
-
246
-
247
-
248
-
249
-
250
-
251
-
252
-
253
-
254
-
255
-
256
-
257
-
258
-
259
-
260
-
261
-
262
-
263
-
264
-
265
-
266
-
267
-
268
-
269
-
270
-
271
-
272
-
273
-
274
-
275
-
276
-
277
-
278
-
279
-
280
-
281
-
282
-
283
-
284
-
285
-
286
-
287
-
288
-
289
-
290
-
291
-
292
-
293
-
294
-
295
-
296
-
297
-
298
-
299
 |
 |
51
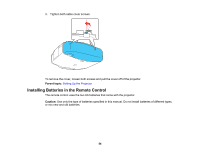
5.
Hold the lens firmly and slide the lock lever to the
Lock
position (as shown) until it locks.
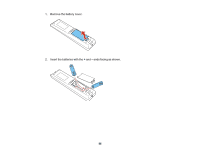
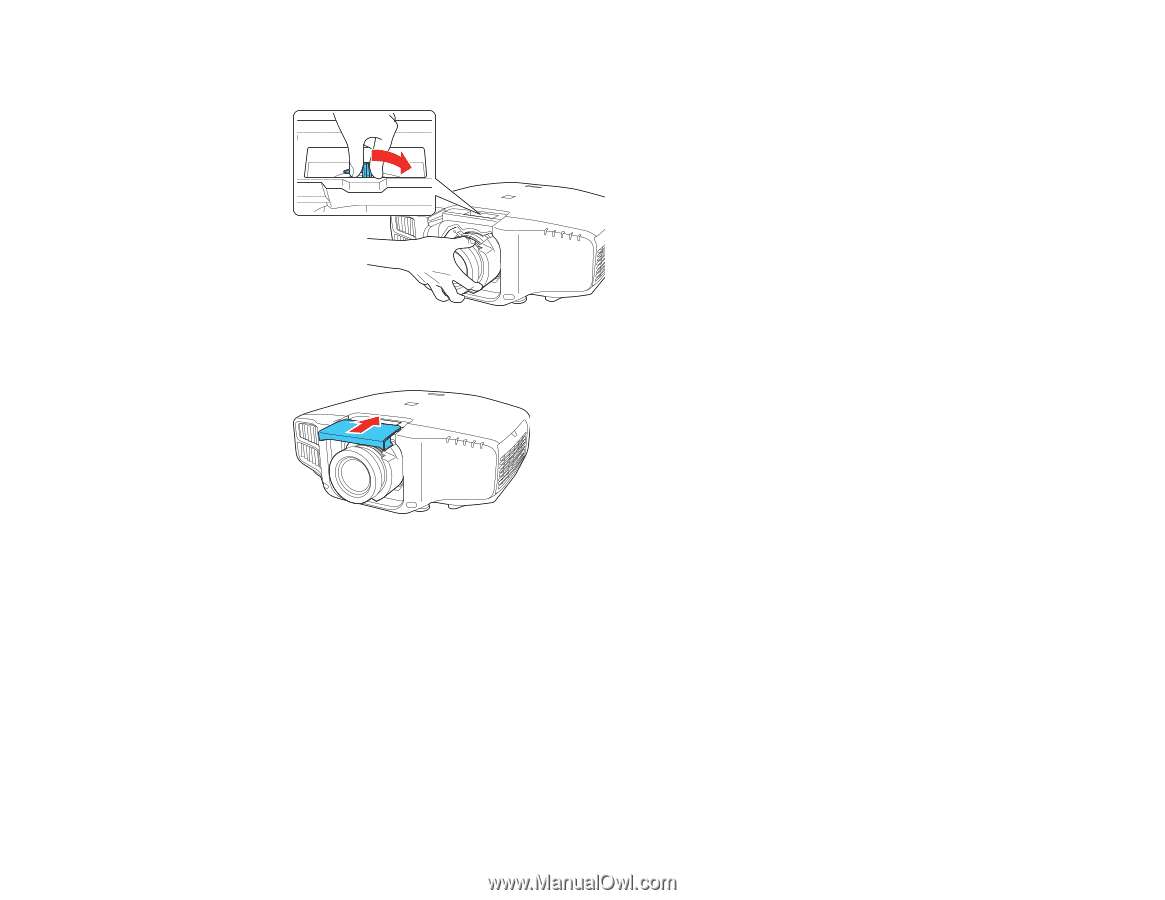
6.
Replace the lens cover.
7.
If prompted, select
Yes
to calibrate the lens.
Note:
Lens calibration helps the projector to correctly acquire the lens position and adjustment
range, and can take up to 100 seconds to complete. When calibration is finished, the lens returns to
the same position it was in before calibration. (ELPX01 returns to the standard position.)
8.
When using one of the following lenses, select the lens type in the
Extended
menu: ELPLS04,
ELPLU02, ELPLR04, ELPLW04, ELPLM06, ELPLM07, or ELPLL07.
Parent topic:
Attaching and Removing a Lens
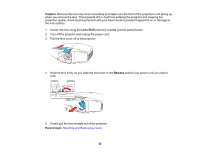
Removing a Lens
You can remove a lens to replace it with a different lens.