Epson LX-300II User's Guide - Page 26
Adjusting the tear-off position, Make sure the Tear Off Font - font setting
 |
View all Epson LX-300II manuals
Add to My Manuals
Save this manual to your list of manuals |
Page 26 highlights
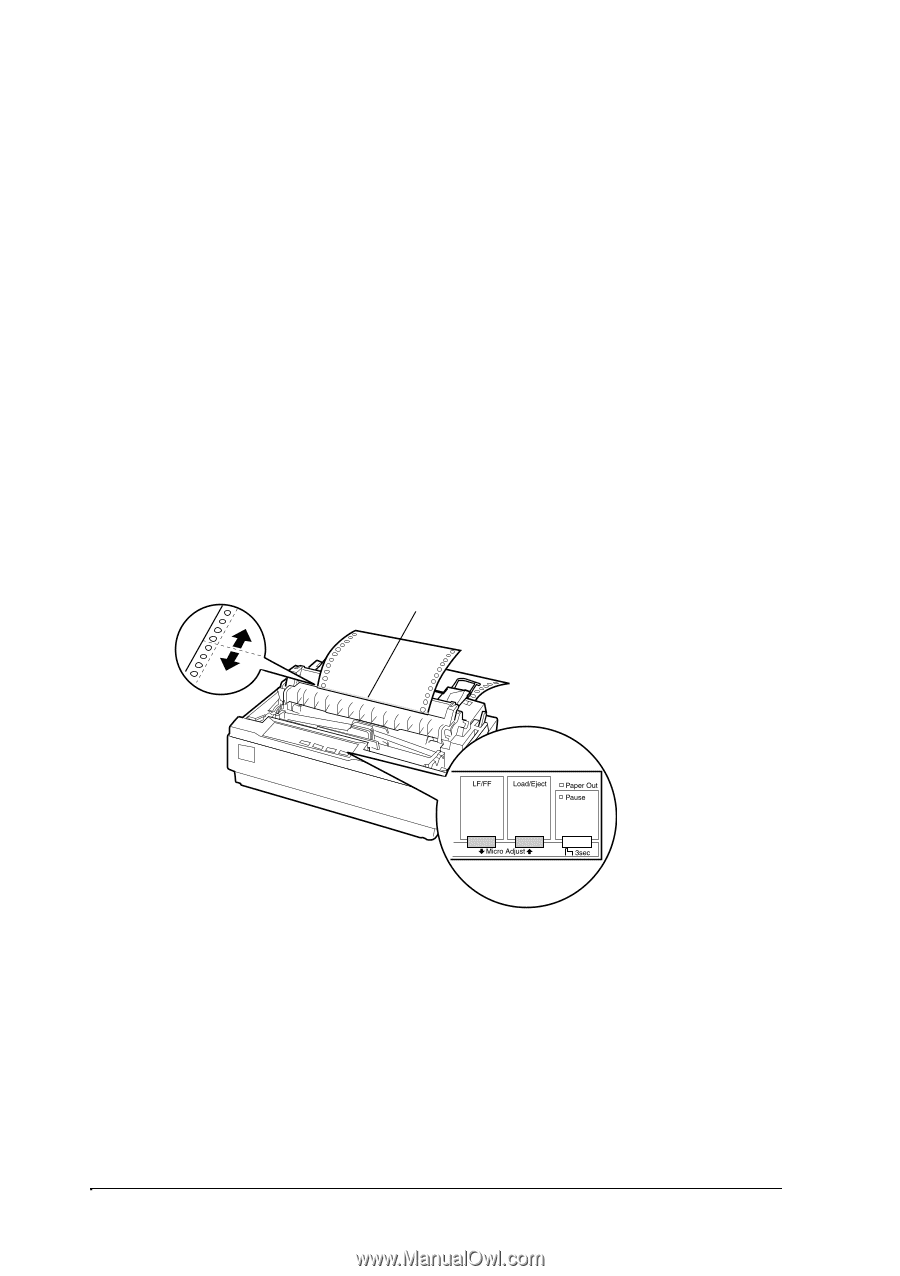
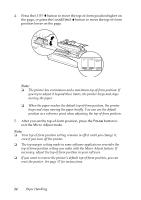
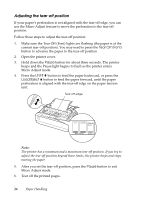
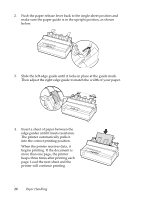
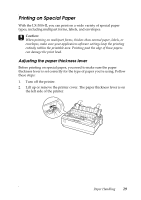
Adjusting the tear-off position If your paper's perforation is not aligned with the tear-off edge, you can use the Micro Adjust feature to move the perforation to the tear-off position. Follow these steps to adjust the tear-off position: 1. Make sure the Tear Off (Font) lights are flashing (the paper is at the current tear-off position). You may need to press the Tear Off (Font) button to advance the paper to the tear-off position. 2. Open the printer cover. 3. Hold down the Pause button for about three seconds. The printer beeps and the Pause light begins to flash as the printer enters Micro Adjust mode. 4. Press the LF/FF D button to feed the paper backward, or press the Load/Eject U button to feed the paper forward, until the paper perforation is aligned with the tear-off edge on the paper tension unit. Tear-off edge Note: The printer has a minimum and a maximum tear-off position. If you try to adjust the tear-off position beyond these limits, the printer beeps and stops moving the paper. 5. After you set the tear-off position, press the Pause button to exit Micro Adjust mode. 6. Tear off the printed pages. 26 Paper Handling
-
 1
1 -
2
-
3
-
4
-
5
-
6
-
7
-
8
-
9
-
10
-
11
-
12
-
13
-
14
-
15
-
16
-
17
-
18
-
19
-
20
-
 21
21 -
 22
22 -
 23
23 -
 24
24 -
 25
25 -
 26
26 -
 27
27 -
 28
28 -
 29
29 -
 30
30 -
 31
31 -
32
-
33
-
34
-
35
-
36
-
37
-
38
-
39
-
40
-
41
-
42
-
43
-
44
-
45
-
46
-
47
-
48
-
49
-
50
 |
 |