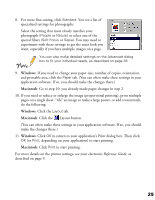
Epson Stylus COLOR 1160 Printer Basics - Page 29
You see one of these dialog boxes, If your photograph was taken with a digital camera
 |
View all Epson Stylus COLOR 1160 manuals
Add to My Manuals
Save this manual to your list of manuals |
Page 29 highlights
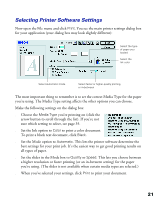
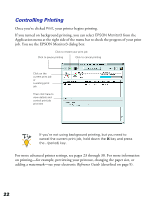
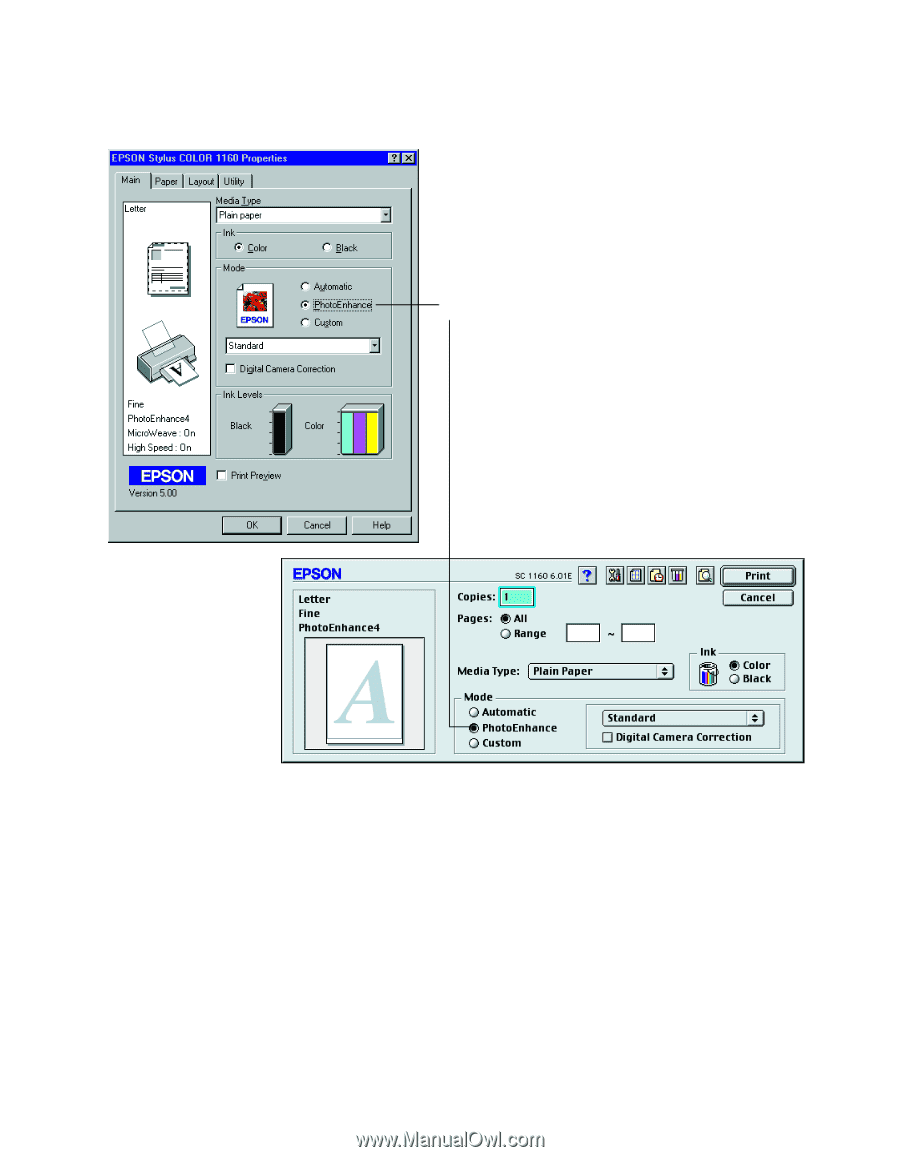
You see one of these dialog boxes: Click PhotoEnhance Windows Macintosh 4. Choose the Media Type you want to print on. (If you're not sure which setting to select, see page 35.) 5. Choose Color ink. (You cannot select PhotoEnhance if Black ink is selected.) 6. Click PhotoEnhance. 7. If your photograph was taken with a digital camera, you can click the Digital Camera Correction box. This gives your printed images the appearance of photographs taken with a film camera. 24
-
 1
1 -
2
-
3
-
4
-
5
-
6
-
7
-
8
-
9
-
10
-
11
-
12
-
13
-
14
-
15
-
16
-
17
-
18
-
19
-
20
-
21
-
22
-
23
-
 24
24 -
 25
25 -
 26
26 -
 27
27 -
 28
28 -
 29
29 -
 30
30 -
 31
31 -
 32
32 -
 33
33 -
 34
34 -
35
-
36
-
37
-
38
-
39
-
40
-
41
-
42
-
43
-
44
-
45
-
46
-
47
-
48
-
49
-
50
-
51
-
52
-
53
-
54
-
55
-
56
-
57
-
58
-
59
-
60
-
61
-
62
-
63
-
64
-
65
-
66
-
67
-
68
-
69
-
70
-
71
-
72
-
73
 |
 |
24
You see one of these dialog boxes:
4.
Choose the
Media Type
you want to print on. (If you’re not sure which setting to
select, see page 35.)
5.
Choose
Color
ink. (You cannot select PhotoEnhance if
Black
ink is selected.)
6.
Click
PhotoEnhance
.
7.
If your photograph was taken with a digital camera, you can click the
Digital
Camera Correction
box. This gives your printed images the appearance of
photographs taken with a film camera.
Click PhotoEnhance
Windows
Macintosh