Epson XP-8500 Users Guide - Page 221
Aligning the Print Head Using the Product Control Panel, Maintenance, Print Head Alignment
 |
View all Epson XP-8500 manuals
Add to My Manuals
Save this manual to your list of manuals |
Page 221 highlights
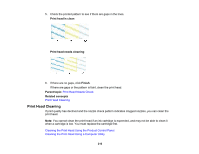
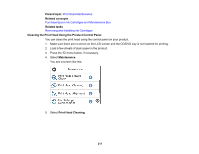
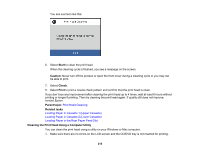
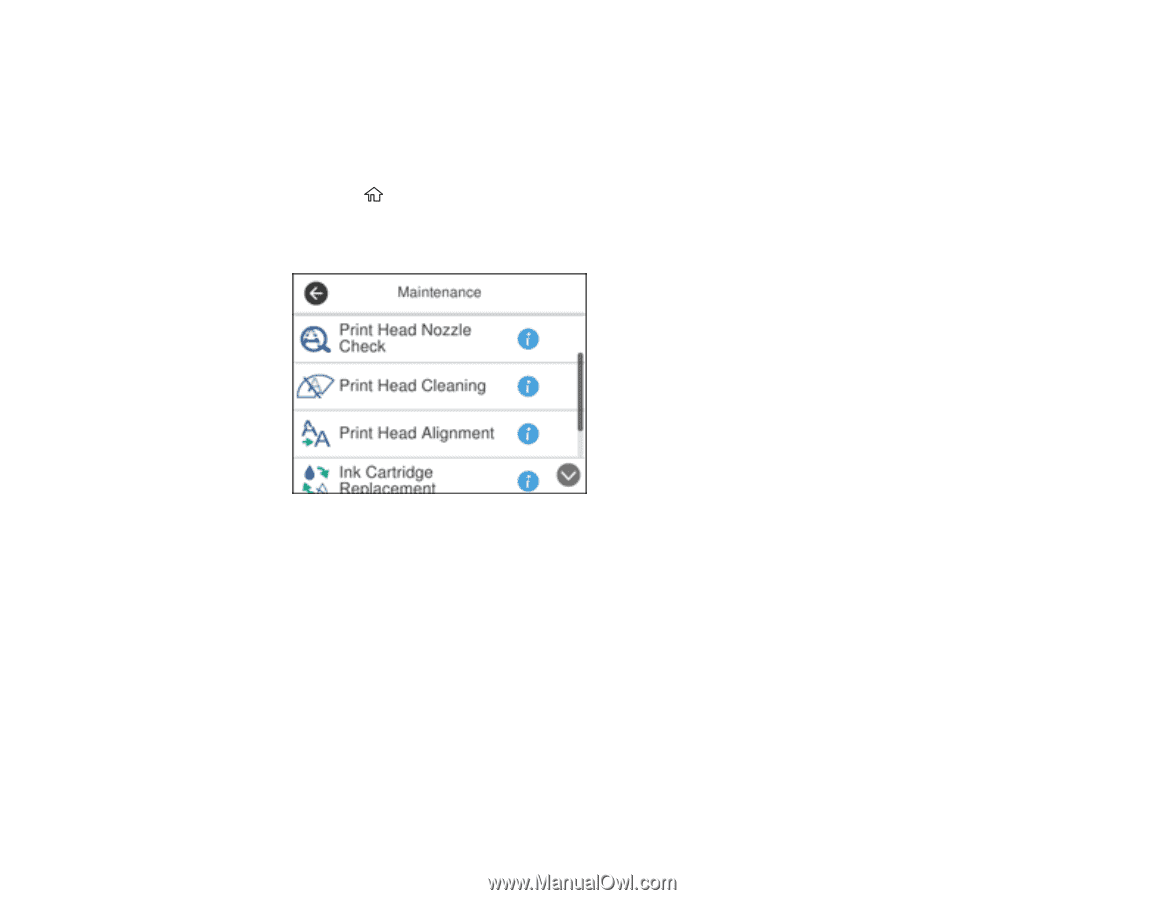
Aligning the Print Head Using the Product Control Panel You can align the print head using the control panel on your product. 1. Make sure there are no errors on the LCD screen and the CD/DVD tray is not inserted for printing. 2. Load a few sheets of plain paper in the product. 3. Press the home button, if necessary. 4. Select Maintenance. You see a screen like this: 5. Select Print Head Alignment . 6. Select one of the following options: • Vertical Alignment if your printout is blurry. • Horizontal Alignment if your printout contains horizontal banding. 7. Follow the on-screen instructions to print an alignment sheet. Note: Do not cancel printing while you are printing head alignment patterns. 221
-
 1
1 -
2
-
3
-
4
-
5
-
6
-
7
-
8
-
9
-
10
-
11
-
12
-
13
-
14
-
15
-
16
-
17
-
18
-
19
-
20
-
21
-
22
-
23
-
24
-
25
-
26
-
27
-
28
-
29
-
30
-
31
-
32
-
33
-
34
-
35
-
36
-
37
-
38
-
39
-
40
-
41
-
42
-
43
-
44
-
45
-
46
-
47
-
48
-
49
-
50
-
51
-
52
-
53
-
54
-
55
-
56
-
57
-
58
-
59
-
60
-
61
-
62
-
63
-
64
-
65
-
66
-
67
-
68
-
69
-
70
-
71
-
72
-
73
-
74
-
75
-
76
-
77
-
78
-
79
-
80
-
81
-
82
-
83
-
84
-
85
-
86
-
87
-
88
-
89
-
90
-
91
-
92
-
93
-
94
-
95
-
96
-
97
-
98
-
99
-
100
-
101
-
102
-
103
-
104
-
105
-
106
-
107
-
108
-
109
-
110
-
111
-
112
-
113
-
114
-
115
-
116
-
117
-
118
-
119
-
120
-
121
-
122
-
123
-
124
-
125
-
126
-
127
-
128
-
129
-
130
-
131
-
132
-
133
-
134
-
135
-
136
-
137
-
138
-
139
-
140
-
141
-
142
-
143
-
144
-
145
-
146
-
147
-
148
-
149
-
150
-
151
-
152
-
153
-
154
-
155
-
156
-
157
-
158
-
159
-
160
-
161
-
162
-
163
-
164
-
165
-
166
-
167
-
168
-
169
-
170
-
171
-
172
-
173
-
174
-
175
-
176
-
177
-
178
-
179
-
180
-
181
-
182
-
183
-
184
-
185
-
186
-
187
-
188
-
189
-
190
-
191
-
192
-
193
-
194
-
195
-
196
-
197
-
198
-
199
-
200
-
201
-
202
-
203
-
204
-
205
-
206
-
207
-
208
-
209
-
210
-
211
-
212
-
213
-
214
-
215
-
 216
216 -
 217
217 -
 218
218 -
 219
219 -
 220
220 -
 221
221 -
 222
222 -
 223
223 -
 224
224 -
 225
225 -
 226
226 -
227
-
228
-
229
-
230
-
231
-
232
-
233
-
234
-
235
-
236
-
237
-
238
-
239
-
240
-
241
-
242
-
243
-
244
-
245
-
246
-
247
-
248
-
249
-
250
-
251
-
252
-
253
-
254
-
255
-
256
-
257
-
258
-
259
-
260
-
261
-
262
-
263
-
264
-
265
-
266
-
267
-
268
-
269
-
270
-
271
-
272
-
273
-
274
-
275
-
276
-
277
-
278
-
279
-
280
-
281
-
282
-
283
-
284
-
285
-
286
-
287
-
288
-
289
-
290
-
291
-
292
-
293
-
294
-
295
-
296
 |
 |
221
Aligning the Print Head Using the Product Control Panel
You can align the print head using the control panel on your product.
1.
Make sure there are no errors on the LCD screen and the CD/DVD tray is not inserted for printing.
2.
Load a few sheets of plain paper in the product.
3.
Press the
home button, if necessary.
4.
Select
Maintenance
.
You see a screen like this:
5.
Select
Print Head Alignment
.
6.
Select one of the following options:
•
Vertical Alignment
if your printout is blurry.
•
Horizontal Alignment
if your printout contains horizontal banding.
7.
Follow the on-screen instructions to print an alignment sheet.
Note:
Do not cancel printing while you are printing head alignment patterns.