Fluke TIS20-9Hz User Manual - Page 24
Listen to a Voice Annotation (Recording), Edit Captured Infrared Image, Audio, Edit Image
 |
View all Fluke TIS20-9Hz manuals
Add to My Manuals
Save this manual to your list of manuals |
Page 24 highlights
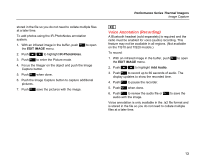
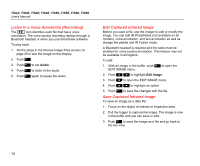
TiS10, TiS20, TiS40, TiS45, TiS50, TiS55, TiS60, TiS65 Users Manual Listen to a Voice Annotation (Recording) The i icon identifies each file that has a voice annotation. The voice (audio) recording replays through a Bluetooth headset or when you use SmartView software. To play back: 1. Do the steps in the Review Image Files section on page 29 to see the image on the display. 2. Push . 3. Push to set Audio. 4. Push to listen to the audio. 5. Push again to pause the audio. Edit Captured Infrared Image Before you save a file, use the Imager to edit or modify the image. You can add IR-PhotoNotes (not available on all models), voice annotation, and text annotation as well as change the palette and IR Fusion mode. A Bluetooth headset is required and the radio must be enabled for voice (audio) annotation. This feature may not be available in all regions. To edit: 1. With an image in the buffer, push 2 to open the EDIT IMAGE menu. 2. Push W/X to highlight Edit Image. 3. Push Z to open the EDIT IMAGE menu. 4. Push W/X to highlight an option. 5. Push 1 to save the changes with the file. Save Captured Infrared Image To save an image as a data file: 1. Focus on the object of interest or inspection area. 2. Pull the trigger to capture the image. The image is now in the buffer and you can save or edit. 3. Push 1 to save the image as a file and go back to the live view. 14
-
 1
1 -
2
-
3
-
4
-
5
-
6
-
7
-
8
-
9
-
10
-
11
-
12
-
13
-
14
-
15
-
16
-
17
-
18
-
 19
19 -
 20
20 -
 21
21 -
 22
22 -
 23
23 -
 24
24 -
 25
25 -
 26
26 -
 27
27 -
 28
28 -
 29
29 -
30
-
31
-
32
-
33
-
34
-
35
-
36
-
37
-
38
-
39
-
40
-
41
-
42
-
43
-
44
-
45
-
46
-
47
-
48
-
49
-
50
-
51
-
52
 |
 |
