HP D2D .D2D NAS Integration with HP Data Protector 6.11 (EH985-90933, March 20 - Page 14
Con Data Protector to use D2D CIFS Share, Creating a new Data Protector File Library
 |
View all HP D2D manuals
Add to My Manuals
Save this manual to your list of manuals |
Page 14 highlights
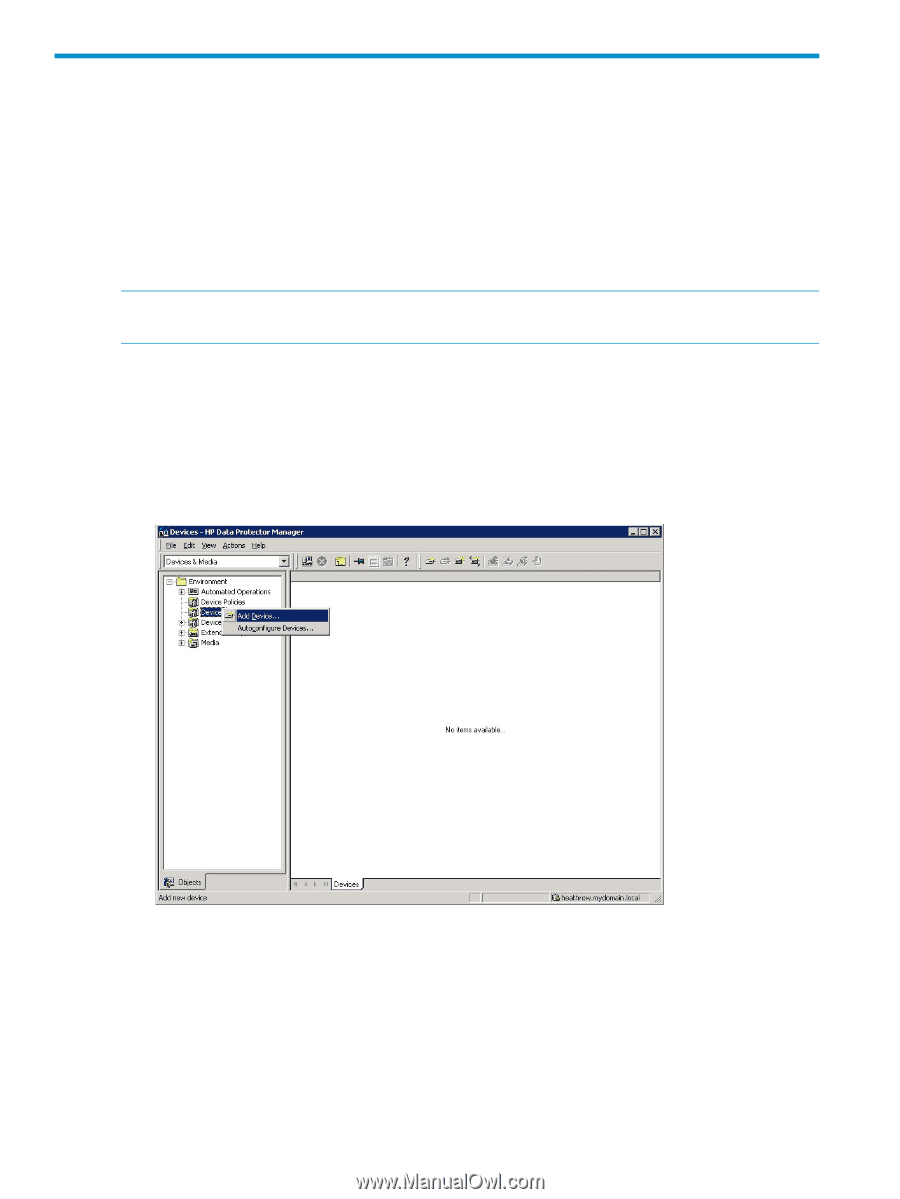
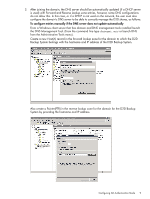
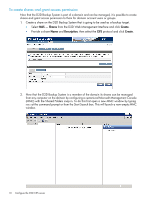
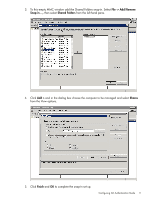
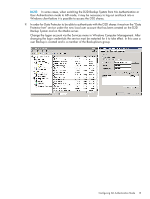
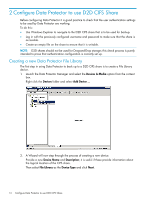
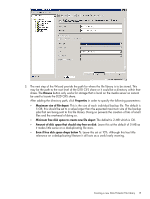
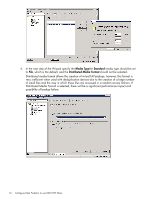
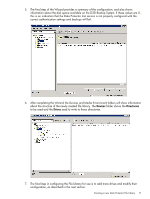
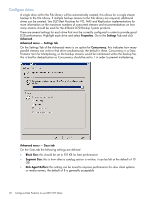
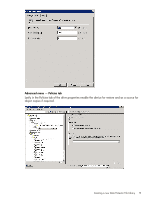
2 Configure Data Protector to use D2D CIFS Share Before configuring Data Protector it is good practice to check that the user authentication settings to be used by Data Protector are working. To do this: • Use Windows Explorer to navigate to the D2D CIFS share that is to be used for backup. • Log in with the previously configured username and password to make sure that the share is accessible. • Create an empty file on the share to ensure that it is writable. NOTE: D2D shares should not be used for Drag-and-Drop storage; this check process is purely intended to prove that authentication configuration is correctly set up. Creating a new Data Protector File Library The first step in using Data Protector to back up to a D2D CIFS share is to create a File Library device. 1. Launch the Data Protector Manager and select the Devices & Media option from the context box. Right click the Devices folder and select Add Device ... 2. A Wizard will now step through the process of creating a new device. Provide a new Device Name and Description; it is useful if these provide information about the logical location of the CIFS share. Then select File Library as the Device Type and click Next. 14 Configure Data Protector to use D2D CIFS Share
-
 1
1 -
2
-
3
-
4
-
5
-
6
-
7
-
8
-
 9
9 -
 10
10 -
 11
11 -
 12
12 -
 13
13 -
 14
14 -
 15
15 -
 16
16 -
 17
17 -
 18
18 -
 19
19 -
20
-
21
-
22
-
23
-
24
-
25
-
26
-
27
-
28
-
29
-
30
-
31
-
32
-
33
-
34
 |
 |