HP Designjet 815mfp HP Designjet 4200 Scanner - User Guide - Page 40
Press the Calibrate RIP button., The media profile is now in the list of available media profiles. - calibration sheet
 |
View all HP Designjet 815mfp manuals
Add to My Manuals
Save this manual to your list of manuals |
Page 40 highlights
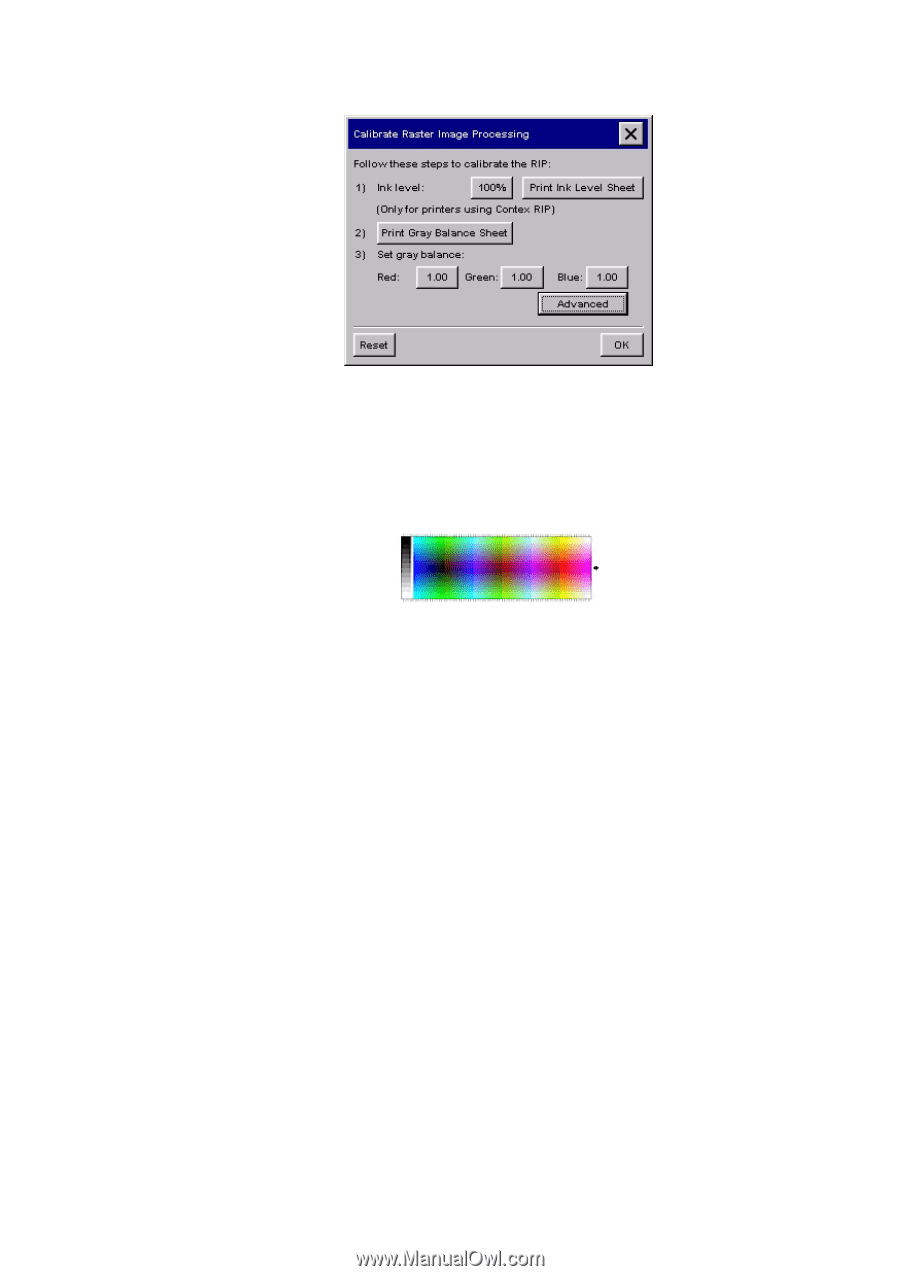
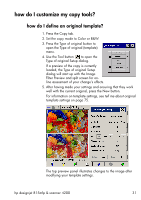
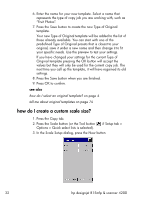
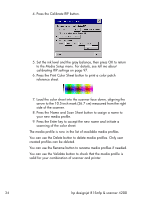
4. Press the Calibrate RIP button. 5. Set the ink level and the gray balance, then press OK to return to the Media Setup menu. For details, see tell me about calibrating RIP settings on page 97. 6. Press the Print Color Sheet button to print a color patch reference sheet. 7. Load the color sheet into the scanner face down, aligning the arrow to the 10.5-inch mark (26.7 cm) measured from the right side of the scanner. 8. Press the Name and Scan Sheet button to assign a name to your new media profile. 9. Press the Enter key to accept the new name and initiate a scanning of the color sheet. The media profile is now in the list of available media profiles. You can use the Delete button to delete media profiles. Only user created profiles can be deleted. You can use the Rename button to rename media profiles if needed. You can use the Validate button to check that the media profile is valid for your combination of scanner and printer. 34 hp designjet 815mfp & scanner 4200
-
 1
1 -
2
-
3
-
4
-
5
-
6
-
7
-
8
-
9
-
10
-
11
-
12
-
13
-
14
-
15
-
16
-
17
-
18
-
19
-
20
-
21
-
22
-
23
-
24
-
25
-
26
-
27
-
28
-
29
-
30
-
31
-
32
-
33
-
34
-
 35
35 -
 36
36 -
 37
37 -
 38
38 -
 39
39 -
 40
40 -
 41
41 -
 42
42 -
 43
43 -
 44
44 -
 45
45 -
46
-
47
-
48
-
49
-
50
-
51
-
52
-
53
-
54
-
55
-
56
-
57
-
58
-
59
-
60
-
61
-
62
-
63
-
64
-
65
-
66
-
67
-
68
-
69
-
70
-
71
-
72
-
73
-
74
-
75
-
76
-
77
-
78
-
79
-
80
-
81
-
82
-
83
-
84
-
85
-
86
-
87
-
88
-
89
-
90
-
91
-
92
-
93
-
94
-
95
-
96
-
97
-
98
-
99
-
100
-
101
-
102
-
103
-
104
-
105
-
106
-
107
-
108
-
109
-
110
 |
 |