HP NetServer LP 2000r Installing IBM OS/2 on an HP Netserver - Page 21
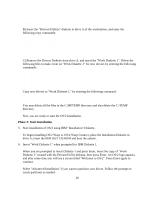
Manual Process, Phase 4: First Reboot, This step is a must do for the LS, LX.
 |
View all HP NetServer LP 2000r manuals
Add to My Manuals
Save this manual to your list of manuals |
Page 21 highlights
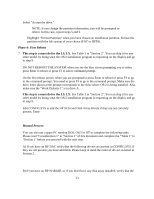
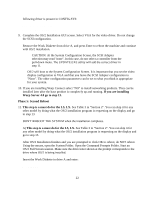
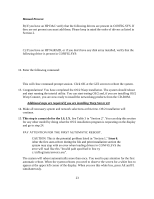
Select "Accept the drive." NOTE: If you change the partition information, you will be prompted to reboot. In this case, repeat steps 5 and 6. Highlight "Format Partition" when you have chosen an installation partition. Format the partition with the file system of your choice (FAT or HPFS). Phase 4: First Reboot 7. This step is a must do for the LS, LX. See Table 3 in "Section 2". You can skip it for any other model by doing what the OS/2 installation program is requesting on the display and go to step 9. DO NOT REBOOT THE SYSTEM when you see the blue screen prompting you to either press Enter to reboot or press F3 to select command prompt. On the first reboot screen, when you are prompted to press Enter to reboot or press F3 to go to the command prompt. You need to press F3 to go to the command prompt. Make sure the drive letter shown at the prompt corresponds to the drive where OS/2 is being installed. Also, make sure the "Work Diskette 1" is in drive A. 8. This step is a must do for the LS, LX. See Table 3 in "Section 2". You can skip it for any other model by doing what the OS/2 installation program is requesting on the display and go to step 9. Edit CONFIG.SYS to add the HP SCSI and Disk Array drivers if they are not currently present. Enter: A:\UPDATE Manual Process: You can also use a spare PC running DOS, OS/2 or NT to complete the following tasks. Please read "Consideration 1" in "Section 1" of this document and complete the "Table 1" in "Section 1" before you proceed with the next step. A) If you have an HP DAC verify that the following drivers are present in CONFIG.SYS. If they are not present you must add them. Please keep in mind the order of drivers as listed in Section 2. basedev=hpda.add basedev=aic7870.add B) If you have an HP NetRAID, or if you don't have any disk array installed, verify that the 21
-
 1
1 -
2
-
3
-
4
-
5
-
6
-
7
-
8
-
9
-
10
-
11
-
12
-
13
-
14
-
15
-
 16
16 -
 17
17 -
 18
18 -
 19
19 -
 20
20 -
 21
21 -
 22
22 -
 23
23 -
 24
24 -
 25
25 -
 26
26 -
27
-
28
-
29
-
30
-
31
-
32
-
33
-
34
-
35
-
36
-
37
-
38
 |
 |