HP NetServer LP 2000r Installing IBM OS/2 on an HP Netserver - Page 22
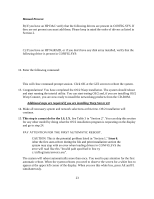
Using the mouse, open the System Folder. Open the Command Prompts Folder. Start an
 |
View all HP NetServer LP 2000r manuals
Add to My Manuals
Save this manual to your list of manuals |
Page 22 highlights
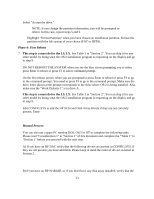
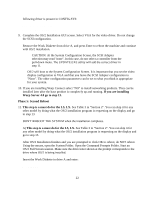
following driver is present in CONFIG.SYS: basedev=mraid.add basedev=aic7870.add 9. Complete the OS/2 Installation GUI screen. Select VGA for the video driver. Do not change the SCSI configuration. Remove the Work Diskette from drive A, and press Enter to reboot the machine and continue with OS/2 installation. CAUTION: At the System Configuration Screen, the SCSI Adapter selection may read "none". In this case, do not select a controller from the pull-down menu. The UPDATE.EXE utility will add the correct driver in step 11. OS/2 will boot to the System Configuration Screen. It is important that you set the video display configuration to VGA and that you leave the SCSI Adapter configuration to "None". The other configuration parameters can be set to what you think is appropriate for your system. 10. If you are installing Warp Connect select "NO" to install networking products. They can be installed later after the base product is completely up and running. If you are installing Warp Server 4.0 go to step 13. Phase 5: Second Reboot 11. This step is a must do for the LS, LX. See Table 3 in "Section 2". You can skip it for any other model by doing what the OS/2 installation program is requesting on the display and go to step 13. DON'T REBOOT THE SYSTEM when the installation completes. A) This step is a must do for the LS, LX. See Table 3 in "Section 2". You can skip it for any other model by doing what the OS/2 installation program is requesting on the display and go to step 13. After OS/2 Installation finishes and you are prompted to click OK to reboot, do NOT reboot. Using the mouse, open the System Folder. Open the Command Prompts Folder. Start an OS/2 Full Screen session. Make sure the drive letter shown at the prompt corresponds to the drive where OS/2 is being installed. Insert the Work Diskette in drive A and enter: A:\UPDATE 22
-
 1
1 -
2
-
3
-
4
-
5
-
6
-
7
-
8
-
9
-
10
-
11
-
12
-
13
-
14
-
15
-
16
-
 17
17 -
 18
18 -
 19
19 -
 20
20 -
 21
21 -
 22
22 -
 23
23 -
 24
24 -
 25
25 -
 26
26 -
 27
27 -
28
-
29
-
30
-
31
-
32
-
33
-
34
-
35
-
36
-
37
-
38
 |
 |