HP Photosmart 1115 HP PhotoSmart 1215/1115 - (English) Basics Guide - Page 14
loading paper in the photo tray
 |
View all HP Photosmart 1115 manuals
Add to My Manuals
Save this manual to your list of manuals |
Page 14 highlights
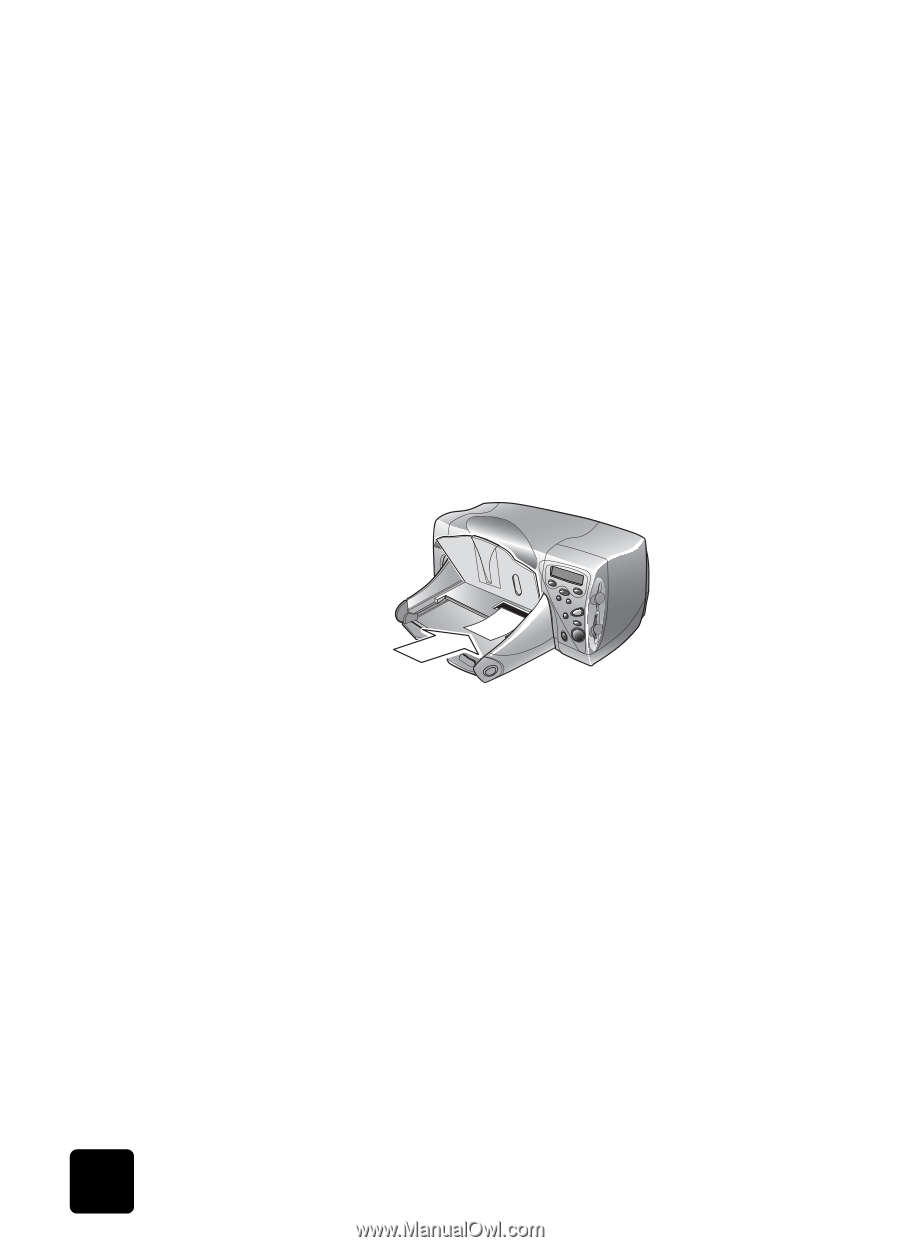
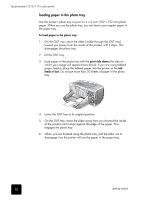
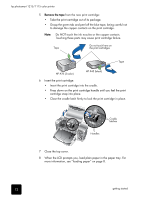
hp photosmart 1215/1115 color printer loading paper in the photo tray Use the printer's photo tray to print on 4 x 6 inch (102 x 152 mm) photo paper. When you use the photo tray, you can leave your regular paper in the paper tray. To load paper in the photo tray: 1 On the OUT tray, move the slider (visible through the OUT tray) toward you (away from the inside of the printer) until it stops. This disengages the photo tray. 2 Lift the OUT tray. 3 Load paper in the photo tray with the print side down (the side on which your image will appear faces down). If you are using tabbed paper, feed or place the tabbed paper into the printer so the tab feeds in last. Do not put more than 20 sheets of paper in the photo tray. 4 Lower the OUT tray to its original position. 5 On the OUT tray, move the slider away from you (toward the inside of the printer) until it stops against the edge of the paper. This engages the photo tray. 6 When you are finished using the photo tray, pull the slider out to disengage it so the printer will use the paper in the paper tray. 10 getting started
-
 1
1 -
2
-
3
-
4
-
5
-
6
-
7
-
8
-
 9
9 -
 10
10 -
 11
11 -
 12
12 -
 13
13 -
 14
14 -
 15
15 -
 16
16 -
 17
17 -
 18
18 -
 19
19 -
20
-
21
-
22
-
23
-
24
-
25
-
26
-
27
-
28
-
29
-
30
-
31
-
32
-
33
-
34
-
35
-
36
-
37
-
38
-
39
-
40
-
41
-
42
-
43
-
44
-
45
-
46
-
47
-
48
 |
 |