HP Photosmart 240 HP Photosmart 240 series - (English) Basics Guide - Page 15
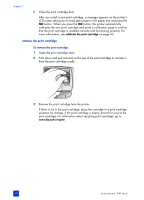
remove the print cartridge - install
 |
View all HP Photosmart 240 manuals
Add to My Manuals
Save this manual to your list of manuals |
Page 15 highlights
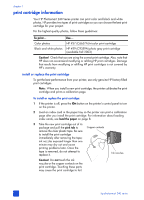
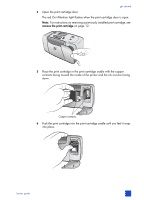
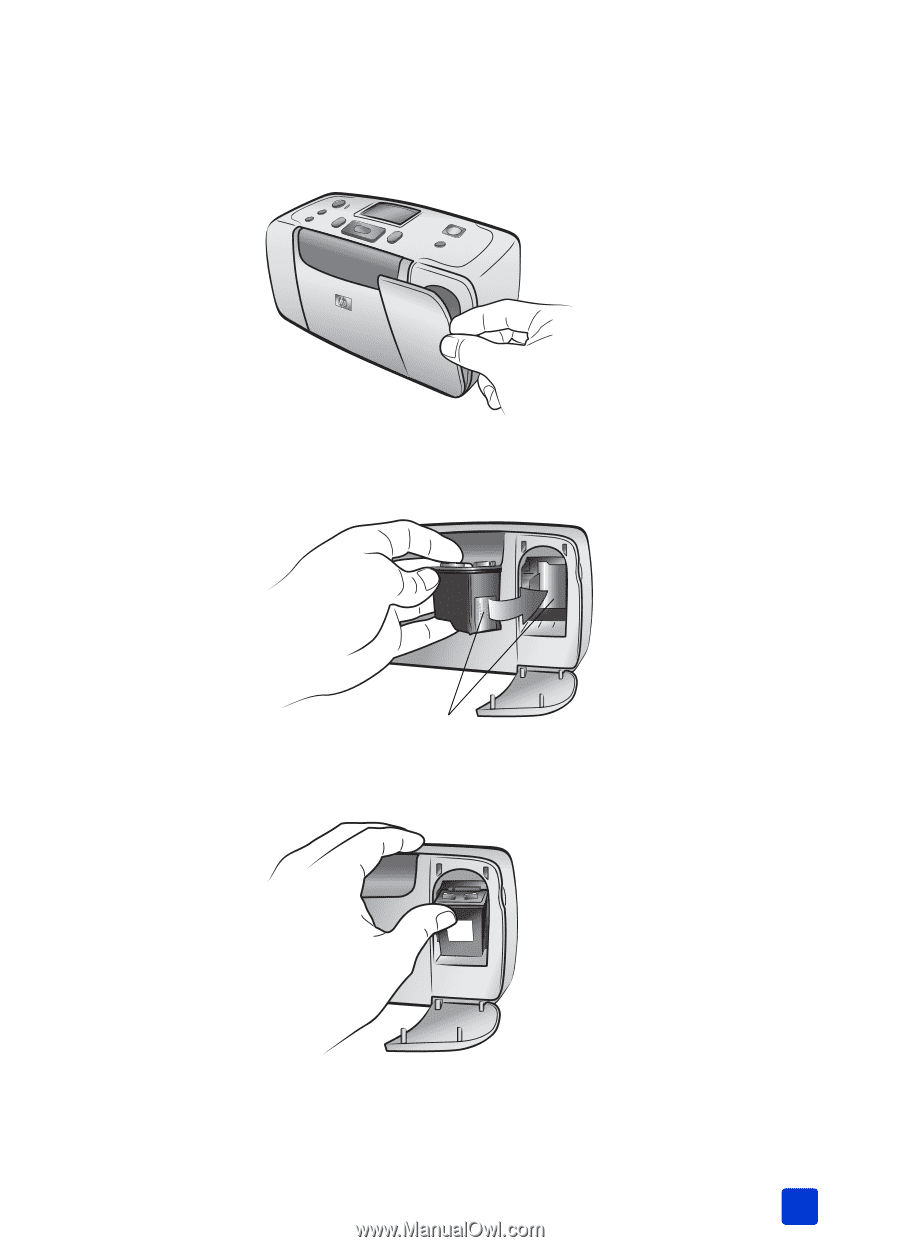
get started 4 Open the print cartridge door. The red On/Attention light flashes when the print cartridge door is open. Note: For instructions on removing a previously installed print cartridge, see remove the print cartridge on page 12. 5 Place the print cartridge in the print cartridge cradle with the copper contacts facing toward the inside of the printer and the ink nozzles facing down. Copper contacts 6 Push the print cartridge into the print cartridge cradle until you feel it snap into place. basics guide 11
-
 1
1 -
2
-
3
-
4
-
5
-
6
-
7
-
8
-
9
-
 10
10 -
 11
11 -
 12
12 -
 13
13 -
 14
14 -
 15
15 -
 16
16 -
 17
17 -
 18
18 -
 19
19 -
 20
20 -
21
-
22
-
23
-
24
-
25
-
26
-
27
-
28
-
29
-
30
-
31
-
32
-
33
-
34
-
35
-
36
-
37
-
38
-
39
-
40
-
41
-
42
-
43
-
44
-
45
-
46
-
47
-
48
-
49
-
50
-
51
-
52
-
53
-
54
-
55
-
56
-
57
-
58
-
59
-
60
-
61
-
62
-
63
-
64
 |
 |
basics guide
get started
11
4
Open the print cartridge door.
The red On/Attention light flashes when the print cartridge door is open.
Note:
For instructions on removing a previously installed print cartridge, see
remove the print cartridge
on page 12.
5
Place the print cartridge in the print cartridge cradle with the copper
contacts facing toward the inside of the printer and the ink nozzles facing
down.
6
Push the print cartridge into the print cartridge cradle until you feel it snap
into place.
Copper contacts