HP Photosmart 240 HP Photosmart 240 series - (English) Basics Guide - Page 22
print a photo index, remove a, memory card, print video clips, insert a, print camera-selected, photos
 |
View all HP Photosmart 240 manuals
Add to My Manuals
Save this manual to your list of manuals |
Page 22 highlights
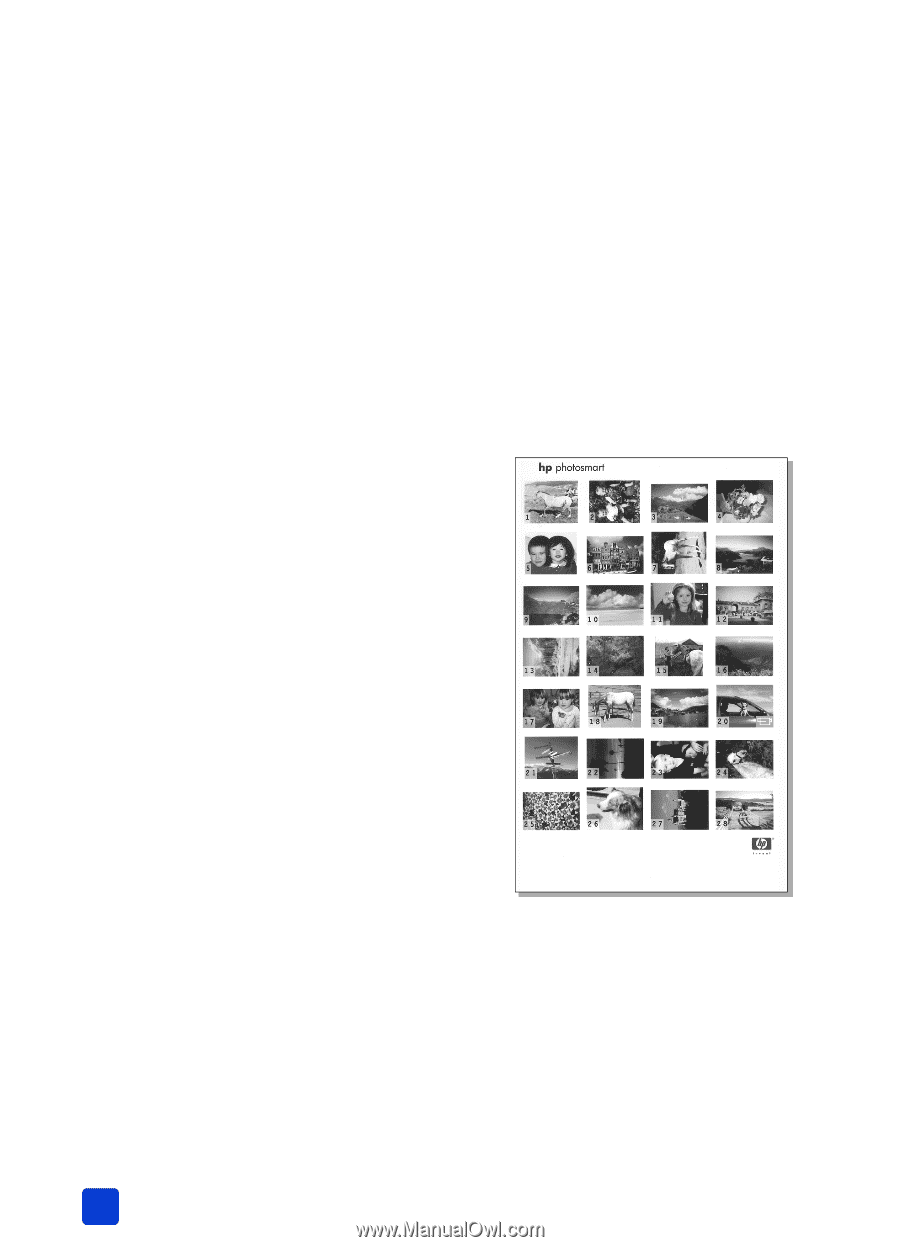
chapter 2 Tip: To move quickly through the photos, press and hold the arrows on the SELECT PHOTOS button. When you reach the last photo in either direction, the printer cycles back to the first or last photo and continues. Note: If you use your computer to delete files from your memory card, the files you delete may still appear on the printer's LCD screen. After deleting the files, remove the memory card following the instructions in remove a memory card on page 17. Reinsert the memory card to update the printer's LCD screen. print a photo index A photo index shows thumbnail views and index numbers for all the photos stored on the memory card, up to a maximum of 2000 photos. The photos appear in the order in which they are stored on the memory card. The photo index will print up to 28 photos per page. Note: Depending on the number of photos stored on the memory card, a photo index could be several pages long. The thumbnail views in a photo index print at low resolution in order to print quickly, so they do not represent the final print quality of the photos. Index numbers appear in the bottom left corner of each thumbnail view and indicate the order of the photos on the memory card. Note: If an icon of a video camera appears in the bottom right corner of an image in the photo index, the image is the first frame of a video clip. For more information, see print video clips on page 25. To print a photo index: 1 Insert a memory card into the printer's memory card slot. For more information, see insert a memory card on page 14. The printer reads the memory card and briefly displays how many photos and video clips were found on the card. Note: If you used your digital camera to select photos on the memory card, a message appears on the printer's LCD screen asking if you want to print camera-selected photos. For more information, see print camera-selected photos on page 26. 2 Load paper in the paper tray. To conserve photo paper, use plain paper or index cards. For more information, see load the paper on page 8. 18 hp photosmart 240 series
-
 1
1 -
2
-
3
-
4
-
5
-
6
-
7
-
8
-
9
-
10
-
11
-
12
-
13
-
14
-
15
-
16
-
 17
17 -
 18
18 -
 19
19 -
 20
20 -
 21
21 -
 22
22 -
 23
23 -
 24
24 -
 25
25 -
 26
26 -
 27
27 -
28
-
29
-
30
-
31
-
32
-
33
-
34
-
35
-
36
-
37
-
38
-
39
-
40
-
41
-
42
-
43
-
44
-
45
-
46
-
47
-
48
-
49
-
50
-
51
-
52
-
53
-
54
-
55
-
56
-
57
-
58
-
59
-
60
-
61
-
62
-
63
-
64
 |
 |