HP Photosmart D7400 Basics Guide - Page 13
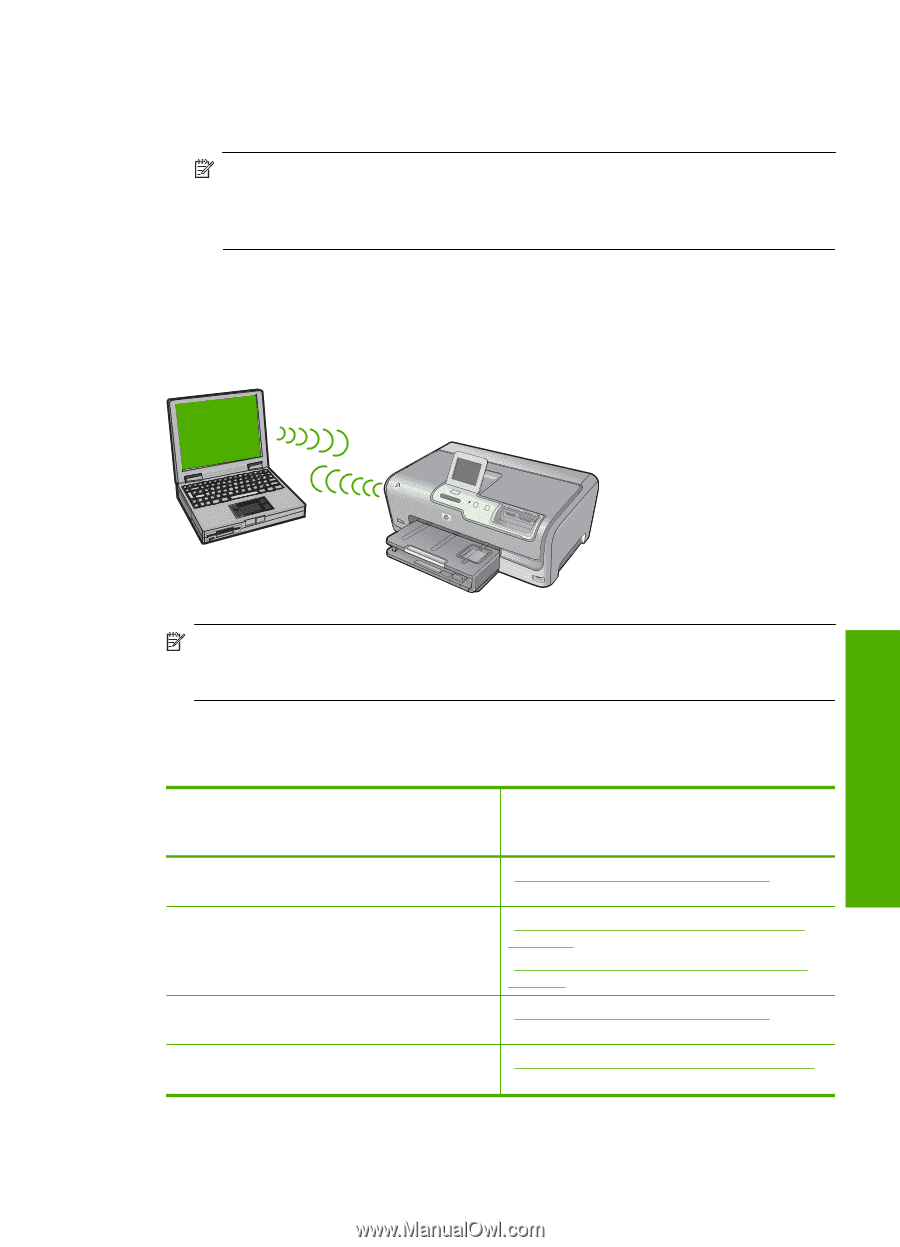
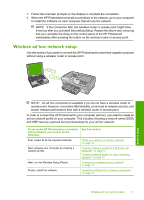
Wireless ad hoc network setup, without using a wireless router or access point.
 |
View all HP Photosmart D7400 manuals
Add to My Manuals
Save this manual to your list of manuals |
Page 13 highlights
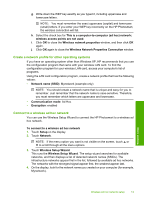
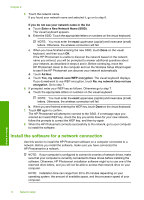
5. Follow the onscreen prompts on the display to complete the connection. 6. When the HP Photosmart connects successfully to the network, go to your computer to install the software on each computer that will use the network. NOTE: If the connection fails, the wireless router or access point might have timed out after you activated SecureEasySetup. Repeat the above task, ensuring that you complete the steps on the control panel of the HP Photosmart immediately after pressing the button on the wireless router or access point. Wireless ad hoc network setup Use this section if you want to connect the HP Photosmart to a wireless-capable computer without using a wireless router or access point. Network setup NOTE: An ad hoc connection is available if you do not have a wireless router or access point. However, it provides little flexibility, a low level of network security, and slower network performance than with a wireless router or access point. In order to connect the HP Photosmart to your computer (ad hoc), you need to create an ad hoc network profile on your computer. This includes choosing a network name (SSID) and WEP security (optional but recommended) for your ad hoc network. To set up the HP Photosmart on a wireless See this section: ad hoc network, you need to do the following: First, collect all of the required materials. "What you need for an ad hoc network" on page 12 Next, prepare your computer by creating a network profile. "Create a network profile for a Windows XP computer" on page 12 "Create a network profile for other operating systems" on page 13 Next, run the Wireless Setup Wizard. "Connect to a wireless ad hoc network" on page 13 Finally, install the software. "Install the software for a network connection" on page 14 Wireless ad hoc network setup 11
-
 1
1 -
2
-
3
-
4
-
5
-
6
-
7
-
 8
8 -
 9
9 -
 10
10 -
 11
11 -
 12
12 -
 13
13 -
 14
14 -
 15
15 -
 16
16 -
 17
17 -
 18
18 -
19
-
20
-
21
-
22
-
23
-
24
-
25
-
26
-
27
-
28
-
29
-
30
-
31
-
32
-
33
-
34
-
35
-
36
-
37
-
38
-
39
-
40
-
41
 |
 |