HP Vectra VE 5/xx hp business pcs, remote software deployment, setup guide for - Page 29
Microsoft Windows 2000 SP2- Professional
 |
View all HP Vectra VE 5/xx manuals
Add to My Manuals
Save this manual to your list of manuals |
Page 29 highlights
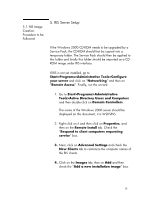
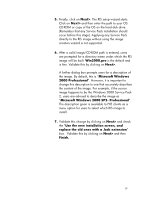
5. Finally, click on Next>. The RIS setup wizard starts. Click on Next> and then enter the path to your OS CD-ROM or copy of the OS on the hard disk drive. (Remember that any Service Pack installation should occur before this stage). Applying any Service Pack directly to the RIS image without using the image creation wizard is not supported. 6. After a valid image/CD-ROM path is entered, users are prompted for a directory name under which the RIS image will be built. Win2000.pro is the default and is fine. Validate this by clicking on Next>. A further dialog box prompts users for a description of the image. By default, this is "Microsoft Windows 2000 Professional". However, it is important to change this description to one that accurately describes the content of the image. For example, if the source image happens to be the Windows 2000 Service Pack 2, users are advised to describe the image as "Microsoft Windows 2000 SP2- Professional". The description given is available to PXE clients as a menu option for users to select which RIS image to install. 7. Validate this change by clicking on Next> and check the "Use the new installation screen, and replace the old ones with a .bak extension" box. Validate this by clicking on Next> and then Finish. 29
-
 1
1 -
2
-
3
-
4
-
5
-
6
-
7
-
8
-
9
-
10
-
11
-
12
-
13
-
14
-
15
-
16
-
17
-
18
-
19
-
20
-
21
-
22
-
23
-
 24
24 -
 25
25 -
 26
26 -
 27
27 -
 28
28 -
 29
29 -
 30
30 -
 31
31 -
 32
32 -
 33
33
 |
 |