Konica Minolta bizhub PRESS C1070/C1070P bizhub PRESS C1070/C1070P/C1060/bizhu - Page 75
Specifying the reference image quality, bizhub PRO C1060L, bizhub PRESS C1070/C1070P/C1060, Adjustment
 |
View all Konica Minolta bizhub PRESS C1070/C1070P manuals
Add to My Manuals
Save this manual to your list of manuals |
Page 75 highlights
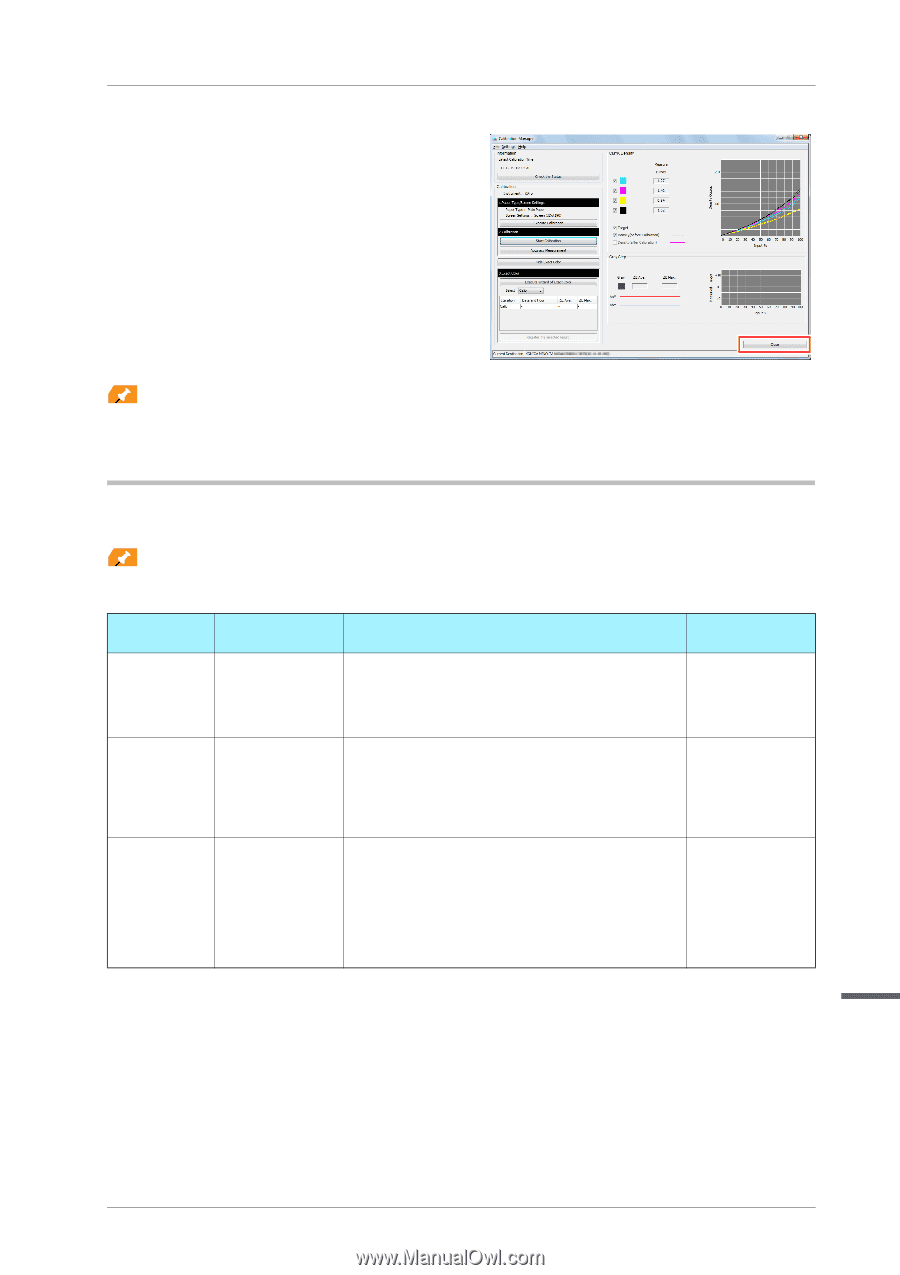
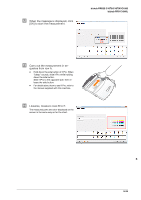
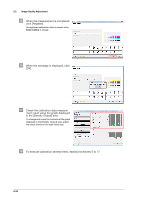
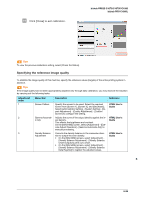
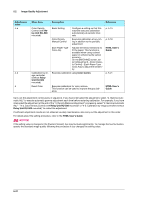
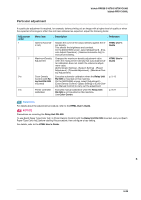
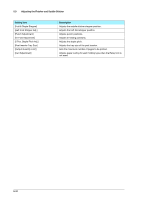
4 Click [Close] to exit calibration. bizhub PRESS C1070/C1070P/C1060 bizhub PRO C1060L Tips Tips To view the previous calibration setting, select [Check the Status]. Specifying the reference image quality To stabilize the image quality of this machine, specify the reference values (targets) of the entire printing system in advance. Tips Tips If the image quality has not been appropriately adjusted only through daily calibration, you may improve the situation by carrying out the following tasks. Adjustment order 1 2 3 Menu item Description Reference Screen Pattern Gamma Automatic Adj. Density Balance Adjustment Specify the screen to be used. Select the required screen from [Screen 1], [Screen 2], and [Stochastic]. Select [Administrator Setting] - [System Setting] - [Expert Adjustment] - [Quality Adjustment] - [Custom Screen] to configure the setting. Adjusts the curve of the output density against the input density. This affects the brightness and contrast. On the [MACHINE] screen, select [Adjustment] - [Execute Adjust Operation] - [Gamma Automatic Adj.] to execute processing. Corrects the density balance in the crosswise direction to output the even density. • On the [MACHINE] screen, select [Adjustment] - [Density Balance Adjustment] - [Density Balance Chart Output] to print out a chart. • On the [MACHINE] screen, select [Adjustment] [Density Balance Adjustment] - [Density Balance Data Reg/Del] to register the adjusted values. HTML User's Guide HTML User's Guide HTML User's Guide 5 5-26
-
 1
1 -
2
-
3
-
4
-
5
-
6
-
7
-
8
-
9
-
10
-
11
-
12
-
13
-
14
-
15
-
16
-
17
-
18
-
19
-
20
-
21
-
22
-
23
-
24
-
25
-
26
-
27
-
28
-
29
-
30
-
31
-
32
-
33
-
34
-
35
-
36
-
37
-
38
-
39
-
40
-
41
-
42
-
43
-
44
-
45
-
46
-
47
-
48
-
49
-
50
-
51
-
52
-
53
-
54
-
55
-
56
-
57
-
58
-
59
-
60
-
61
-
62
-
63
-
64
-
65
-
66
-
67
-
68
-
69
-
 70
70 -
 71
71 -
 72
72 -
 73
73 -
 74
74 -
 75
75 -
 76
76 -
 77
77 -
 78
78 -
 79
79 -
 80
80 -
81
-
82
-
83
-
84
-
85
-
86
-
87
-
88
-
89
-
90
-
91
-
92
-
93
-
94
-
95
-
96
-
97
-
98
-
99
-
100
-
101
-
102
-
103
-
104
-
105
-
106
-
107
-
108
-
109
-
110
-
111
-
112
-
113
-
114
-
115
-
116
-
117
-
118
-
119
-
120
-
121
-
122
-
123
-
124
-
125
-
126
-
127
-
128
-
129
-
130
-
131
-
132
-
133
-
134
-
135
-
136
-
137
-
138
-
139
 |
 |